Is Pollen Eating Your Car’s Paint? How to Remove Stains and Stop the Damage
That yellow film on your hood is more than dirt. It’s a corrosive powder that can permanently stain your paint if you wash it wrong.
We will cover exactly how pollen bonds to and etches clear coat, the safest way to wash off yellow stains without scratching, and the best products to apply for long-term prevention.
Use the wrong removal method, and you’ll grind the pollen into the paint, creating a network of fine scratches.
Key Takeaways: The Pollen Problem in a Nutshell
I came out to my white Tesla Model 3 one spring morning. Overnight, a thick yellow film covered every surface. It looked like it was dusted with curry powder. I knew I couldn’t just wipe it off. Here is what you need to know.
- Pollen is not harmless dust. It acts like fine abrasive grit and can chemically bond to your clear coat.
- Prevention is everything. A well-sealed surface and frequent, safe washing is your best strategy to avoid damage.
- Dry wiping or using a dirty towel is the fastest way to scratch your paint. You must lift the pollen away with lubricant.
- The outcome depends on how long it sits: light dust comes off with a wash, bonded contaminants need clay, and etched stains require polish or compound.
The Real Damage: How Pollen Can Ruin Your Car’s Paint
Does pollen damage car paint? Yes, absolutely. It is a persistent paint contaminant, not just simple dirt. The damage happens in two ways. They can stain surfaces and even damage the paint itself.
First, pollen grains are physically abrasive. Run your finger over a pollen-covered panel. Feel that fine, gritty texture. It is like very fine sandpaper. If you rub it across the paint, it will leave fine scratches called micro-marring.
Second, pollen mixed with morning dew or a light rain creates a wet slurry. This mixture can have a mild acidic quality. As the water evaporates, this acidic paste bakes onto the clear coat, bonding to it and sometimes etching into it.
Think of it as a slower, more widespread version of bird dropping etching. Instead of one spot, it is your entire car.
Can Pollen Scratch Your Car?
Scratches come from improper removal, not from pollen simply resting on the paint. The grains are the abrasive. Your hand or towel provides the pressure. Dry wiping a dusty car is the most common cause of swirl marks in the spring. You are essentially sanding your clear coat. Always use a proper wash with plenty of lubricating soap or a detail spray to safely lift the pollen away. Understanding these causes helps prevent car scratches. Addressing them in your routine protects your paint from damage.
How Quickly Can Pollen Damage Car Paint?
It can start in days, not weeks. The timeline depends on moisture and sun. A heavy dew cycle each morning followed by hot sun can bond pollen in less than a week. On my Jet Black BMW, I have seen a faint, stained haze develop in just a few days under a flowering tree. If it is dry and the pollen stays powdery, you have more time, but you should never let it sit.
Can Tree Pollen Damage Car Paint More Than Other Types?
The type of pollen matters less for chemical damage and more for how stubborn it is. Pine pollen is notorious for its vibrant yellow color and sheer volume. It coats everything in a thick layer that is easily seen on dark cars. Oak pollen can be stickier. Last spring, my grey Honda Odyssey was parked under a flowering tree for a weekend. The pollen it collected had a tacky, almost sap-like quality that required a bit more agitation to remove.
For removal, stickier pollen needs more lubricant, but the cleaning principle remains the same: lift, do not scrub. The intense color of pine pollen is just more visually alarming on white or light paint, like my Tesla.
The UV Factor: Why Sun Bakes Stains In
Ultraviolet light and heat are the accelerants. They supercharge the bonding process. The sun’s energy helps fuse the pollen slurry to your clear coat, turning a surface dusting into a stained, etched mess. This is why a car parked in the open sun suffers more than one in a garage.
This presents a unique challenge on dark paints. On my black BMW, the yellow stain is less visible. What you see instead is a dull, chalky haze and an increase in fine scratches from the abrasive grains. The damage to the gloss is more apparent than the stain itself. The sun makes sure that damage is permanent if not addressed, unlike any dull car paint issues that can be polished out.
Paint Damage Prevention: Common Mistakes That Make It Worse
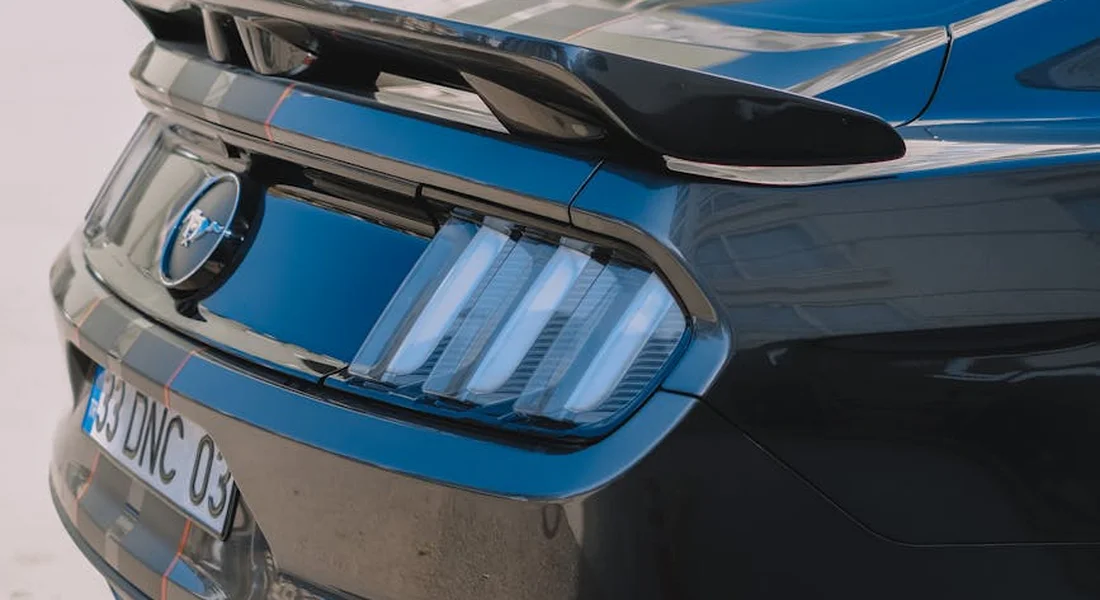
That yellow blanket looks bad. Your first instinct is to wipe it off. I get it. But that quick fix can leave marks that last all year. Here are the mistakes I see every spring that turn a simple cleanup into a paint correction job.
- Using a Dry Towel or Duster: This is the biggest error. Pollen grains are tiny, rigid particles. Dragging a dry microfiber towel or a California duster across them is like using sandpaper. You grind every single grain into your clear coat, creating a web of fine scratches called micro-marring. On my black BMW, this mistake shows up instantly as a hazy, dull film.
- Washing in Direct Sunlight: Heat is your enemy. Washing a hot panel in the sun causes your shampoo solution to dry almost instantly. Instead of lifting pollen away, the drying soap traps it against the paint. You’re left with a sticky, stubborn film that bonds as it bakes.
- Using Household Cleaners or Dish Soap: These are degreasers designed to strip oils. Your car’s wax or sealant is an oil-based protective layer. Dish soap will obliterate it, leaving your paint completely naked and vulnerable. The pollen might be gone, but your paint is now an easy target for UV rays and the next round of contamination.
- Forgetting to Clean Wheels First: Wheels collect a toxic mix of brake dust, road grime, and pollen. When you wash the car body first, the dirty water runoff from the wheels splashes onto your clean lower panels. That brake dust is metallic and abrasive. Mix it with pollen and water, and you’ve created a corrosive, scratching slurry.
The Detailer’s Method: Removing Pollen and Yellow Stains Safely
Forget the quick wipes. The right way is a process of escalation. You start gentle and only get more aggressive if you need to. This is the exact method I use on every car in my fleet, from the kid-hauler Odyssey to the garage-kept Porsche. The golden rule for every step is simple: always lubricate the surface before anything touches it. Friction causes scratches. Lubrication prevents them.
Step 1: The Essential Pre-Rinse and Wash
Your goal here is to remove 90% of the problem without making contact. Work in the shade or during the cool morning.
- Pre-Rinse: Use a pressure washer or a hose with a fan nozzle. Start at the roof and work down, blasting the loose pollen off. You want to see it washing away in yellow rivers. This step alone prevents countless scratches.
- The Wash: Fill two buckets. One with clean rinse water, one with a solution of high-lubricity, pH-neutral car shampoo. Use a clean, soft microfiber wash mitt. Dunk it in the soap bucket, wash a section (top down, roof, windows, hood, then sides), then rinse the mitt thoroughly in the rinse bucket before getting more soap. This two-bucket method traps dirt in the rinse water, not on your mitt. Keep the paint wet and soapy until you’re ready to rinse the whole vehicle.
Step 2: Claying for Embedded Particles
After washing and drying, run your clean hand inside a plastic sandwich bag over the paint. If it feels gritty, like sandpaper, pollen is still bonded to the surface. Washing won’t remove it. You need to clay.
Spray a generous amount of detailer spray or clay lubricant onto a small section. Glide a detailing clay bar or synthetic clay mitt over it. You’ll feel and hear the bonded contaminants being picked up. For stubborn embedded contaminants like iron particles, you can pair this with a dedicated iron remover. Using a clay bar or synthetic clay mitt together with an iron remover helps lift those particles without scratching the paint. Fold the clay bar frequently to expose a fresh, clean surface. If you drop it, throw it away. A contaminated clay bar will scratch your paint.
Step 3: Polishing Away Set-In Yellow Stains
Sometimes, pollen sits for weeks. It can etch into the clear coat, leaving a faint yellow shadow even after claying. This is a job for polish.
If the stain is still visible after claying, it’s no longer on the paint, it’s in the paint. A fine polish with a dual-action polisher will gently abrade a microscopic layer of clear coat, removing the stain and restoring clarity. For a small spot, you can apply polish by hand with a foam applicator, using patient, focused pressure. These steps align with the broader goal of removing stains and contaminants from car paint. Keeping the finish clean helps extend its life.
My Jet Black BMW 3 Series, the “Swirl Magnet,” is the perfect case study. After a heavy pollen season where it was parked under a tree, I had both micro-scratches from someone’s improper wipe-down and faint yellow stains on the hood. The wash removed the loose stuff. The clay bar picked up the bonded grit. The polish, on a soft foam pad, erased the etching and the fine marring, bringing back a flawless, deep-black reflection.
What If the Stain Won’t Budge?
For deeper, long-term etching, you may need to use a light cutting compound before polishing. This is a more aggressive abrasive. Always follow a cut with a polish to refine the finish and restore gloss.
If you are working on a vehicle with paint protection film (PPF), a vinyl wrap, or a delicate matte finish, stop here. Aggressive compounds or polishes can damage these surfaces. For my Porsche 911 with PPF, I never go beyond a gentle, film-safe cleaner. When in doubt, seek a professional detailer familiar with these specialized materials. It is cheaper than a re-wrap or a repaint.
Product Tier List: Your Arsenal for Pollen Season
Fighting pollen is not a one-size-fits-all job. Your strategy should match your car’s life. Is it a daily commuter or a weekend showpiece? The goal is always protection, but your tools change. Here’s how I break it down for the vehicles in my own garage.
Budget / Daily Driver Tier
This is for the workhorse. My dark blue F-150 sees pollen, mud, and highway miles. The plan here is frequent, simple washes to prevent buildup without a huge time investment.
- A Reliable Concentrated Shampoo: Look for a soap that creates thick suds and doesn’t strip wax. You’ll be using it often, so value per ounce matters. I keep a gallon mixed in a sprayer for quick washes during peak season.
- A Synthetic Spray Sealant: This is your secret weapon. After drying the truck, I mist this on a clean towel and wipe it on the paint. It adds a slick layer that makes the next pollen rinse-off easier and protects between proper wax jobs. It takes three minutes and works.
- A Basic Clay Bar Kit: Even on a daily driver, pollen mixed with sap creates bonded grit. Once a season, usually as pollen ends, I’ll clay the hood, roof, and trunk. It feels like running smooth glass over sticky sandpaper. The difference in smoothness is immediate.
This tier is about maintenance, not perfection. A quick wash and a spray sealant every other week keeps the damage at bay.
Enthusiast / Long-Term Protection Tier
This is the sweet spot for most car owners who care for their paint. Think of my black BMW or the white Tesla. The paint is good, and you want to keep it that way for years, especially if you’re dealing with classic car paint. You’re willing to spend a little more time for much longer results.
- A High-Lubricity Wash Soap: This soap feels slick between your fingers. That extra lubrication is safety, cushioning the paint against any grit you might miss in your wash mitt. It’s a must for soft paints.
- A Dedicated Iron Remover: Pollen traps brake dust. This purple spray dissolves those metallic particles you can’t see. I use this on the BMW’s wheels and paint every spring. It reacts and bleeds purple, showing you the contamination it’s removing.
- A Medium-Grade Polish: This is for a once-a-year refresh. It gently removes the microscopic etching and stains pollen can leave behind, restoring deep color and gloss without cutting too much clear coat.
- A Ceramic Spray Coating or Traditional Sealant: This is your primary shield. A good sealant lasts 6 months. A ceramic spray can last a year. They create a harder, more hydrophobic surface than spray waxes. Pollen has a much harder time sticking to this slick finish.
This approach combines decontamination, correction, and durable protection. It turns a seasonal chore into an annual ritual that preserves your paint’s value.
Show Car / Maximum Defense Tier
This is for the garage-kept pride and joy, like the red 911 or the restored Miata. The paint is flawless, often freshly corrected or coated. The goal is touchless cleaning and absolute preservation.
- A Premium Waterless Wash: For light dustings of pollen, a premium waterless wash is your first line of defense. It encapsulates the pollen in lubricants and lifts it off without dragging it across the paint. I use this on the 911 between washes to avoid water spotting.
- A Fine Finishing Polish: This is the final step after any decontamination. It refines the paint to an optical clarity, removing any haze or very fine marks. It prepares the perfect surface for the final protective layer.
- A Professional-Grade Ceramic Coating or High-Durability Paint Sealant: This is a multi-year commitment. A true ceramic coating forms a semi-permanent, glass-like layer. Nothing sticks to it easily. Pollen, sap, and bird droppings wipe off with dramatically less effort. It’s the ultimate investment for a show car.
At this level, you are not just cleaning, you are preserving a finish. Every product and step is chosen to maintain a state of perfection with minimal physical contact.
The Non-Negotiables: Microfiber and Tools
You can buy the best chemicals in the world, but a single dirty towel will ruin their work. Your tools are just as important.
For washing, use a soft, deep-pile microfiber mitt. It holds soapy water and lifts dirt away. I have a separate one for the lower rocker panels, which are always dirtier.
For drying and applying products, you need a stack of clean, high-quality microfiber towels. Compare them by weight and feel. A cheap, thin towel (around 300 GSM) is for interior or wheels. A plush, heavy towel (500 GSM or higher) is for drying paint. The thicker weave absorbs more water and is less likely to drag grit. Microfiber chamois synthetic drying towels offer fast, lint-free drying. They pair well with the towels above for a quick, scratch-free finish.
Always start with a clean tool. If you drop your wash mitt, get a new one. If a drying towel touches the ground, throw it in the laundry bin. A scratch introduced during cleaning defeats the entire purpose. I keep a dedicated laundry hamper in my garage just for microfiber. It is the most important habit I have.
Final Steps for a Pollen-Free Finish
From detailing my own cars through every spring, I know removing pollen quickly with a lubricated, two-bucket wash is the only way to stop it from scratching or etching. Consistently applying a quality sealant, like the hybrid ceramic spray I use on my Model 3, is what truly prevents stains and makes cleanup simple.
Leave pollen to bake on unprotected paint, and you will be polishing out permanent yellow etching.
Further Reading & Sources
- r/AutoDetailing on Reddit: Pollen on Car, how serious is it?
- Protect Your Car from Pollen Season | Caliber Car Wash
- 8 Ways Pollen Can Damage Car Paint and Importance of Interior Car Detailing
- Can Pollen Damage Car Paint? | Spark Car Wash
Max Gunther
Max is an automotive enthusiast having worked as a car mechanical and in interior detailing service for over 25 years. He is very experienced in giving your old car, a new fresh vibe. He has detailed many cars and removed very tough smells and stains from all kinds of cars and models, always ensuring that his work and advice helps his customers. He brings his first hand experience to his blog AutoDetailPedia, to help readers breath new life into their car interiors.