What Size Air Compressor and Nozzle Do I Need for Car Painting?
Getting the air compressor or nozzle size wrong can lead to a streaky, textured mess on your car’s finish. I know the frustration of seeing a beautiful paint job ruined by poor equipment choice.
We will cover how to read compressor CFM and PSI for detailing work, matching nozzle tip sizes to materials like touch-up paint or clear coat, and practical setups for garage-based painting tasks.
Use the wrong combination, and you will apply paint unevenly, causing runs and orange peel that require costly correction.
Key Takeaways
Let’s get straight to the numbers that matter. To spray paint a car with a modern HVLP (High Volume Low Pressure) gun, your air compressor must be able to supply it. The gun is hungry for air volume, measured in Cubic Feet per Minute (CFM).
Your compressor must deliver a consistent 12 to 15 CFM at 40 PSI to keep up with a typical HVLP spray gun for basecoat and clearcoat. If the compressor can’t keep up, the air pressure drops. Your spray pattern becomes inconsistent, and you get a rough, textured finish called “orange peel.”
This CFM requirement dictates the physical size of the machine. In my garage, a 60-gallon tank with a 5 horsepower motor is the smallest practical starting point for painting an entire vehicle. The large tank acts as a reservoir, giving the motor a buffer so it’s not running constantly. My own 60-gallon unit groans a bit on a hot day when I’m laying down clear on a full hood, but it gets the job done.
I know what you’re thinking. “What about my small portable compressor?” I have a 20-gallon for running air tools. I tried it once on a fender. It ran non-stop, overheated, and the finish was awful. Pancake compressors or small portables (8-gallon, 20-gallon) are designed for nail guns and inflating tires, not for painting a whole car. They simply cannot produce the sustained CFM.
The nozzle, or fluid tip, size is your paint delivery valve. A smaller hole is for thinner materials, a larger one for thicker.
- 1.3mm to 1.4mm: This is your most common range for modern basecoats and clearcoats. It’s a great starting point. I use a 1.3mm on my gun for the basecoat on the BMW.
- 1.8mm or larger: Reserved for very thick primers or sealers.
- Smaller than 1.2mm: Used for detail work, spot repairs, or spraying very thin liquids like dyes.
Match the tip to your material. Using a 1.8mm tip for clearcoat will flood the surface. Using a 1.3mm for thick primer will starve the gun and spatter.
The Required Arsenal: Tools & Chemicals
The compressor and gun are the stars, but the supporting cast makes or breaks the job. Forget one item, and you risk ruining your work.
- Air Hose: Do not use a cheap, skinny hose. It chokes your air flow. You need a minimum 3/8-inch inner diameter hose, 25 to 50 feet long. A good quality hose feels substantial and reduces pressure drop between the tank and your gun.
- Air Regulator & Water Filter/Trap: You need two. One mounted at the compressor to drop the tank pressure (often 125+ PSI) down to your working range. A second, fine-adjustment regulator with a water trap should be at the gun itself. This catches any moisture or oil that condensed in the hose. Water in your paint line means fish-eyes and repainting.
- Proper Respirator: This is non-negotiable. A dust mask is worthless. You need a half-mask or full-face respirator with organic vapor cartridges (the pink filters). Isocyanates in clearcoat are dangerous. I won’t spray a single panel without my respirator sealed tight. Your health is not a detail.
- Paint Gun Cleaner & Thinner: You will clean your gun immediately after every use. Have a dedicated bucket of cleaner and plenty of the appropriate thinner for your paint system. Letting paint dry inside the gun is a great way to turn a $300 tool into a paperweight.
- Microfiber Towels: For the final wipe-down before paint. Use a 350+ GSM microfiber towel with a plush, non-abrasive nap. The cheap, scratchy shop towels will leave lint and can mar your prepared surface. I use the same high-grade towels I dry my 911 with for this final step.
Set everything up before you mix a single ounce of paint. Lay out your hose, connect and test your filters, and fit your respirator. A calm, prepared process is the secret to a smooth finish.
Detailer’s Pro-Tip: The Real-World Bottleneck
I learned this lesson the hard way. Years ago, I was helping a friend spray a single fender on his old truck. We used his small, portable compressor, the kind you’d use for brad nails. It started fine. By the time we were halfway through the panel, the motor was screaming. The spray gun began to spit and sputter. The finish looked like orange peel mixed with sand.
The compressor never caught up. It was running non-stop, and that creates serious heat. Heat is the hidden enemy because hot air holds moisture, and when that hot, wet air hits your cool panel, the water condenses and gets trapped in your paint, creating a milky, ruined finish called “blushing.”
Think of it like breathing. The compressor’s CFM rating is its lung capacity. Your spray gun is how fast you’re inhaling. If you try to sprint while breathing through a straw, you’ll fail. Your gun needs a steady, cool, dry breath of air. If it “inhales” more air than the compressor can provide, you get a pulsing, uneven spray and have to stop constantly.
Air Compressor 101: CFM, PSI, and Tank Size Explained Simply
Let’s break down the specs so you know what to look for.
CFM (Cubic Feet per Minute): This is the volume of air the compressor can pump out. It’s the most important number for painting. A higher CFM means it can deliver more air, which is what your spray gun craves when you use spray paint for automotive projects.
PSI (Pounds per Square Inch): This is the air pressure stored in the tank. You regulate this down at the gun. Most HVLP (High Volume, Low Pressure) guns run between 25-40 PSI at the inlet. Your compressor must build PSI faster than your gun uses it.
Tank Size (Gallons): This is just a storage tank, a reservoir. A bigger tank lets the compressor motor cycle on and off less often, giving you more continuous spray time before the motor kicks back on. It provides a buffer, but it does not increase the compressor’s CFM output. A huge tank on a weak pump will still empty fast.
So, how big an air compressor for painting a car? The rule is simple: your compressor’s CFM output must meet or exceed your spray gun’s CFM requirement at the operating pressure you plan to use. Find the CFM spec on your spray gun‘s manual, then buy a compressor that delivers at least that much.
Can You Paint a Car with a Small Compressor? The Hard Truth.
I see the questions all the time. “Can you paint a car with a pancake compressor?” What about an 8-gallon or a 20-gallon model? The short answer is no, not properly.
These small compressors are fantastic for inflating tires, running a brad nailer, or even powering a detailing blow-out gun. Their CFM output is typically between 2 and 6 CFM at 40 PSI. A typical HVLP spray gun for basecoat/clearcoat needs 12 to 20 CFM. The math doesn’t work.
You will outpace the compressor in seconds. The motor will run continuously, overheating and injecting moisture into your air line. The result is a terrible finish, wasted paint, and frustration. You can use a small compressor for a tiny touch-up on a mirror cap or priming a single bumper, but for painting any panel or a whole vehicle, it will fail you. For spray painting car parts, you’ll want equipment that maintains steady pressure and delivers clean, dry air across larger surfaces. A capable setup helps you achieve a smooth, even finish rather than streaks or orange peel.
Spend time on any forum where people ask “compressor for painting car how big reddit” and you’ll see two groups. One group says to save up for the right tool. The other is full of stories of people trying to make a small unit work, with results ranging from “okay from 20 feet away” to complete disaster.
What Does a “Good” Compressor for Car Painting Look Like?
For consistent, professional-quality results on a whole car, you are looking at a serious piece of shop equipment.
A capable compressor typically has a 60 to 80 gallon horizontal tank, a 5 to 7 HP motor, and delivers 15 to 20 CFM at 40 PSI. This size can feed a spray gun and a supplied-air respirator without breaking a sweat. It keeps the air cool and dry because it isn’t running constantly.
You also need to understand the pump types. A single-stage compressor has one piston (or set of pistons) that compresses air directly to tank pressure. A two-stage compressor uses one piston to compress air to an intermediate pressure, cools it, then a second piston compresses it further. Two-stage compressors run cooler, are more efficient for continuous use, and are the standard for serious paint work.
Finally, be prepared for the electrical needs. A compressor of this size almost always requires a dedicated 220V electrical outlet, like what your home dryer uses. Trying to run it on a standard 110V/15A circuit will pop the breaker instantly. This is the final, non-negotiable part of the setup.
Spray Gun Nozzles: Picking the Right Hole for the Job
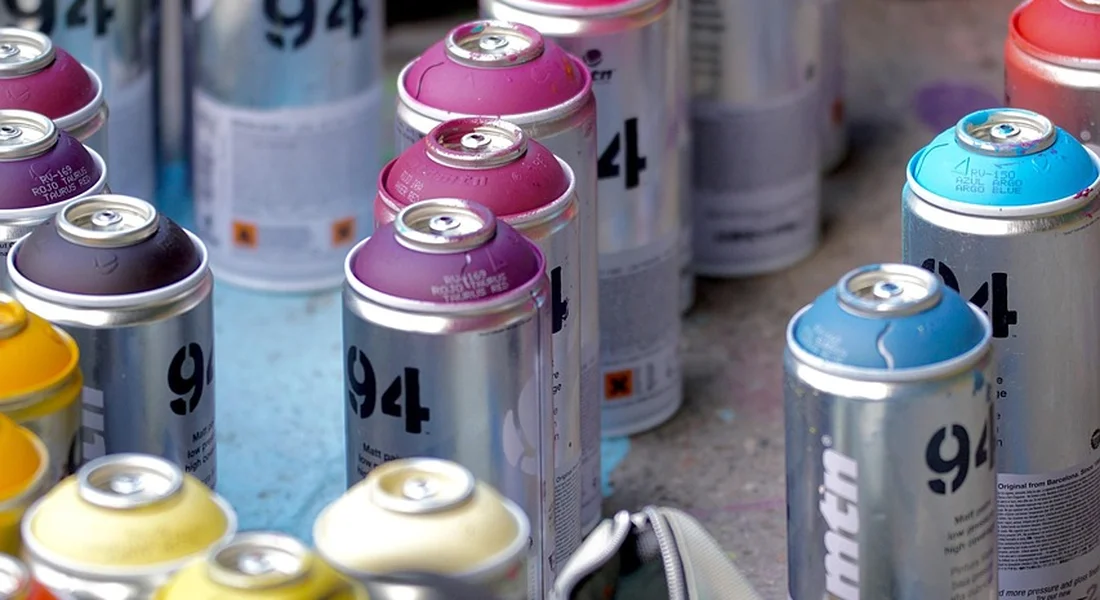
Your air compressor supplies the muscle, but the spray gun nozzle directs the flow. The nozzle, or fluid tip, is the tiny opening that controls how much paint is atomized into that perfect, fine mist. Think of it like a garden hose sprayer.
A smaller nozzle opening creates a finer mist, ideal for thin, watery materials. A larger opening allows a heavier stream, needed for thick, viscous coatings. Getting this right is the difference between a smooth, glossy finish and a texture like orange peel.
Common HVLP Nozzle Sizes and Their Uses
For most modern detailing and refinishing work with HVLP (High Volume Low Pressure) guns, you will see a standard range of sizes. Here is a quick guide.
| Nozzle Size | Best For |
| 1.2 mm | Clear coats, thin sealants. Delivers the finest atomization for a glass-like finish. |
| 1.3 mm – 1.4 mm | Base coats, most single-stage paints, many wraps and coatings. The versatile workhorse sizes. |
| 1.5 mm and larger | Primers, high-solids materials, thicker undercoatings. Handles viscosity without clogging. |
The paint or coating manufacturer’s technical datasheet is the final authority, always start there for their recommended tip size and thinning ratio.
How Do I Choose the Right Nozzle Size?
Do not guess. Follow this simple flow every time. First, identify your paint type. Is it a modern basecoat, a 2K clear, or a high-build primer?
Next, find the product’s technical sheet online or on the can. It will list a recommended viscosity, usually in seconds using a viscosity cup, and often a suggested nozzle size. Match your equipment to their specs.
Remember a critical rule of thumb. A smaller tip requires thinner paint and higher air pressure for proper atomization. A larger tip can handle thicker material at lower pressure. If your paint is too thick for the tip, it will sputter and spit.
For a beginner setting up to do a complete job-primer, paint, and clear-a 1.3mm or 1.4mm nozzle kit is a versatile and forgiving starting point. It can handle most base coats and, with proper thinning, even clear.
Making the Match: Pairing Your Gun and Compressor
This is where projects fail. A compressor that cannot keep up will cause a drop in air pressure mid-spray, leading to horrible streaks and texture. Follow these three steps to check compatibility.
Step 1: Find your spray gun’s CFM requirement. Look on the gun itself or in its manual. You need the CFM (Cubic Feet per Minute) rating at a specific PSI, like “12 CFM @ 40 PSI”. This is the gun’s appetite for air.
Step 2: Find your compressor’s delivered CFM at that same PSI. This is the trick. Compressor specs often show CFM at 90 PSI, which is a much higher, useless number for our needs. Dig into the manual or product specs for the CFM delivered at 40 PSI (or whatever your gun requires). This is its ability to feed the gun.
Step 3: Compare the numbers. Your compressor’s delivered CFM must be higher than the gun’s required CFM. If they are equal, the compressor will run non-stop, overheat, and likely still starve the gun. You need a surplus of air.
I learned this the hard way on my old Ford’s bed. My first small pancake compressor could not feed my gun. The result was a rough, sandy texture I had to sand off and redo.
Setting Up Your Regulators for Success
Air pressure is not set in one place. You need a two-stage system for clean, consistent air. First, a regulator at the compressor tank drops the high storage pressure (often 150 PSI) down to a safer hose pressure, around 90 PSI.
Then, you use a filter and regulator mounted right at the gun inlet. This does the fine-tuning. You set the final, working pressure here while pulling the trigger on the gun, not when the air is static. This accounts for pressure drop through the hose.
Set your tank regulator to 90 PSI. At the gun, with the trigger pulled, adjust the second regulator to your target pressure, typically between 25 and 40 PSI for HVLP work. This gives you stable, clean, and moisture-filtered air right where you need it.
The Garage Paint Job: A Realistic Step-by-Step
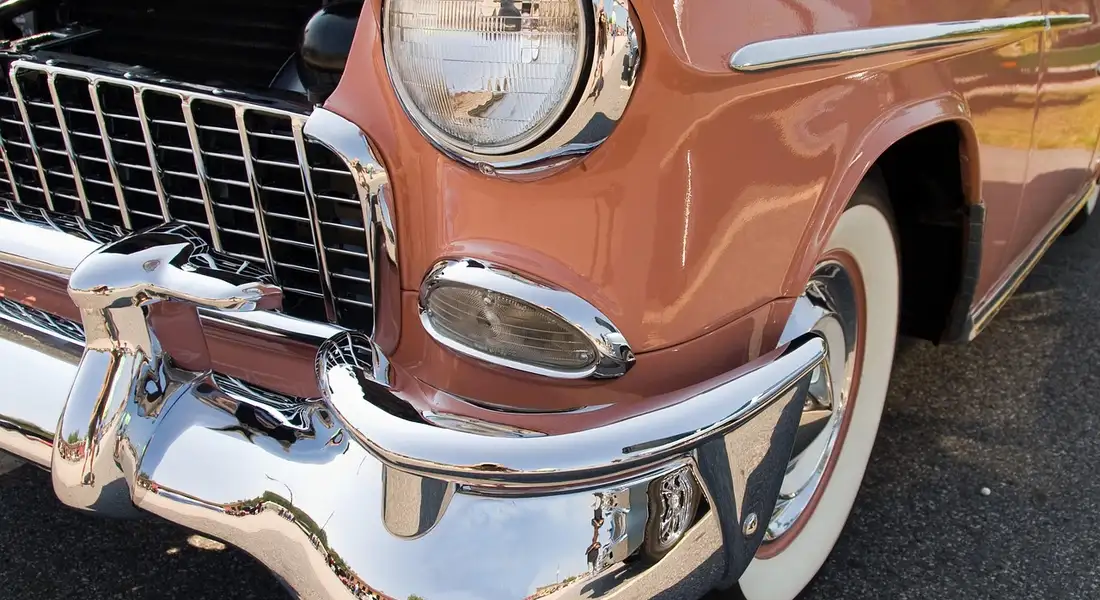
Let’s talk about applying that technical data. You have your compressor specs, you’ve matched a nozzle. Now what? I treat this like any major paint correction or ceramic coating job. It is a process where the setup determines the finish.
The goal is not a full body shop repaint, but a high-quality respray of a panel, a bumper, or a set of wheels using the skills a detailer already possesses.
Prep is 90% of the Job: Cleaning and Masking
This is where my detailing mindset takes over. The paint will only stick to what’s underneath. On my BMW, the ‘Swirl Magnet,’ I learned this the hard way years ago. You cannot polish over dirt, and you absolutely cannot spray paint over it.
Start with a full decontamination wash. Then, clay bar the entire area you plan to paint. Feel for that smooth, glass-like finish. Any embedded grit will become a permanent bump under your new paint.
After claying, do a final solvent wipe-down with a product like isopropyl alcohol or a dedicated prep spray. This removes any last oils or silicones. Use clean, lint-free wipes and change them often.
Masking is an art. Use a good quality fine-line tape for sharp edges. For large areas, use proper masking paper or plastic sheeting. Tape everything you do not want overspray on, and then tape a little more. Think about the floor, the wall behind you, the wheel well. Overspray is a nightmare to remove later.
Seal your space. Mist the garage floor with water to keep dust from kicking up. Stuff towels under the garage door. Turn off any fans or HVAC that could circulate dust. This creates the cleanest environment possible.
The Spray Pattern Test: Your First Crucial Check
Do not point your gun at the car first. Ever. This test tells you everything about your setup.
Hang a large piece of cardboard or use a masked-off test panel. Put on your respirator. Now, spray a few passes.
You are looking for a few things. The pattern should be an even, rectangular fan. Adjust the air cap on your gun if it’s lopsided. The material should land wet and look consistent, not dry and dusty or so wet it immediately sags.
This is your moment of truth. If your compressor cannot keep up, you will hear it cycle on and off and see the spray pattern pulse. The finish on the cardboard will be uneven. If your nozzle is wrong, the paint will not atomize into a fine mist. It will spit and spatter.
Adjust the fluid knob and air pressure until you get that perfect, consistent wet coat on the cardboard. Only when this test panel looks flawless should you even think about moving to the actual car.
Common Paint Problems Caused by the Wrong Setup
These are the finishes I see when the compressor or nozzle choice was an afterthought. Knowing them helps you diagnose your setup before you even start.
Orange Peel from a Starving Compressor
This is a classic. The finish looks like the skin of an orange, bumpy and textured. It happens when the paint droplets are too large because they were not broken up finely enough.
Low CFM is the usual culprit. The compressor cannot deliver enough continuous air to properly atomize the paint. The gun gets starved for air, and the result is a rough, pebbly surface that requires heavy sanding to fix.
It is frustrating. You think you’re laying down a smooth coat, but it dries with that horrible texture. If you see this, your compressor is likely too small for the gun and nozzle you are using.
Runs and Sags: The Wrong Nozzle or Pressure
Runs are the opposite problem. Too much material hits the panel and it drips like a tear. It is messy to fix.
A nozzle too large for your paint type is a common cause. A 1.8mm nozzle shooting a thin clear coat will dump too much fluid, too fast. You cannot move your arm quickly enough to spread it thin.
Low air pressure also contributes. Without enough air pressure to atomize and spread the paint, it goes on thick and heavy. It looks wet and beautiful for a moment, then gravity takes over.
If you get runs, check your nozzle size first, then verify your air pressure at the gun is where it needs to be. Sometimes, you are simply holding the gun too close or moving it too slowly.
The Dreaded Moisture in the Line
This one hurts. You are spraying along and suddenly, small craters or bubbles appear in your perfect wet coat. These are fisheyes. They are often caused by oil or water contamination.
As a compressor runs, it heats up. Hot air holds moisture. When that air cools down in your hose and gun, the moisture condenses into liquid water. It then gets blasted into your paint job.
A single in-line filter is rarely enough for painting. I use a combination: a filter/regulator at the compressor tank, a desiccant dryer or coiled cooler line, and a final filter at the gun itself.
And always, always drain the water from your compressor tank after every use. That tank is a giant moisture trap. Letting water sit in there promotes rust, which can then get blown into your lines. It is a simple habit that saves finishes.
Before You Start: Is This Project Right for Your Setup?
Let’s get real for a minute. I’ve painted panels in a garage and I’ve painted whole cars in a booth. The difference isn’t just skill. It’s air. Trying to paint with an underpowered compressor is like trying to run a marathon breathing through a coffee stirrer. You will fail, and you’ll waste expensive materials. It’s crucial to understand the right air pressure for automotive painting.
This final check isn’t about discouraging you; it’s about saving you from a frustrating, expensive mess that will require a professional to fix. Be honest about your space, your budget for the compressor and the necessary safety gear, and your patience for prep work, which is 90% of a good paint job.
Painting a Whole Car vs. a Panel or Touch-Up
The scope of your project defines everything. I learned this the hard way years ago.
Painting a whole car is a marathon of continuous, consistent air flow. Think of my 1995 Miata project. To respray that small roadster properly, I needed my large 60-gallon two-stage compressor running almost non-stop. A full-size sedan or SUV demands even more. You need the big tank and high CFM to keep up, period. A small “pancake” or portable hot dog compressor simply cannot supply the volume. It will run constantly, overheat, spit moisture into your line, and cause the paint to lay down unevenly as the pressure drops. It’s especially important when you’re dealing with high-demand CFM requirements for car painting.
A single panel or a touch-up is a different story, but it’s still a serious sprint. Let’s say you’re repainting a fender on your F-150 or a hood on the 3 Series. A robust, portable 20-30 gallon compressor might get you through it if you work methodically. You’ll paint in small sections, constantly listening for the compressor to kick on, waiting for it to catch up. It’s stressful. You’re pushing the equipment to its absolute limit. For something this size, I’d want a minimum of a 30-gallon compressor with a real 10-12 CFM output.
Considering the Alternatives: HVLP Turbine Systems
If the compressor requirements are daunting, there’s another path for the dedicated home user. An HVLP turbine system is a legitimate, self-contained alternative that sidesteps the need for a massive air compressor.
These units have a powerful turbine (like a vacuum cleaner in reverse) that generates a high volume of warm, dry air. The warmth helps the paint flow and dry faster. I’ve used them for smaller projects and they work. The finish can be excellent. The big trade-off is speed. They apply material slower than a high-end conventional spray gun. You need a steady, patient hand. For a full car, it adds significant time, but the air is dry and consistent, which is a huge advantage in a non-climate-controlled garage.
Do not confuse this with an electric airless sprayer from the hardware store. Those pump paint at extremely high pressure to spit it out for painting houses and fences. They will atomize automotive paint horribly, creating a terrible orange-peel texture you can never sand out. They are not for cars, especially when you’re trying to DIY car painting.
Final Thoughts on Air Compressor Setup
For a flawless paint job, matching your air compressor’s CFM to your spray gun’s demand is the single most critical factor. Everything else, from the nozzle choice to the air line, supports that core requirement for clean, dry, and consistent airflow. For automotive paint supplies detailing, the right setup helps you apply high-quality finishes with less waste. In detailing work, efficient air and material handling makes a visible difference in the final coat.
Neglecting this matching will result in a poor finish, wasting your time, materials, and the quality of your hard work.
Deep Dive: Further Reading
- What Size Compressor Do I Need To Paint A Car? – Kaishan USA
- r/AutoPaint on Reddit: Compressor Size?
- What compressor size do I need to spray a car? – BWS Ltd
- What Size Air Compressor To Paint a Car?
- How Many Gallon Air Compressor Do I need to Paint a Car? – The Garage™
- What size air compressor do I need to paint a car? – Quora
Max Gunther
Max is an automotive enthusiast having worked as a car mechanical and in interior detailing service for over 25 years. He is very experienced in giving your old car, a new fresh vibe. He has detailed many cars and removed very tough smells and stains from all kinds of cars and models, always ensuring that his work and advice helps his customers. He brings his first hand experience to his blog AutoDetailPedia, to help readers breath new life into their car interiors.