What Are the Best Car Scratch Remover Products for Paint Repair and Polishing?
That new scratch on your paint feels like a personal insult. You want it gone, but the wrong product can make a small problem much worse.
I have fixed scratches on everything from my daily driver to a classic Miata, and here I will show you how to match the scratch type to the right product, the correct way to apply it by hand or machine, and how to finish without leaving haze or swirls.
Go in blind, and you will burn through your clear coat or leave the paint looking dull.
Key Takeaways Before You Start
Think of this as your cheat sheet. Get these truths straight before you grab a bottle.
- Run the Fingernail Test. Drag your fingernail gently across the scratch. If it catches inside the groove, that scratch is through your clear coat. A polish or compound alone will not fix it.
- If your nail glides over the scratch without catching, you are in luck. You can likely remove it or make it vanish with the right product and technique.
- Scratch “removal” is actually leveling. You are not filling the scratch in. You are carefully removing the paint from the high areas around it until the surface is flat again.
- This means every time you correct a scratch, you are thinning your clear coat. There is always a trade-off between perfection and preservation.
- For deep scratches that fail the fingernail test, a perfect, invisible repair is rarely a DIY job. Your real goal is to make it far less noticeable and protect the exposed area.
What Does a Scratch Remover Actually Do? (And When It Won’t Work)
I see a lot of confusion here. People think these products are magic erasers. They are not. They are abrasives.
Imagine you have a deep dent in a wooden table. You do not just fill the dent. You sand the entire top down until the surface is smooth and the dent disappears. That is exactly what a scratch remover does to your car’s clear coat.
It uses tiny, hard particles to literally cut away microscopic layers of paint. The abrasive surrounds the scratch and grinds down the raised edges until they are level with the lowest point of the scratch.
Polishes vs. Compounds: Cutting and Refining
The two main types are often mixed up. Knowing the difference saves your paint.
- Cutting Compound: This is your heavy hitter. It uses more aggressive, larger abrasives to remove deeper defects. It will leave a hazy, scratched finish because the abrasives themselves make tiny marks. You always follow a compound with a polish. I use this on my black BMW for those stubborn spider webs.
- Finishing Polish: This is your refiner. It uses very fine, gentle abrasives to smooth out the haze left by a compound. It brings back the deep, clear shine. This is the final step before applying wax or sealant.
Some products are labeled “all-in-one.” They try to cut and shine in one step. They are great for light maintenance on cars like my Honda Odyssey, but they lack the power for serious correction.
Clear Coat, Primer, Metal: The Layers of Your Paint
Your car’s paint is a sandwich. A scratch remover only works on the top slice.
- Clear Coat: The transparent, protective top layer. This is what you are polishing. Most light scratches live only here.
- Base Coat (Color): The layer with the pigment, your car’s actual color.
- Primer: The adhesion layer between the color and the bare metal.
- Bare Metal: The body of the car itself.
A scratch remover only works on material that is still there. If a scratch has cut through the clear coat and into the color layer or primer, you are not removing a scratch anymore. You are staring at a canyon of missing paint. No amount of rubbing will make that paint reappear. This is when you need touch-up paint.
Direct Answers to Your Questions
Let’s tackle the big ones head on.
Does scratch remover work?
Yes, but only on the right scratches. For clear coat scratches, swirl marks, and light etching, they work very well. For a deep key mark that shows white or colored primer, they will only clean up the edges and make it look a bit better. I used a compound to clean up the edges of a deep scratch on my Miata’s fender. It did not disappear, but it stopped catching the light from across the parking lot.
Can you wipe out a car scratch?
Not by hand, not really. The wiping motion with a product-covered cloth might hide a scratch by filling it with oils. This is a temporary mask. The first wash or rain shower will reveal it again. True removal requires friction, time, and the correct abrasive for the job. You need a machine polisher or a lot of dedicated hand effort to generate enough heat and friction to level the paint.
The Scratch Remover Product Tier List: From Quick Fix to Show Car Finish
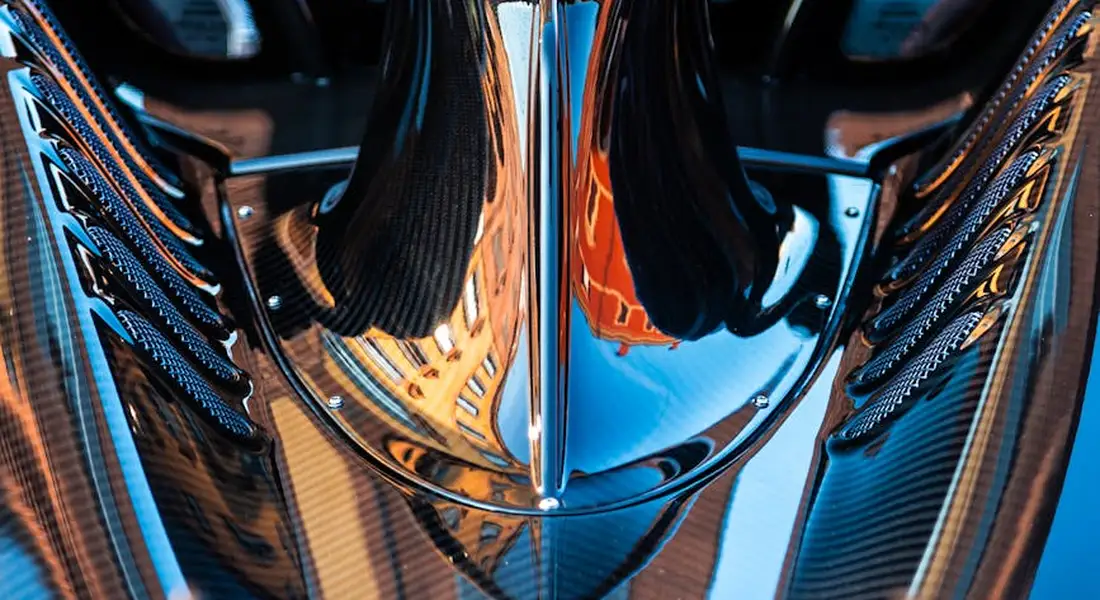
What is the best car scratch remover on the market? The answer changes if you are fixing a shopping cart scrape on your kid hauler or polishing a show car. I organize products here by the job they do and the finish they leave, not just by brand name. Think about whether you drive a daily workhorse like my blue F 150 or a garage queen like the red Porsche. Your choice should match your life. Beyond brand names, you’ll want to know how effective a remover actually is on different scratches. In the next steps, I’ll break down scratch remover effectiveness across common real-world scenarios.
Tier 1: The Quick Fix & “Drive Through” Band Aids
This tier is for hiding scratches, not removing them. Products like a car scratch remover pen or a pre soaked car scratch remover cloth are common at AutoZone or Walmart. They work by depositing a waxy or pigmented layer into the scratch to mask it. I keep a pen in my Honda Odyssey’s glove box for door dings in parking lots. It stops bare metal from rusting fast.
These are band aids. They fill the scratch but do not level the paint around it. On dark paint like my black BMW, they can leave a hazy, obvious blob if you are not careful. Use these for quick cosmetic cover ups on a car you plan to sell or on areas where perfection is not the goal, like a truck’s rocker panel. They wipe on, dry fast, and call it a day.
Tier 2: The Enthusiast’s Hand Applied Arsenal
Here is where real correction begins. Products like Meguiar’s Ultimate Compound or Turtle Wax Hybrid Solutions Scratch Repair & Renew are thick liquids meant for hand application. Their abrasives are designed to break down under the heat and pressure of your hand rubbing a microfiber pad. The consistency feels like lotion, not water.
I used this tier on the front bumper of my F 150 after a brush with some gravel. You work a small section, maybe two square feet, with steady pressure. The compound turns clear as it breaks down, taking a fine layer of clear coat with it. This tier offers real correction but requires significant elbow grease and follow up with a fine polish to restore gloss. Your arm will be tired, but you can make shallow scratches vanish on a single panel without a machine.
Tier 3: The Machine & Show Car Preparations
This is professional territory. Products like 3M Perfect It Rubbing Compound or Menzerna polishes are formulated for use with a Dual Action or rotary polisher. They have specific cut and finish characteristics for machine dynamics. This is what I used for the full paint correction on my swirled black BMW.
The cutting power is precise and immense. A DA polisher and a compound like this can remove deep defects from the Porsche’s paint that hand rubbing could never touch. These products are about control and final clarity, often sold in bulk bottles or as part of a system for professionals who demand a flawless, hologram free finish. You do not buy these in a kit at the big box store. They are for the serious detailer.
Hand vs. Machine: Choosing Your Weapon for the Fight
You have the products. Now, how do you apply them? Your method changes everything. Picture two columns in your mind. On one side, your hand and a towel. On the other, a humming polisher.
Fixing scratches by hand has clear pros and cons.
- Pros: Very low cost to start. Almost zero risk of burning through your paint. Perfect for tight spots like around door handles or badges on the Miata.
- Cons: It is brutally labor intensive. Your correction power is limited to very light scratches. You can easily leave behind a hazy, dull finish if you do not polish afterward.
Using a machine, specifically a Dual Action (DA) polisher, is a different world.
- Pros: It is dramatically faster and more effective. The results are superior, with even, glossy finishes. It requires less physical effort from you once you learn the technique.
- Cons: There is a cost for the tool itself. There is a learning curve to avoid creating swirls or holograms. If used incorrectly, you can damage trim or thin paint.
I learned this the hard way. I tried to hand correct the entire hood of my black BMW. After two hours of sweating, I had made a small dent in the swirls and my shoulder was on fire. The next weekend, I used a DA polisher with a Tier 3 compound. It took 20 minutes. The hood looked like black glass. For any area larger than a dinner plate, a machine is not just better, it is the only sane choice.
How to Use Scratch Removers: A Detailer’s Step-by-Step
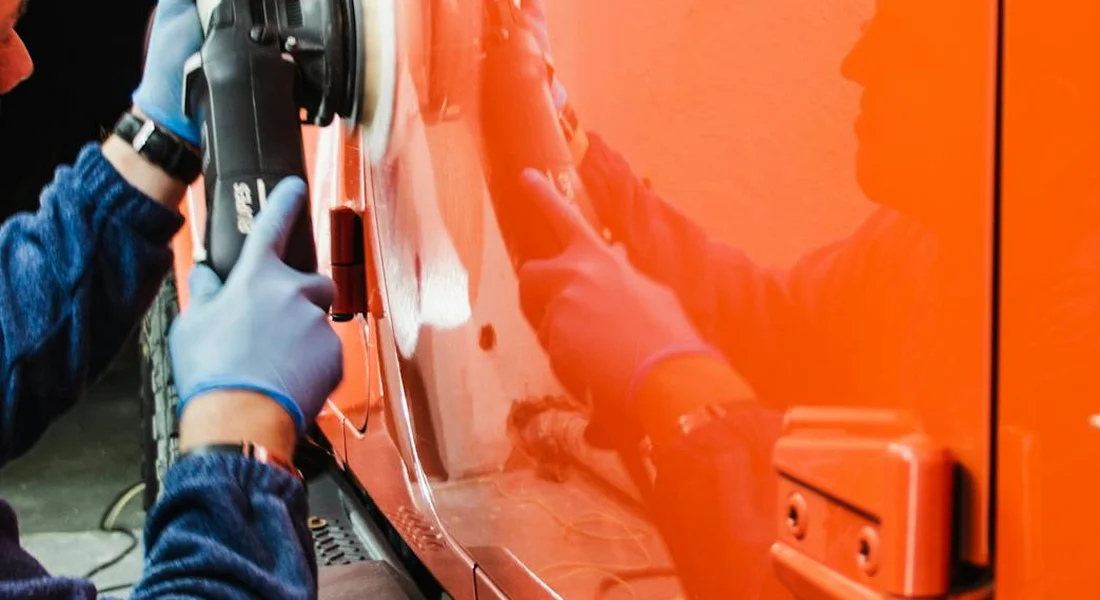
Having the right product is only half the battle. Using it correctly is what separates a good repair from a bigger, more expensive problem. This universal process works for most liquid compounds and polishes. Think of it as the right way to avoid making a bigger mess.
If you’re visual, searching for ‘car scratch remover youtube’ with your specific product name is a smart move. Seeing the technique helps.
Step 1: The Non-Negotiable Clean
You must start with a perfectly clean surface. Applying any abrasive to a dirty panel is like sanding your paint with the dirt. You will grind those particles into the clear coat, creating a spiderweb of new fine scratches.
Wash the entire car or at least the entire panel using a proper two-bucket method. Dry it completely. Then, you need to clay bar. Contaminants like industrial fallout, brake dust, and tree sap are bonded to the paint and won’t wash off. Running your hand over the clean, dry paint, it should feel like smooth glass. If it feels gritty or rough, you need clay.
Take a detailing clay bar, knead it, and lubricate the paint generously with a quick detailer or clay lube. Glide the clay back and forth in straight lines with light pressure. You will feel it grab and then glide smoothly as it picks up the bonded contaminants. This step ensures your scratch remover works on the scratch itself, not the junk sitting on top of your paint. Proper surface prep is essential when removing scratches and correcting paint defects. This primes the finish for the next defect-removal steps.
Step 2: Applying the Product (The Golden Rules)
Now for the main event. Your method depends on your tools.
By Hand: Use a soft, clean foam applicator pad. Apply a few small dots of product. Work on a manageable area, about 2×2 feet. Using moderate pressure, work the product in small, overlapping circles. Keep the pad flat. This method is best for very light scratches and spot repairs.
By Machine (DA Polisher): This is the professional’s choice for consistent results. Start by priming your foam or microfiber pad. For a foam pad, spritz it lightly with a detailer or pad conditioner. For a microfiber cutting pad, apply four small dots of product in an ‘X’ pattern.
Spread the product over your 2×2 area at a slow speed (about speed 2). Then, increase to your working speed (typically 4-5 for cutting, 4-5 for polishing). Make slow, overlapping passes, keeping the pad flat against the paint. Let the machine and the product do the work.
The number one tip I give everyone is to start with the least aggressive combination first. Try a polish with a light polishing pad. If that doesn’t work, step up to a compound with a polishing pad, then a compound with a cutting pad. You can always step up in aggression, but you can’t put removed clear coat back on.
Step 3: Wiping, Inspecting, and Following Up
After working the product until it becomes a thin, nearly clear film, it’s time to wipe. Use a clean, soft microfiber towel. Fold it into quarters to give you multiple clean surfaces. Wipe gently but firmly, turning the towel to a clean side often.
Now, inspect. This is critical. Use a bright LED work light or pull the car into direct sunlight. Look at the scratch. Did it diminish or disappear? Now look at the surrounding paint. Did you introduce new fine scratches, haze, or holograms? This is called micromarring or buffer trails, often a risk when cutting and polishing car paint scratches.
A cutting compound almost always requires a follow-up with a finer polish to restore the gloss and clarity the compound sacrificed to remove the scratch. This two-step process (compound then polish) is the standard for a truly flawless finish. A one-step product is a compromise.
When to Call a Pro: The Limits of DIY Scratch Repair
Being honest saves you heartache and money. There are clear lines where a professional detailer is your best and most economical choice.
Call a pro if:
- The scratch catches your fingernail deeply. If you can feel a distinct trench, it’s likely through the clear coat.
- You see primer (a dull white, gray, or black layer) or bare metal at the bottom of the scratch. This requires touch-up paint, not just polishing.
- The scratches cover a large area or the entire vehicle. Machine polishing the whole car is a massive, physically demanding task with a high learning curve.
- You feel nervous or uncomfortable using a power tool on your paint. Confidence matters.
- Your car has a matte paint finish, a satin wrap, or paint protection film (PPF). These require specialized products and techniques.
People often ask, “How much does it cost to buff a scratch out of a car?” For a professional, it depends. A single panel might range from $150 to $300. A full multi-stage paint correction for an entire vehicle can range from $500 to over $1500, based on size, condition, and location. You’re paying for their expertise, insurance, and time. Understanding the buff out scratches cost can help you budget and compare quotes. It also clarifies when a small scratch justifies professional treatment versus DIY touch-ups.
If your assessment shows the damage is beyond a simple DIY fix, searching for ‘car scratch remover near me‘ is a logical next step. Look for a detailer with strong reviews and photos of actual correction work.
Keeping Scratches at Bay: Protection After the Repair
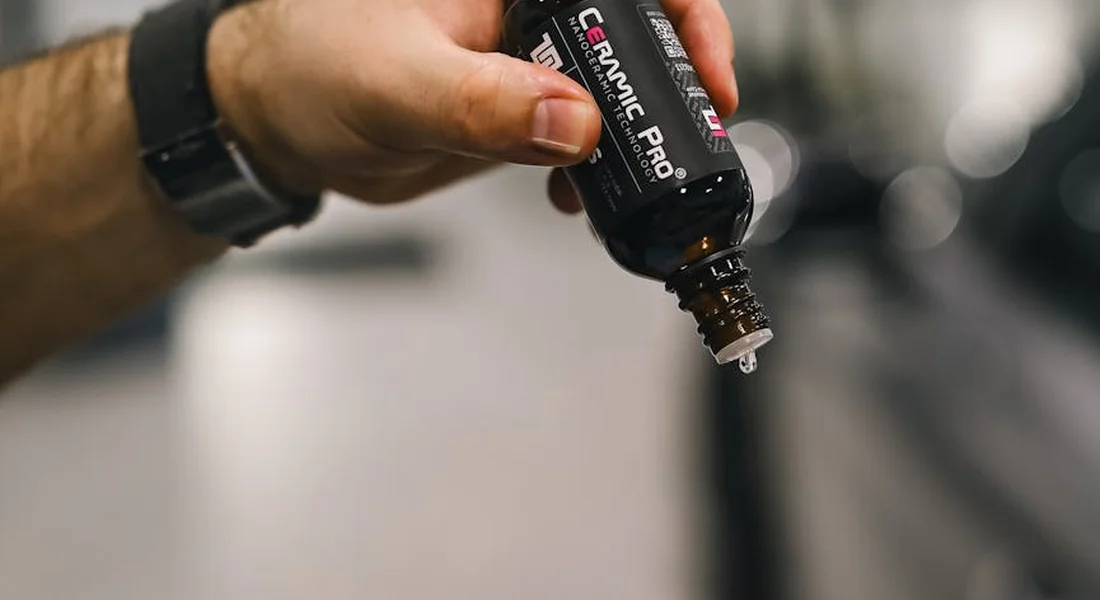
You just spent hours polishing out those scratches. The paint looks deep and clear again. The temptation is to just admire it and call the job done. I get it. I’ve been there. But the real work starts now.
Your mindset needs to shift from repair to defense. The single best scratch remover is a routine that prevents scratches from happening in the first place. Every time you touch the paint, you risk putting a new mark in it. Your goal is to make every contact as safe as possible. If a scratch still happens, quick repair techniques for car paint scratches can minimize the damage. We’ll delve into those repair options in the next steps.
Your First Line of Defense: The Wash
This is the core of everything we talk about here. A bad wash will undo all your polishing work faster than anything else. I learned this the hard way with my black BMW. One lazy wash filled it with fine swirls, putting me right back at the polishing machine.
The two-bucket method with grit guards isn’t a fancy trick. It’s basic hygiene for your paint. One bucket holds your clean soapy water. The other is just rinse water. You dip your mitt in soap, wash a section, then rinse the mitt thoroughly in the second bucket before getting more soap. This traps the dirt you just washed off so you don’t grind it back into the paint.
- Use a plush, high-quality microfiber wash mitt. It holds more soap and lifts dirt away.
- Dry with clean, soft drying towels. Don’t let water air dry and leave spots.
- Spray heavily soiled areas, like lower doors, with a pre-wash foam to loosen grime before touching it.
Think of your wash technique as the foundation your paint’s health is built on. A weak foundation makes everything else pointless.
Adding a Protective Layer: Sealants and Sprays
After you polish, the paint is bare and exposed. Applying a protective product does two critical things. It adds a slick layer that makes future washing safer and easier, and it shields the clear coat from contaminants and UV rays.
For my daily drivers, I use a synthetic sealant or a ceramic-infused spray. They last longer than traditional waxes and offer better chemical resistance. After I clean the bug splatter off the front of my white Tesla, I always give it a quick spray with a ceramic detailer. It adds protection and makes the next bug cleanup even easier.
Here is a simple comparison for after-polish protection:
The process is simple. After your final polish, use a surface prep spray or diluted isopropyl alcohol to strip any oils. Then, in a cool, shaded spot, apply your chosen protectant to one panel at a time. Follow the product’s instructions for cure time before buffing it off to a high gloss.
The Ultimate Barrier: Paint Protection Film
For scratches caused by physical impact-road gravel, shopping carts, brush-no liquid product is enough. You need a physical shield. That’s where Paint Protection Film (PPF) comes in.
I have the full front end of my red Porsche covered in a self-healing PPF. When a rock chips the film, you can often pour warm water over it and watch the mark disappear. It’s incredible. For any car, applying a partial front-end kit (bumper, hood, mirrors, fenders) is the single best investment against highway damage.
PPF is a professional-grade solution, but for a car you care about, it transforms peace of mind. It stops scratches and chips before they ever reach your paint. It’s the final, most complete step in a true scratch defense strategy.
Final Insights on Scratch Removal and Paint Care
Always let the scratch itself dictate your product choice, starting with the least aggressive option and a test spot to prevent damage. This careful approach preserves your clear coat and yields a repair that looks seamless and lasts. If the scratch persists, a light rubbing compound can help repair scratches without removing too much clear coat. Finish with a polish to restore the gloss and blend the repair for a seamless look.
Skip this discipline, and you risk adding swirls or haze to the paint, as I’ve corrected on many cars like my black BMW, turning a minor issue into a major one.
Sources and Additional Information
- 4 Best Car Scratch Removers of 2025, Tested by Experts
- Best Car Scratch Removers for 2025, Tested
- r/CarRepair on Reddit: What is the best scratch remover out there?
- Car Scratch Remover
- Amazon.com: Car Scratch Remover
Max Gunther
Max is an automotive enthusiast having worked as a car mechanical and in interior detailing service for over 25 years. He is very experienced in giving your old car, a new fresh vibe. He has detailed many cars and removed very tough smells and stains from all kinds of cars and models, always ensuring that his work and advice helps his customers. He brings his first hand experience to his blog AutoDetailPedia, to help readers breath new life into their car interiors.