How Do You Safely Clean a Car’s Touch Screen Without Causing Damage or Streaks?
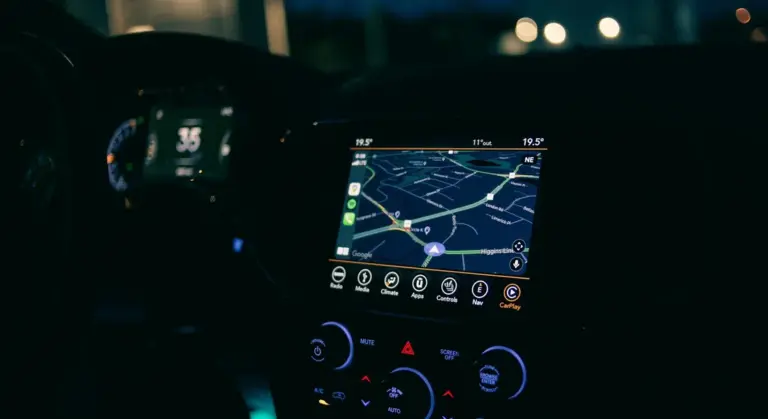
You look at the greasy fingerprints on your car’s display and worry a quick wipe will leave it hazy or scratched. I’ve had that same thought cleaning the glossy screen in my Tesla Model 3.
Here is the detailer’s method for a crystal-clear, protected finish. We will cover the only safe cleaning solutions, the specific type of microfiber cloth, a streak-free wiping technique, and what common products to avoid.
Use the wrong spray or cloth, and you can permanently etch the surface or strip its anti-fingerprint coating.
Key Takeaways: The Safe Cleaning Method in a Nutshell
Cleaning your car’s screen is a quick, ten-minute job with low difficulty. The risk comes from using the wrong stuff on the windshield.
The one rule you must never break is to use only pH-neutral, alcohol-free, and ammonia-free cleaners with a soft, clean microfiber towel.
Household glass cleaners like Windex are a hard no. They contain ammonia and alcohols that will permanently dull the anti-glare and fingerprint-resistant (oleophobic) coatings on modern screens. Once those are gone, the screen will look hazy and attract smudges forever. For other glass surfaces, such as car windows, consider safer Windex alternatives. A simple vinegar-and-water mix is a classic choice that won’t strip coatings.
The order is simple: power the display off, dust it first, mist your towel (not the screen), wipe gently in one direction, and dry it immediately with a second towel. That’s it.
The Detailer’s Arsenal: Tools and Chemicals You Actually Need
This isn’t a job for whatever rag is under your sink. Here is the professional’s kit for this specific task.
- Microfiber Towels (2x): You need plush, 300-400 GSM towels with a 70/30 polyester/polyamide blend. One is for applying your cleaner, the other is for buffing dry. This is non-negotiable for a streak-free finish.
- Soft-Bristle Detail Brush: A small, clean brush with soft, natural hair is for gently dusting around the screen’s bezel and in the vents. It loosens dust without pushing it into the screen.
- Screen-Safe Cleaner: The chemical must be explicitly formulated for coated screens and displays. Its properties should be pH-neutral (around 6.5 to 7.5), free of volatile solvents (alcohol, acetone, ammonia), and use mild surfactants.
You have a few product types to choose from.
- Ready-to-Use Sprays: These are my go-to. You get a fine-mist bottle with a perfected formula. I keep one in every car, including my Model 3 and BMW.
- Concentrated Solutions: You dilute them with distilled water. They are cost-effective for a shop or a fleet of family vehicles.
- Pre-Moistened Car Touch Screen Cleaning Wipes: These address a common FAQ. They are incredibly convenient for a quick clean on the go. The catch is quality. Low-quality wipes use rough material and a weak formula, leading to instant streaking. Only use reputable brands designed for automotive screens.
Microfiber Towels: Why GSM and Weave Matter for Streak-Free Results
Think of your screen’s coating like the soft clear coat on my black BMW. A cheap, rough towel will microscratch it just like a dirty wash mitt scratches paint. The same care should apply to your car’s navigation screen—keep it clean and protected.
A high-GSM, plush towel has thousands of fine fibers that lift and trap grease and dust, carrying it away from the surface without abrasive friction. A low-GSM towel or, worse, a paper towel, just grinds the grit around. The result is a haze of fine scratches and leftover streaks you can never fully remove.
I use a dedicated set of 350 GSM eagle edgeless towels just for interiors and screens. One towel gets lightly dampened with cleaner. The second stays perfectly dry. After wiping with the first, I immediately follow up with the dry towel to buff any residual moisture. This two-towel system guarantees a flawless, streak-free shine.
Cleaning Solutions: Decoding Labels for Screen Safety
Modern screens have delicate applied coatings. The wrong chemistry strips them right off.
- Isopropyl Alcohol: It’s a powerful degreaser. It will dissolve the oleophobic coating that repels your fingerprints, leaving the screen permanently vulnerable to smudges.
- Ammonia: It’s highly alkaline. It chemically attacks the anti-glare layer, causing it to cloud or develop a permanent etched haze.
- Harsh Surfactants & Solvents: These are the heavy-duty cleaners in all-purpose or kitchen sprays. They are too aggressive and will degrade the coating over time.
Here is a simple guide to what’s in your home right now.
| Generally UNSAFE for Car Screens | Generally SAFE if Formulated for Screens |
|---|---|
| Windex & Generic Glass Cleaners | Dedicated “Screen Cleaner” sprays |
| Rubbing Alcohol / Isopropyl Alcohol | Some interior detailer sprays (check label) |
| Household All-Purpose Cleaners (409, etc.) | Pre-moistened screen wipes from trusted brands |
| Vinegar & Water Solutions | Distilled Water (for light dusting) |
The Professional-Grade Spray: What Makes It “Screen Safe”
A true screen-safe spray is a carefully balanced cocktail. It uses mild, non-ionic surfactants to break up light oils from your fingers. The water base is deionized or distilled, meaning it has no minerals to leave spots as it evaporates. Many also include anti-static agents. This helps repel dust after cleaning, which is a nice touch I appreciate in my dusty garage.
The best products feel like you are wiping with slightly slick water, not a powerful chemical. They clean effectively without any bite or strong smell.
The DIY Alternative: A Detailer’s Recipe for Pinch Situations
If you have nothing else and must clean light dust, this is a safe, last-resort mix. It will not remove heavy grime or old fingerprints. It’s especially important to use cleaners that are safe on car paint for delicate surfaces.
Take 500ml (about 16 oz) of distilled water. Add one single drop of a pH-neutral car wash shampoo (like the one you use for a two-bucket wash). Shake gently to mix.
This creates an extremely diluted cleaner with just enough surfactant to lift dust without threatening the screen’s coatings. Spray it lightly onto your microfiber towel, never directly on the screen, and wipe. Follow immediately with a dry towel. This is for maintenance, not restoration. For built-up grime, wait until you have the proper product.
The Step-by-Step Protocol: How to Clean a Car Touch Screen Without Streaks
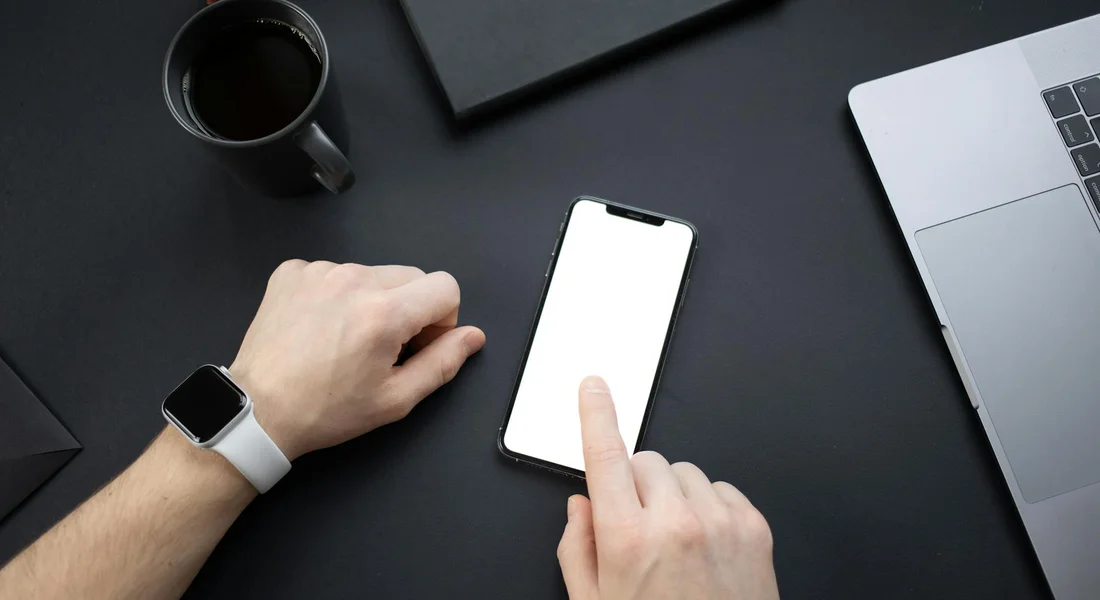
Follow this checklist. Do not skip steps. This is how you get a perfect, streak-free view every single time, whether you’re learning how to clean a car dashboard screen or a delicate digital instrument cluster.
Step 1: Power Down and Cool Off the Display
Turn the car off. I mean all the way off. No accessory power. Wait five minutes. A warm screen causes any cleaner to evaporate too fast, leaving streaks before you can buff it. A cool, black screen makes every fingerprint and smudge glow under the light, showing you exactly what needs work. More importantly, a powered-down system minimizes any remote chance of liquid causing an electrical short if it finds a tiny gap.
Step 2: Dry Dust Removal – The Most Critical Prep Step
This step prevents scratches. You cannot skip it. Grab a brand new, clean plush microfiber towel dedicated only to interior glass and screens. A dry detailing brush also works well. Gently whisk across the entire display face and the instrument panel area. You are lifting away the fine dust and sand that acts like sandpaper if you rub it with a wet towel later. My BMW’s interior collects this dust just like its paint does. Be thorough. These prep steps also set you up if you need to fix scratches on interior surfaces, helping any repair product adhere properly. A clean, dust-free base helps the repair blend with the surrounding finish.
Specific Tip for Matte-Finish Displays: Use even lighter pressure. These coatings can be softer than glossy glass and are more prone to showing micro-marring from abrasive dust.
Step 3: Apply Cleaner to the Towel, Never Directly to the Screen
This is the cardinal rule. Never, ever spray your cleaner directly onto the display. Liquid will run down the glass and seep into the seams around the edge, the bezel, or worse, into speaker grilles or ventilation slots. This is how digitizers fail. Instead, take a second clean, plush microfiber. Fold it into quarters. Give the center of the towel one, maybe two, very light spritzes of your approved screen cleaner. You want the towel damp, not wet.
Specific Tip for LCD Instrument Clusters: The same rule applies. These are often sealed units behind clear plastic, but liquid in the seams can still fog the inside or damage the housing.
Step 4: The Wiping Technique: Light Pressure and Straight Lines
Use the dampened towel fold. Gently wipe the screen using overlapping, straight-line strokes. Start at the top and move down. Use the weight of your hand, no extra pressure. Circular scrubbing is the wrong way; it creates swirls you will see in certain light, just like on black paint. For the edges, use a corner of the folded towel with careful dabbing motions.
When you need to clean car instrument cluster gauges, use the same straight-line motion. Be extra gentle around painted markings and needles. You are cleaning the clear lens over them, not the gauges themselves.
Specific Tip for Capacitive Touchscreens: Glossy screens benefit the most from this straight-line method. It aligns any microscopic residues in one direction, making the final buffing step far more effective for a streak-free, fingerprint-resistant finish.
Step 5: Immediate Dry Buffing for a Crystal-Clear Finish
Do not wait. Immediately grab your first, dry, dedicated microfiber towel. Unfold it to a fresh, clean section. Using the same light pressure and straight-line strokes, buff the entire surface you just cleaned. This is the magic step. This action lifts any remaining cleaning solution and polishes the surface to a perfect, crystal-clear, streak-free shine. If you see a streak, your first towel was too wet. Buff it again with the dry towel.
What Not to Do: Products and Techniques That Damage Displays
I have seen the results of these mistakes in my own shop. They range from permanently foggy screens to destroyed anti-fingerprint coatings. Let’s debunk the myths clearly.
- Paper towels or napkins: Their wood fibers are abrasive. They will scratch.
- Household glass cleaner (like Windex): A definite no. We’ll explain below.
- Household disinfectant wipes or sprays: Harsh chemicals that degrade coatings and plastics.
- Vinegar/water solutions: Acidic and can damage coatings over time.
- Compressed air cans: Can force dust and moisture deeper into seams and, if held at an angle, spray freezing propellant onto the screen.
The Household Glass Cleaner Trap: Why Windex is a Worst Enemy
You asked, “Can I use Windex?” The answer is a firm no. Can you use alcohol wipes? Also no. Here is why. Most modern automotive touchscreens have a delicate oleophobic coating. This is the layer that makes fingerprints somewhat easy to wipe away. Household glass cleaners contain ammonia and/or alcohols. These solvents are designed to cut heavy grease on home windows. On your car’s screen, they actively dissolve that protective oleophobic coating. Just like rubbing alcohol can harm car paint, it can also damage touchscreens. Once it’s gone, it’s gone for good. The screen will become a permanent fingerprint magnet, smearing with every touch. I learned this the hard way on an old tablet. Do not let it happen to your $2,000 car display.
Bad Techniques: Over-Spraying, Scrubbing, and Ignoring Edges
Bad technique causes most physical damage. Over-spraying liquid creates runs. Those runs find their way into the electronics behind the dash. A small drop in the wrong place can kill a touch sensor. Hard, circular scrubbing, especially with a slightly dirty towel, will instill fine micro-scratches. These scratches glow like a halo in sunlight, obscuring your display.
Finally, never use the same towel for your screens and your interior plastics. That towel you just used to wipe dirt from the dashboard? It now has invisible grit in its fibers. If you then use it on your screen, you are sanding it. My Odyssey’s interior taught me this lesson. One towel for screens. Separate towels for plastics, leather, and carpets. This simple habit keeps every surface in your car looking its best.
Troubleshooting Stubborn Smudges and Built-Up Grime
Sometimes, a screen gets beyond the light dusting stage. I see it in my grey Honda Odyssey, the “Kid Hauler,” after a month of soccer practice and drive-thru dinners. The screen has a sticky, cloudy film from little fingers and sunscreen. How do you treat stubborn fingerprints or smudges? You start gentle and only get more aggressive if you must.
For a neglected screen, follow this graduated approach to lift grime without risk. First, try the standard method with a clean, damp microfiber and distilled water. If smudges remain, spray your towel lightly again and let the moisture dwell on the spot for ten seconds before wiping. For thicker buildup, fold your towel to a clean side and repeat the damp wipe two or three times across the entire surface. As a last resort for vehicles that have never been cleaned, you can use a handheld garment steamer. Hold it a foot away from the screen and move it quickly, letting the mild, vaporized heat loosen the grime. Immediately follow with a dry microfiber to wipe the surface clean. Never let water pool or sit on the edges, especially when cleaning car windows.
For Sticky Fingerprints and Sunscreen Residue
Sunscreen and lotion leave a greasy, translucent film that smears. Your best tool here is patience, not a stronger chemical. Use a microfiber cloth slightly dampened with pure distilled water and press it against the sticky area for twenty seconds before wiping. The extra dwell time lets the water soften the oils so they lift away cleanly. If one pass does not work, refold your towel to a fresh, damp section and repeat. Rubbing hard will not help and might scratch the anti-glare coating. This same method can keep sunscreen off car seats and dashboards, leaving interiors clean and fingerprint-free.
For Hardened Sap or Glue Residue (From Old Screen Protectors)
This is for adhesive left behind from a ripped-off screen protector or a drop of tree sap. You must be careful. Apply a tiny drop of 70% isopropyl alcohol to a corner of a microfiber towel, then dab it only on the sticky spot. Do not spray the screen. Gently rub the spot for a second or two. Immediately, use another part of your towel dampened with distilled water to rinse the area, then dry it thoroughly with a clean, dry cloth. This is a last resort. Test in an inconspicuous corner first if you can. Higher concentrations of alcohol can damage screen coatings.
Keeping It Clean: Maintenance and Protection for Your Digital Dash
Long-term care is about preventing the hard work. How often should you clean? Should you use a protector? From my experience with all my cars, a simple routine keeps screens pristine. For dashboards, a dashboard cleaning protection product can reduce fingerprints and glare. It also makes routine care faster and more effective.
I recommend a quick, dry microfiber dusting once a week and a full damp cleaning every two to four weeks. This routine stops grease and dust from baking into a layer that requires heavy cleaning. For protection, consider an anti-glare screen protector cut for your model. They are like phone screen protectors for your car. The pro is that they take the abuse from fingernails and keys, and you can replace them. The con is that cheap ones can feel rubbery and reduce touch sensitivity. If you apply one, ensure the screen is impeccably clean first to avoid trapping dust bubbles.
Establishing a “No Eating with Greasy Fingers” Rule
This is the most effective maintenance tip from the Odyssey. The best way to reduce cleaning frequency is to keep greasy hands off the screen entirely. I keep a pack of napkins or a small towel in the center console. Before anyone touches the navigation or radio after eating fries, they wipe their fingers. It sounds simple, but this habit cuts down on the oily fingerprints that are hardest to remove. For kids, I keep non-greasy snacks like apple slices or crackers within reach instead of cheesy chips.
Applying a Screen-Safe Anti-Static Spray for Maintenance
After a perfect clean, you can make the next one easier. A light mist of a dedicated anti-static spray on a dry microfiber, wiped onto the screen, will repel dust and lint for weeks. I use a product made for electronics or clean room lenses. It leaves no residue. You must contrast this with using interior dressings, vinyl protectants, or waxes. Those products will cause severe smearing and a greasy film that attracts more dirt. They are for dash plastics, not your sensitive digital display.
Your Touch Screen, Properly Cared For
The entire process boils down to two things: the right microfiber and the right cleaner. Treat that screen like your favorite pair of glasses-gentle pressure with a clean, soft cloth made for the job is all you need.
Ignore these simple steps, and you are just rubbing grit and harsh chemicals into a surface designed to be touched, which is a fast way to etch in permanent micro-scratches or a hazy film. If you’re facing minor scratches, a DIY approach can often restore the finish without harsh abrasives. See how to remove minor scratches diy in the next steps.
Expert Resources and Citations
- Your Car’s Touchscreen Is Dirtier Than You Think-Here’s How to Clean It Safely
- How to Clean Touchscreens in Cars | Dr. Beasley’s
- Amazon.com: Car Touch Screen Cleaner
- How to clean your car touch screen
- How to Clean Touch Screen in Car | Chemical Guys
- How Do I Clean My Car’s Touchscreen?
Max Gunther
Max is an automotive enthusiast having worked as a car mechanical and in interior detailing service for over 25 years. He is very experienced in giving your old car, a new fresh vibe. He has detailed many cars and removed very tough smells and stains from all kinds of cars and models, always ensuring that his work and advice helps his customers. He brings his first hand experience to his blog AutoDetailPedia, to help readers breath new life into their car interiors.