What’s the Real Cost to Paint or Repair a Car Door in 2024?
A damaged car door throws off your whole ride’s look, and the bill to fix it can be a nasty shock.
This guide walks you through the detailing-focused options and prices. We will cover paint correction versus a full respray, vinyl wrap costs, clear coat blending, and paint protection film for repaired areas.
Skip this advice, and you risk a blotchy paint match or wasting money on a repair that fails quickly.
Key Takeaways: The Real Cost to Fix a Car Door
Let’s cut straight to the numbers. These are average professional shop rates I’ve seen across the country, based on my conversations with other detailers and body shop pros.
If you’re thinking of doing it yourself, your cost range is $50 to $200 for primer, color-matched paint, clear coat, sandpaper, and masking supplies. Affordable diy car painting methods can help you maximize results without a huge budget. With careful prep and technique, you can still achieve a solid finish. The real trade-off isn’t money, it’s the time spent learning and the risk of a finish that looks DIY-think orange peel texture or mismatched color.
Can you paint just one car door? Technically, yes. But getting the new paint to vanish into the old is the hard part. Sun-faded paint on the rest of your car makes a fresh door look like a bright patch. Modern metallics and tri-coat pearls are even tougher to match perfectly from panel to panel. That’s why blending is standard practice.
Remember, this guide is about the paint, clear coat, and surface. We’re talking detailing-level repair. If your door hinge is broken or the window regulator is shot, that’s a mechanical fix with a different price tag.
What Drives the Price? Factors in Door Painting and Repair
You’re not paying for just paint. You’re paying for skilled labor, the materials, and the complexity of your specific door. Let’s break it down.
Labor is the biggest chunk. A pro spends hours sanding, masking, cleaning, and spraying. A door with a simple, flat surface is quicker than one loaded with character lines, a flush-mounted handle, or a side mirror that needs to be removed.
Paint type changes the cost. Single-stage paint (common on older cars and some trucks) is generally cheaper to spray than a modern basecoat/clear coat system. But that modern system is what gives you that deep, glossy shine. Specialty colors like tri-coat pearls or chromaflair effects cost more per ounce and require more skill to apply evenly. When you’re deciding which car paint types to choose, you weigh cost, durability, and the look you want. Understanding how each option performs helps you pick the right type for your vehicle.
Look at the level of damage. A light scratch that hasn’t broken through the clear coat might polish out for a couple hundred bucks. A deep dent that needs metal work, body filler, and extensive sanding before paint can triple the price. Rust repair is a budget-killer because it’s not a surface fix; it’s cutting out bad metal and welding in new, which demands a whole different skill set and time.
Your car’s color and age are huge factors. Matching the vibrant red on my 1995 Miata’s single-stage paint is a different challenge than matching the Jet Black on my BMW, which shows every flaw. As paint ages and fades, even factory paint codes can be off. A pro will often do a test spray and adjust the formula.
FAQs pop up here. When people ask about “car door posts,” in detailing, we think of the door jambs-those hidden areas that collect grime. A proper paint job includes cleaning and painting the door edge and jamb, which adds labor. Understanding “car door construction” matters for us when we need to remove a panel to clean behind it or apply a ceramic coating evenly.
Cost Spotlight: Painting One Door vs. Blending Adjacent Panels
Painting just the door often isn’t enough. Imagine trying to patch one single square on a checked shirt with a new piece of fabric. Even if the pattern is right, the transition will scream “patch.”
To hide the repair, a painter will “blend” the new color by feathering it onto the adjacent fender and rear quarter panel. This softens the transition so your eye doesn’t see a hard line. It means more masking, more materials, and more labor, which is why a one-door job often costs as much as it does.
Now, painting two doors on the same side. The painter is already set up with the color mixed, the spray booth ready, and the blending process started. Adding the second door involves prep work, but not double the overall effort. That’s why the price for two doors isn’t simply twice the price of one. You might see quotes like $450 for one door, but only $650 for two on the same side.
The Hidden Fees: Door Removal, Trim, and Reassembly
A cheap, fast job sprays over everything. A proper job takes things apart. That costs more.
Pros charge for the time to remove door handles, side mirrors, trim moldings, and sometimes even the door card (interior panel) to protect it. If they don’t remove these parts, you get paint buildup on edges and seams, which looks terrible and can cause issues later. Each piece adds maybe 15 to 30 minutes of labor to the bill.
Painting the door edge and the jamb is non-negotiable for a quality finish. It prevents a glaring unpainted line when the door is open. This is extra detail work that bumps up the labor time.
When everything goes back together, it’s a prime chance for interior care. I always take the moment to clean the door control panel, switches, and the area around the window switches with a gentle interior cleaner and a soft brush before reassembly. It’s a small step that makes the whole job feel complete.
Professional Service vs. DIY: Breaking Down the Value
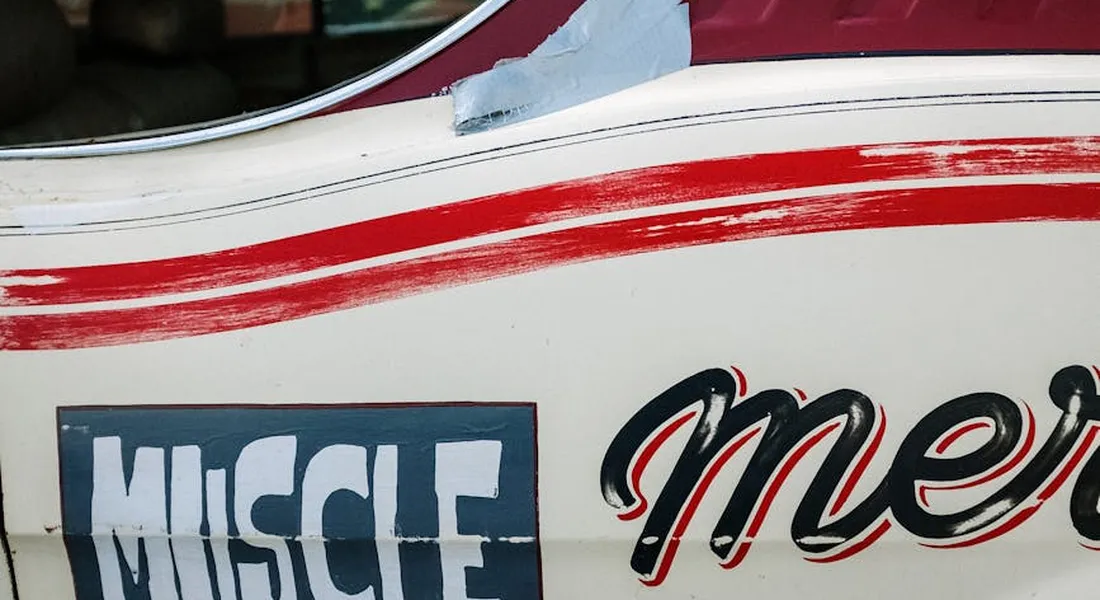
This is the choice that keeps car owners up at night. Is it worth the savings to try it yourself, or is a pro the only way to get a result you can live with?
What a Professional Finish Actually Looks and Feels Like
Close your eyes and run your hand over a factory-fresh door panel. It feels like glass, cold and perfectly smooth. The reflection is deep, with no waviness or distortion. That’s the goal. A professional shop uses a spray booth to bake the clear coat, which hardens it like candy shell. This finish is durable and has a deep, liquid gloss.
Typical DIY results feel different. They often have an “orange peel” texture, like the skin of the fruit, because the paint wasn’t atomized finely enough. You might feel dust nibs, tiny hard specks that landed in the wet paint. A true professional job doesn’t end with paint; it includes a final machine polish to remove any imperfections and often a layer of protection, steps a tired DIYer is likely to skip.
How to Paint Just One Car Door: A Detailer’s Method
If you have detailing experience with a polisher and understand paint correction, you have a foundation. This is for the committed DIYer. Safety first: wear a proper respirator with organic vapor cartridges, nitrile gloves, and eye protection. Work in a ventilated, dust-free space.
- Assessment. Is the damage just a deep scratch or a dent? If the metal isn’t deformed and the scratch doesn’t go to bare metal, a touch-up pen and careful sanding may suffice. If you see primer or metal, you need a full respray.
- Meticulous Prep. Wash the entire door and surrounding area. Decontaminate with a clay bar to remove bonded grit. This is non-negotiable. Mask off the entire car with plastic sheeting, leaving only the door panel exposed. Remove the door handle if possible.
- Sanding and Priming. Feather the damaged area (explained below). Sand the entire repair zone with 500-600 grit to give the primer “tooth.” Apply primer in thin, even coats, sanding smooth with 800 grit when dry.
- Applying Paint and Clear. Shake your spray can in warm water for 5 minutes. Apply the base color in 3-4 mist coats, letting each flash off for 5-10 minutes. The goal is to build color slowly, not to get full coverage with the first heavy coat. Once color is even, apply 2-3 coats of clear, again in thin layers.
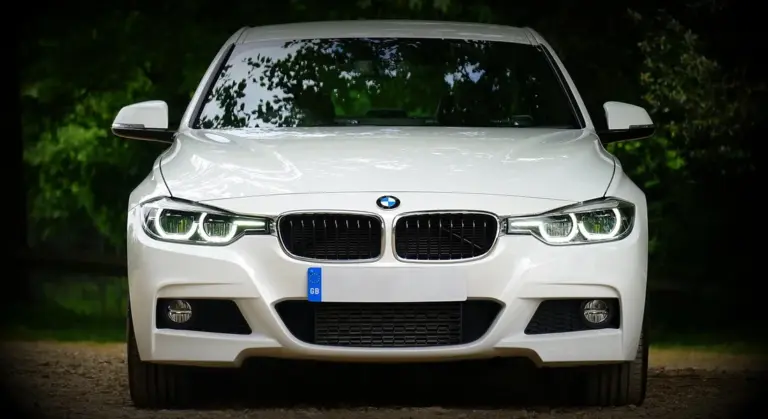
Let’s talk about my 2016 BMW 3 Series, Jet Black. It’s a swirl magnet. Matching this color is a nightmare. Factory black has specific metallic flake and toners. A spray can from the parts store will rarely match perfectly, often looking too flat or too metallic. Black also shows every flaw in the clear coat. This is the hardest test for a DIY paint job.
The final, most critical detailing steps are what separate a hack job from something passable.
- Wet Sanding and Compounding. After the clear coat cures for at least 24 hours, wet sand the entire painted area with 2000 then 3000 grit sandpaper to level the orange peel. This will look horrifyingly dull. Then, use a dual-action polisher and a heavy-cut compound to restore gloss, removing all sanding marks.
- Polishing and Sealing. Follow with a fine polish to refine the gloss. Finally, apply a durable paint sealant or ceramic coating to protect the fresh, soft paint.
The Art of Sanding and Feathering Edges
Feathering is the technique of sanding the edge of the repair so it tapers off seamlessly into the surrounding good paint. If you don’t feather, you’ll feel a hard ridge and see a visible line. Start sanding the damaged area with a block and 320 grit. As you move outward, lighten your pressure dramatically over a 2-3 inch border. Then, move to 500 grit over a wider area to blend those sanding marks. The transition from repaired paint to original paint should be smooth to your fingernail, not a cliff.
My grit sequence: 320 (for serious leveling), 500 (feathering), 800 (pre-primer), 2000 (post-clear leveling), 3000 (final finish sanding). The constant danger is burning through. Clear coat is thin. Color coat is thinner. Once you hit gray primer on a sand-through, the repair grows. Go slow. Keep the sandpaper and panel wet. Check your progress often.
Curing, Polishing, and Protecting Your New Paint
Fresh paint and clear coat are soft. They off-gas and shrink as they cure. Do not wrap or wax them too soon, especially when it’s a new paint job. Give it a full 30 days before applying a durable sealant or ceramic coating. You can wash it gently after 7-10 days. This patience prevents trapping solvents and ruining the finish.
The machine polishing step is where detailing skill pays off. Using a dual-action polisher with a medium-cut foam pad, work the compounding polish in slow, overlapping passes until the haze clears and gloss returns. Wipe clean and inspect under a bright light. Then change to a finishing pad and polish to a jewel-like shine.
For protection, think long-term. A synthetic sealant is great. For my 2022 Porsche 911, the Garage Queen, I use a professional-grade ceramic coating. It locks in the gloss and provides years of chemical and UV resistance. Ceramic coating for car paint protection is a trusted option for maintaining that showroom look longer. It forms a durable, protective layer that helps resist chemical stains, UV damage, and wash scratches over time. Protecting your hard work is the final, essential step in any paint repair, DIY or pro.
Paint Damage Prevention: How to Avoid Needing a Repaint
I think about my Jet Black BMW 3 Series, the “Swirl Magnet,” every time I park. Its doors are a history of close calls. Preventing damage is always cheaper and easier than fixing it. The most common enemies of your door’s paint are predictable but relentless.
- Shopping Carts: The classic offender. A direct hit can chip down to bare metal.
- Door Dings: From neighboring cars in parking lots. They create small dents and cracked paint.
- Key Scratches: Vandalism aside, keys or belt buckles brushing the door cause fine, deep scratches.
- Environmental Fallout: This is the silent killer. Brake dust, industrial pollution, and tree sap bond to your clear coat and etch it if left alone.
The single best preemptive investment you can make is Paint Protection Film (PPF) on the door edges or a full frontal wrap. On my Porsche 911, I have a full front wrap. It absorbs the impact of road debris and heals from light swirls with heat. For daily drivers, a 6-inch strip of PPF along the door’s leading edge is a game-changer against parking lot chips.
Your wash technique decides your paint’s future. Instilling swirls in your car paint is like giving yourself a thousand tiny scratches. I only use the two-bucket method, proven on my BMW. One bucket has your soapy wash solution. The other is filled with clean water for rinsing your mitt after every panel pass. This traps dirt in the rinse bucket, not back on your paint.
Contaminants are a race against the clock. Bird droppings and tree sap are acidic. Remove them quickly. Soak a microfiber towel in quick detailer spray, lay it over the spot for a minute to soften it, then gently wipe it away. For stubborn, baked-on brake dust, a dedicated iron remover spray dissolves the particles so they rinse off without scrubbing.
Cleaning and Protecting Door Jambs and Contact Points
Door jambs, hinges, and the area around handles get filthy. Grease, road grime, and fingerprints build up. This grime increases friction on rubber seals and can accelerate corrosion on bare metal spots. It also makes your fresh paint job look incomplete.
Clean them during every wash without making a mess. After washing the car’s exterior but before you dry it, open all doors. Use a separate, soft microfiber towel damp with your rinse bucket water or a diluted all-purpose cleaner. Wipe down the jamb surfaces, hinges, and the door’s edge. Close the door to check for drips before drying the rest of the car. This prevents water streaks on your clean paint.
Once clean and dry, protect these areas. A simple spray wax or silicone-free quick detailer applied to a towel, then wiped on the jambs and door edges, adds lubrication. This reduces wear on the seals and creates a barrier against moisture and salt. On my F-150’s hinges, this routine keeps them moving smoothly through a muddy winter.
If your car door controls feel sticky or stop working, the issue is often inside. Spilled soda or coffee gumming up the window switch is common. First, disconnect the car battery for safety. Use a plastic trim tool to gently pop the switch panel out. Clean the electrical contacts with a cotton swab barely dampened with isopropyl alcohol, let it dry completely, and reconnect. For the exterior handle or keyless entry pad, a wipe with isopropyl alcohol removes residues that can interfere with the sensor.
Product Tier List: Gear for Door Repair and Protection
Not every job needs a show-car product. This tier list helps you match the tool to the task, whether you’re restoring a classic or maintaining a daily. Always work in a well-ventilated area and wear appropriate gloves and a respirator when sanding or spraying.
Budget / Functional Tier
This is for the functional repair on a workhorse vehicle or a first attempt. Think of my 1995 Mazda Miata restoration. The goal is cost-effective correction and decent protection.
- Touch-Up Paint: Dealer-provided touch-up pen or bottle. Match is usually good, application can be tricky.
- Clear Coat: Aerosol spray can clear coat from an automotive store.
- Sanding: Assorted grit wet/dry sandpaper (1500-3000 grit) and a cheap sanding block.
- Polishing: Hand-applied rubbing compound and polishing cream from a mainstream brand.
- Protection: A long-lasting synthetic spray sealant or a basic ceramic spray coating.
- Key Tool: A hand-held sanding block and a pack of quality, but affordable, microfiber towels.
Enthusiast / Reliable Tier
This is my most-used tier for personal vehicles like the BMW and F-150. It balances professional results with realistic cost and effort.
- Touch-Up Paint: Premium brush-in-cap systems or dedicated touch-up kits with finer applicators.
- Clear Coat: Professional 2K (two-component) aerosol clear coat in a can with a built-in hardener. This requires serious respiratory protection.
- Sanding: Interface pads for a dual-action polisher and a range of grits for more controlled leveling.
- Polishing: A compact dual-action polisher with a set of foam pads and a multi-step compound/polish system.
- Protection: A professionally-formulated ceramic coating or high-end hybrid ceramic wax.
- Key Tool: A reliable dual-action polisher and a set of dedicated polishing and finishing pads.
Show Car / Best Possible Tier
This is for concours-level work or high-value vehicles like the Porsche 911. The goal is absolute perfection and maximum durability.
- Touch-Up Paint: Custom-mixed paint and clear coat applied via professional detail airbrush systems.
- Clear Coat: Professional shop-grade spray gun application in a controlled booth environment.
- Sanding: Forced rotation polisher with wool pads for serious defect removal, followed by fine foam pads.
- Polishing: Multi-step, jeweling polishes designed for specific paint types and hardness levels.
- Protection: Multi-year professional-grade ceramic or graphene coatings, or self-healing top-tier PPF.
- Key Tool: Infrared cure lamp to properly harden paints and coatings, and a selection of ultra-plush, lint-free microfiber towels for final wipe-downs.
The Detailer’s Kit for Interior Door Panel Care
After the exterior is perfect, the inside of the door deserves equal attention. Spills and UV damage happen here. You need the right cleaners for each material.
For general vinyl and plastic, a pH-neutral interior cleaner is safe. Agitate with a soft bristle detail brush. For the “Vegan Leather” in my Tesla Model 3, I use the same gentle cleaner. Avoid harsh conditioners meant for real leather, as they can leave a greasy film on synthetic materials.
Cleaning door control panels requires a light touch. Never spray liquid directly onto switches or speakers. Spray your cleaner onto a microfiber towel first. Wipe the panel gently. Use a soft-bristle brush to clean around buttons. For stubborn gunk in crevices, a cotton swab works.
Sun fades and cracks interior plastics. If the vinyl trim is faded, restoring faded car vinyl plastic trim can revive its color before applying protection. After cleaning, apply a UV protectant to all interior trim, especially the upper door panel and armrest. A matte-finish protectant prevents a shiny, greasy look. This simple step keeps your interior from looking aged long after the paint is repaired.
Smart Care After a Door Repaint
Your top priority after a door paint job must be shielding that fresh finish with a professional sealant or ceramic coating. That protection also guards against environmental damage—UV rays, acid rain, and pollutants that dull and degrade paint. I apply this rule to every vehicle I own, from my salt-coated F-150 to my showroom Porsche, to lock in gloss and block contaminants.
Fail to protect it, and sun, road salt, and acid rain will quickly haze and etch the new clear coat.
Expert Resources and Citations
- Car Door Replacement: Cost, What to Consider, and Door Type Guide – In The Garage with CarParts.com
- How Much Does It Cost To Replace A Car Door?
- Car Door Damage Repair Costs: What To Expect
- 2 Car Garage Door Replacement Cost (Costs in 2024 Revealed)