How Do You Safely Remove Spray Paint, Graffiti, or House Paint from Your Car?
Finding foreign paint on your car is a violation. You need a plan that gets it off without taking your finish with it.
We will cover identifying the paint type, selecting the correct, gentle solvents, the step-by-step wipe-down and clay process, and how to seal the surface afterward.
Attack it with aggression or the wrong chemical, and you will scratch or chemically burn the clear coat.
Key Takeaways: What This Process is All About
Seeing a splatter of paint on your car feels like a punch in the gut. I have been there. Your first thought is to wipe it off right now. Do not do that. The core philosophy for saving your finish is patience and the exact right order of operations. Skipping steps or rushing is how you turn a surface mess into a permanent scratch.
This rule is not a suggestion. Always, always use the least aggressive method first. I live by this with my Jet Black BMW, the swirl magnet. One impatient move with a harsh pad and you will see the mark forever. Start gentle. You can always get more aggressive later.
Keep your goal clear. This is a surface contamination removal job, not a paint repair. You are lifting something off the top, like cleaning sap off a window. You are not sanding and repainting the door. That mindset keeps you safe.
Here is my quick, general method for any paint removal. Identify the type of paint. Wash the area thoroughly. Attack it with a dedicated chemical remover. Gently lift any residue mechanically. Polish the spot to restore clarity. Protect the area with a sealant. Follow these steps in order.
First, Assess the Enemy: What Kind of Paint is on Your Car?
Get close and look. Run a fingertip over it lightly. What do you feel? Spray paint, like from a vandal, usually lands as a fine mist of tiny dots. It feels like gritty sand on the surface. Graffiti is often thicker, with clear brush strokes or lines you can see and feel. House paint, typically latex, splatters in soft droplets or drips that dry into rubbery blobs. Expanding foam is the worst. It starts sticky and expands into a hard, crusty nightmare that grips your paint.
My grey Honda Odyssey, the kid hauler, once sat under a fine mist of overspray from a neighbor’s fence project. It was white latex, still fresh. Identifying it as fresh house paint told me exactly how to start.
Age matters more than you think. Fresh paint, still soft or tacky, might wipe off with a cloth and some detailing spray. Paint that has baked in the sun for weeks has fully cured. It bonds to your clear coat like glue. Fresh contamination is always easier and safer to remove than baked-on paint.
Each type has a different risk level. Thin spray paint can sometimes be dissolved easily, but some formulas can stain. Thick graffiti may require more mechanical work, raising the scratch risk. Latex house paint is often water-based and responds well to specific solvents. Expanding foam can actually pull your clear coat up if you peel it. Knowing your enemy tells you how much risk you are facing and what tools to grab first.
The Detailing Mindset: Your Order of Operations Checklist
You cannot rush this. I have tried. On my old Miata’s fender, I once got impatient with some overspray. I skipped a step and ended up creating more work for myself. Follow this list like a recipe. Deviate, and you risk turning a surface contaminant into a permanent scratch.
1. Park in Shade & Cool Surface
Heat is your enemy. Working on a hot panel makes solvents evaporate too fast and can soften your car’s clear coat, making it easier to mar. Direct sun on dark paint, like my black BMW, can make a panel too hot to touch in minutes, turning a simple cleanup into a guaranteed swirl mark. Find shade. Wait for the metal and paint to cool to the touch. If you must work in a sunny driveway, do one small section at a time and keep the rest of the car covered with a damp towel.
2. Identify & Test
Is it spray paint, a latex house paint splatter, or a thick enamel? Press your fingernail against it gently. Does it feel rubbery and peel slightly? That’s often latex. Is it a hard, glossy shell? That’s likely a cured spray paint or oil-based paint. Your approach starts the same: with a test. Pick a hidden spot, like the edge of a door jamb or under the rear bumper. Apply a dime-sized amount of your chosen solvent on a microfiber towel. Gently rub for a few seconds. This test tells you two things: if the solvent works and, more importantly, if it will harm your paint or trim. No damage? Proceed. Any cloudiness or discoloration? Stop. You need a milder product.
3. Initial Wash
This step is non-negotiable. You must wash the entire panel, not just the painted spot. Any dust, grit, or road salt sitting around the area will get caught under your towel or clay bar and grind into the finish. I use the standard two-bucket method with a high-lubricity shampoo. Your goal is to start with a perfectly clean, contaminant-free surface so the only thing you’re fighting is the foreign paint. Dry the area thoroughly with a clean, plush drying towel.
4. Chemical Attack
Now you use the right solvent. Do not scrub. Soak a small, folded section of a microfiber towel with your automotive tar and adhesive remover. Lay the soaked towel directly onto the paint splatter. Let it dwell. For a fresh latex splatter, 30 seconds might do it. For a baked-on spray paint tag, let it sit for two to three minutes. The solvent needs time to break the chemical bond. Think of this as letting the product do the hard work of dissolving the contaminant so you don’t have to apply force to remove it. After it dwells, gently wipe. You should see color transferring to your towel.
5. Mechanical Lifting
Even after the solvent, a thin film or stubborn bits will remain. This is where clay comes in. Spray a generous amount of detailing spray lubricant onto the area. Knead your clay bar until it’s soft, then flatten it into a pancake in your hand. Glide the clay back and forth with light pressure. You will hear and feel a light scraping sound as the clay grabs the microscopic paint particles and pulls them from the pores of your clear coat. Frequently fold the clay to expose a clean surface. For larger areas, a synthetic clay mitt works faster on my F-150’s big flat doors.
6. Polish & Refine
Claying, even done perfectly, can leave behind very light marring or “clay haze.” On white or grey cars, you might not see it. On my black BMW or the red Porsche, it’s obvious under garage lights. This needs a polish. Use a fine, finishing polish and a soft foam applicator pad by hand. Work it in a small, overlapping circular pattern until the haze disappears. This step restores the optical clarity and deep gloss that the clay barring process slightly dulled. Wipe off the residue with a clean microfiber.
7. Protect
You have just deep-cleaned and potentially polished the paint. Its protective wax or sealant layer is gone. It is naked and vulnerable. Final wipe the area with a diluted isopropyl alcohol mix (10-15%) to remove any last oils or polish residues. Then, immediately apply your favorite sealant, spray wax, or ceramic detailer. This final step locks out new contaminants and gives you a slick surface that makes future cleanups much easier. On my daily drivers, I keep a bottle of spray sealant in the garage for exactly this kind of job.
Gathering Your Arsenal: The Right Tools for Paint Removal
Using the wrong tool here does not just fail. It causes permanent damage. I have seen people use gasoline and a razor blade on a door. It looked like a cat fought a zipper on the paint. Do not be that person.
What You MUST Have
- Automotive Tar, Glue, and Adhesive Remover: This is your primary solvent. Brands like Stoner Tarminator or CarPro TarX are formulated for automotive clear coats. They are stronger than a detail spray but safer than hardware store chemicals.
- Detailing Clay Bar or Synthetic Clay Mitt: Your mechanical removal tool. A traditional clay bar is great for small, precise areas. A synthetic clay mitt or towel is better for large panels, like when my Odyssey got overspray from a fence project.
- Premium Lubricant Spray (Quick Detailer): Do not clay dry. You must use a dedicated lubricant. A waterless wash solution can work in a pinch, but a slick quick detailer is best.
- Plush, Clean Microfiber Towels: You need several. Use thick, 500 GSM towels for drying and applying solvent. Use softer, 300 GSM towels for final buffing and polish removal.
- Isopropyl Alcohol (IPA): For the final wipe-down before protection. Dilute it 1 part IPA to 6 parts distilled water in a spray bottle.
What You MUST NEVER Use
- Acetone, Lacquer Thinner, or Gasoline: These are paint strippers. They will melt your car’s clear coat on contact, leaving a permanent, cloudy stain. The damage is instant and often irreparable without a full repaint.
- Generic “Goof Off” or Graffiti Removers: These are too aggressive and unpredictable. They can melt plastic trim, discolor paint, and leave behind a residue that stains.
- Steel Wool, Razor Blades, or Abrasive Scrub Pads: These are for sanding, not detailing. They will scratch your finish down to the primer in a single, careless swipe. Even “fine” steel wool is a bundle of tiny knives on your paint.
Think of a dedicated car paint removal tool as a system: the right solvent plus the right clay. This professional combo is designed to work together safely. For removing stains and contaminants from car paint, a deliberate, controlled approach protects the finish. Home remedies like nail polish remover or brake cleaner are a gamble with your car’s finish as the bet.
Safety is Not Optional
Wear nitrile gloves. These solvents will dry your skin out and can cause irritation. Get the kind that go up your forearm a bit. Safety glasses are cheap. Getting a drop of solvent flicked into your eye is painful and dangerous. Protecting yourself lets you focus on protecting the car. Work in a well-ventilated space. The fumes from these products are strong.
The Core Removal Process: A Step-by-Step Walkthrough
Step 1: The Critical Pre-Wash and Test Spot
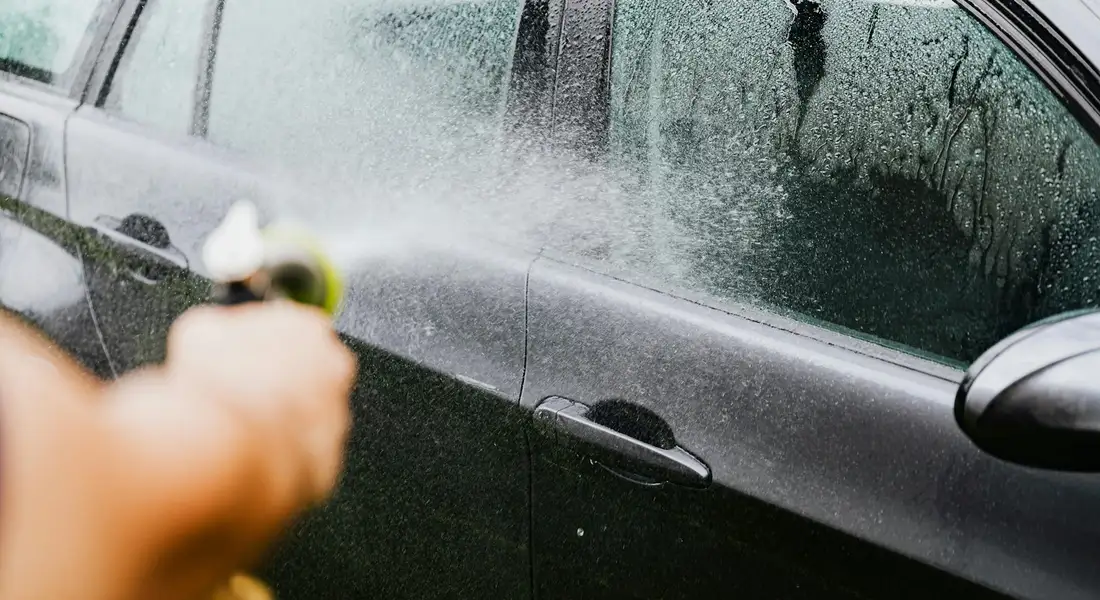
You cannot rush this. Dirt and grit on the surface will turn your clay bar into sandpaper. I wash the entire vehicle first, or at minimum, the affected panel, using my standard two-bucket method. For my black BMW, this is non-negotiable. I use a high-lubricity shampoo and a clean microfiber mitt, rinsing thoroughly.
Before you touch any solvent, you must do a test spot in a hidden area. This is your insurance policy. Spray a small amount of your chosen paint remover or tar remover on an inside door jamb, under the trunk lid, or behind a door handle. Let it sit for the recommended dwell time, then wipe it off. Wait a minute. Look closely for any cloudiness, discoloration, or texture change on the clear coat. If the test area looks fine, you are cleared to proceed on the visible paint.
Step 2: Chemical Warfare – Applying the Remover
Work on a cool, shaded surface. Apply your solvent directly to a small, manageable section-about two square feet. I use a dedicated microfiber applicator or just spray it on. The goal is to soak the foreign paint, not your car’s clear coat.
Dwell time is everything. Fresh latex house paint might start to wrinkle in 30 seconds. Dried spray paint or graffiti may need two to three minutes. Cured oil-based paint could take longer. Do not let the product dry. You will see the offending paint start to soften, blister, or become gel-like.
People ask if a car paint removal pressure washer can solve this. It cannot. High-pressure water will not dissolve dried paint. Blasting fresh spray paint or foam with high pressure will often force it deeper into the texture of your clear coat, making removal far harder and risking etching. The pressure washer is for rinsing, not for chemical-level cleaning. When it comes to removing dried paint from car surfaces, it’s best to use specialized products and techniques.
Step 3: The Clay Bar Lift – Gentle but Firm Physical Removal
This is the hands-on part. Knead your clay bar until it is soft and pliable. Flatten it into a pancake that fits comfortably in your palm. You need generous lubricant-use a dedicated clay lube or a very soapy water solution in a spray bottle. Flood the area.
Glide the clay bar over the softened paint with light to medium pressure. You will feel a tacky drag and may hear a light scraping sound when it grabs the contaminant. This is the sound of it working. This tactile process, after the chemical has broken the bond, is exactly how do you get dried spray paint off a car safely. After every few passes, fold the clay bar in on itself to trap the contaminant inside and expose a fresh, clean surface. A dirty clay bar will scratch your paint.
Step 4: Dealing with Stubborn Cases and Specifics
For thick layers, you may need multiple cycles of chemical application and claying. Be patient.
How to get house paint off a car
Latex is water-based and usually easier. A dedicated water-based paint remover or even a careful application of isopropyl alcohol can work. Oil-based paint is tougher, requiring a stronger solvent like a graffiti remover or tar remover. The test spot is doubly important here.
How to clean graffiti off car surfaces
Graffiti is often thick and layered. The chemical dwell time is critical. You may need to apply the remover, let it sit, then gently agitate with a soft-bristle detailing brush (dedicated for this use) to help it penetrate before claying.
The special hell of how to get expanding foam off car paint
This is a two-stage fight. First, let the foam fully cure. Then, wearing gloves, use a rigid plastic card (like an old gift card) to carefully scrape off the bulk of the foam. You must scrape parallel to the paint surface to avoid digging in. Only after removing 90% of the mass do you treat the remaining residue with a solvent and clay.
Finishing Strong: Polishing and Protecting the Rescued Paint
Even with perfect technique, the clay bar can leave behind very fine scratches or haze, called clay marring. On my black BMW, this shows up as a dull, swirly patch. Polishing fixes this.
You will almost always need to polish the area to restore perfect clarity. Use a fine finishing polish and a soft foam hand applicator pad. Apply a few drops, work it in a tight circular pattern with moderate pressure until it becomes clear, then wipe off with a clean microfiber towel. This removes the marring and brings back the deep gloss.
Finally, you must protect the paint. Polish leaves behind oils that can hide defects. Wipe the entire panel down with a mixture of diluted isopropyl alcohol (10-15% in water) to strip those oils and see a perfectly clean surface. Now, apply your protection.
For ease and speed on my daily drivers, I use a spray sealant. It applies in minutes and beads water for months. For my Porsche or a show car, I might spend the time on a traditional paste wax for that warm, deep glow. Both work. The key is that your clean, corrected paint is no longer bare and vulnerable.
Paint Damage Prevention: The Most Common Mistakes to Avoid
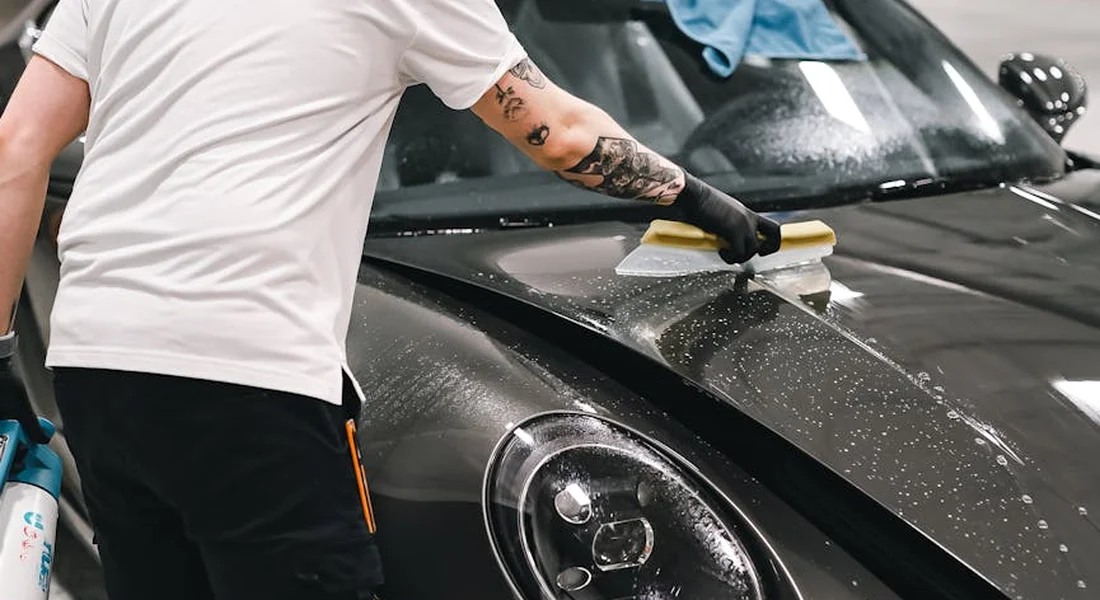
You want the paint off your car. It’s frustrating. The urge is to grab something strong and start scrubbing. I get it. I’ve been there with overspray on my F-150. But that urge is how a simple cleaning job turns into a thousand-dollar paint correction. Let’s walk through the pitfalls so you don’t create more work.
Your kitchen is not an auto parts store. Using vinegar, baking soda paste, or magic erasers is a fast track to dull, scratched paint. These are mild abrasives. On clear coat, they don’t clean. They scour. They leave tiny, cloudy scratches called micro-marring that you’ll see in the sun. Household cleaners are formulated for countertops and tubs, not for the delicate, thin layer of clear coat protecting your car’s color.
The wrong tool makes any product dangerous. Using an old t-shirt, paper towels, or a rough sponge is like using sandpaper. They trap grit and grind it into the surface. For paintwork, you need a plush, clean microfiber towel. It’s the difference between wiping a television screen and scratching it with steel wool.
Clay bars are fantastic for pulling embedded contamination out of paint. But you must fold them frequently to expose a clean surface. Rubbing a dirty clay bar across your paint just drags all the captured grit back and forth, instilling deep scratches. If you drop it on the ground, throw it away.
Always, always start with a test spot. Pick an inconspicuous area, like the edge of a door jamb or behind a wheel arch. Test your solvent and your method there first. This tells you if the product is safe, if it works, and what the paint underneath looks like. Skipping this step is how you ruin a hood.
Your Quick FAQ on Dangerous Solvents
Will rubbing alcohol remove paint? Isopropyl alcohol (IPA) is a brilliant detailer’s tool for final cleaning before applying a sealant. It will not safely remove spray paint or graffiti. Its role is to strip old waxes and oils, not cured paint. Using it as a primary solvent will just dry out your clear coat without touching the vandal paint. Learn more about whether isopropyl alcohol is safe for car paint.
Do paint thinner or paint stripper mess up clear coat? Yes, immediately and catastrophically. These are paint *removers*. They are designed to soften and dissolve coatings. Your car’s clear coat is a coating. Applying paint thinner or stripper will melt your factory finish, causing permanent clouding, swelling, and total failure that requires a full repaint. Even paint thinner that’s supposedly safe for car paint shouldn’t be used on clear coats.
Let’s kill a common myth. Once spray paint, latex house paint, or graffiti has cured and dried, water and car soap will not remove it. You might soften fresh splatter, but cured paint bonds differently. Believing this myth leads people to scrub violently with soapy water, which only grinds dirt into the clear coat.
When to Wave the White Flag and Call a Professional
There’s no shame in calling for backup. Knowing your limits is the mark of a smart car owner. I’ve pushed too far before and spent a weekend fixing my mistake. If any of these sound like your situation, put the bottle down and pick up the phone.
- The area is large. A door panel or a full quarter panel is one thing. An entire side of the car or the whole hood is a major project. The risk of inconsistent results or missing a spot is high.
- The contamination has been baked on for weeks. Sun and heat make paint bonds stronger. What might have come off easily day one becomes a hardened shell after a month.
- Your car has sensitive single-stage paint. This is the paint on my 1995 Miata and many older classics. There’s no clear coat. The color pigment is the top layer. It’s much softer and more prone to staining. A mistake here removes actual color, not just clear coat.
- Your first DIY attempt made it look worse. If you now have hazy swirls, scratches, or dull spots around the vandal paint, you’re in over your head. You need correction, not just cleaning.
A professional detailer with paint correction expertise isn’t just using stronger stuff. They have a process. They use targeted, industrial-grade solvent gels that sit on the contaminant without running. They follow with machine polishing using a precise combination of compounds and pads to restore perfect clarity. Their experience lets them read the paint’s response and adjust instantly, something no tutorial can teach.
Searching for “car paint removal services near me” will give mixed results. You do not want a standard body shop for this. You want an auto detailing shop that specializes in and showcases paint correction work. Look at their gallery for “overspray removal” or “paint decontamination.” Read reviews. Call them. A good shop will ask you questions about the paint type and how long the contaminant has been there.
Avoid confusion with “car paint removal dipping.” This is a chemical tank immersion process that strips a car to bare metal for full restoration. It is not a service for removing a patch of graffiti. It’s the nuclear option, not a spot treatment.
Protecting Your Paint After Removing Graffiti
The single best thing you can do is always start with the gentlest method, like a dedicated graffiti remover, and work up slowly from there. Patience here protects your clear coat and saves you from causing far more damage than the vandal did.
Skip these steps and you will almost certainly etch, scratch, or strip your car’s factory finish, turning a surface-level cleanup into a full and costly paint job.
References & External Links
- Automotive Paint Stripping -The Complete PRO/ CONS Guide –
- r/projectcar on Reddit: Best way to strip paint
- full car paint removal
- The BEST Paint Removal Tool for Automotive Restoration
- What kind of chemical can I use to remove all the paint from my ex-boyfriend’s truck? – Quora