How Do You Use Car Chemicals Without Ruining Your Paint?
You’re worried about that new spray or bottle leaving dull swirls or a permanent mark on your car’s finish.
This guide walks you through the simple rules I use on everything from my daily driver to my garage queen. We will cover choosing the right chemicals, the critical first-test spot, the tools that prevent scratches, and how to layer protection safely.
Get it wrong, and you can etch, stain, or permanently haze your clear coat.
Key Takeaways: Your Paint Protection Checklist
Getting chemicals right is not about secret formulas. It is about a simple process. Follow these rules and you will avoid almost every disaster.
These four rules are not suggestions. Treat them like the laws of physics for your paint.
- Always Rinse First. A dry panel covered in dust or grit is sandpaper waiting to happen. Pressure wash or gently hose off loose debris before any chemical touches the paint. I do this even on my “clean” garage-kept Porsche.
- Never Work in Direct Sun on a Hot Panel. Heat bakes chemicals into the finish. Wheel cleaners dry into streaks. Soaps leave water spots before you can rinse. Shade is your best friend. If you must work in sun, cool the panel down with water frequently and work in tiny, manageable sections.
- Test in an Inconspicuous Area First. The inside of a door jamb. Under the trunk lid. Spray your product on a microfiber, wipe a small spot, wait a minute, then wipe off. Look for any change in gloss or texture. This two-minute step saved the black paint on my BMW from a too-aggressive cleaner.
- Read the Label and Respect the Dwell Time. Chemicals need time to work, but not unlimited time. A wheel cleaner might need 30 seconds. An iron remover turns purple in 2-3 minutes. Letting them dry completely can cause etching or staining. Set a timer on your phone.
There is a universal order that prevents 90% of problems. You must remove the dirt before you try to remove the defects. You must remove the defects before you lock them in with protection.
- Wash to remove loose contamination.
- Decontaminate to remove bonded contamination (clay bar or synthetic clay towel).
- Correct the paint (polish) to remove swirls and defects.
- Protect the paint (sealant, wax, or coating).
Jumping to step 3 with dirty paint will grind that dirt into your clear coat. It is the number one cause of new swirls.
The core mindset is simple: clean it before you correct or protect it. A layer of wax over dirt is just sealed-in dirt. A polish over tree sap will just smear the sap. Your goal is always to work on the purest paint surface possible. That is how you get true depth and clarity.
What You’re Actually Working On: Understanding Your Car’s Paint
Think of your car’s finish like skin. You would not use the same product on a sunburn as you would on a calloused hand. Knowing what you have changes everything.
Modern cars almost always have a clear coat system. This is a thin, hard, transparent layer of paint sprayed over the colored base coat. Your BMW’s Jet Black paint? That deep color is the base coat. The shine and protection come from the clear coat on top. All your polishing and chemical work happens on this clear layer. Scratching it is what causes swirls.
Older cars often used single-stage paint. The color and the protective resin are all in one layer. There is no separate clear coat. When you polish my ’95 Miata’s classic red, the polish residue on your pad will be red. You are working directly on the colored paint. It can be more forgiving to correct but can also stain more easily if a harsh chemical soaks in. On white car paint, a wax polish can boost gloss and protection without changing the hue. For best results, choose a formula designed for white finishes to avoid tint or haze.
Paint thickness is your safety buffer. It is the total depth of all layers, from the clear coat down to the metal. Every time you polish, you remove a tiny fraction of this thickness. You need enough buffer to correct defects without burning through to the primer or color layer. A paint thickness gauge tells you this number. It is the most important tool for safe correction. On a used car, you never know what the previous owner did. My rule is to never start a major correction without checking first, especially when you’re trying to evaluate the depth of a scratch.
Here is a critical point. The paint on your car’s body is designed for weather and UV protection, not extreme heat. Engine bay paint is a completely different, heat-resistant system. A cleaner safe for your clear coat could blister or discolor the paint on your valve cover. Always check that a product is rated for under-hood or high-temp use before applying it there. This is a common mistake that causes permanent damage.
The Golden Rule: The Non-Negotiable Order of Operations
Think of these steps like building a house. You would not put the roof on before you poured the foundation. Skipping or scrambling these steps is how you waste product, create more work, or damage your finish. This sequence is not a suggestion. It is the blueprint.
- Rinse & Presoak
Your goal here is simple. You want to soften and float away as much loose grit as possible before anything touches the paint. Use a hose or pressure washer with a wide-angle tip. I then spray the entire car with a dedicated snow foam or a rinseless wash solution diluted in a spray bottle. Let it dwell and drip for a few minutes. This lubricates the surface and starts breaking down grime. This step alone prevents the fine scratches that come from rubbing dirt into the clear coat during the wash, which is especially important when cleaning road grime from your car’s paint.
- Contact Wash (Two-Bucket Method)
Now you make physical contact. Fill one bucket with clean shampoo solution. Fill a second bucket with plain water for rinsing your wash mitt. Work panel by panel, top to bottom. After you wipe a section, dunk and agitate the mitt in the rinse bucket to release the dirt it picked up before reloading with fresh shampoo from the wash bucket. This traps grit in the rinse water, not on your mitt. My black BMW 3 Series, the “Swirl Magnet,” taught me this discipline. It is the single most important habit for paint safety.
- Chemical Decontamination (Iron Remover)
After washing and drying, you deal with what you cannot see. Brake dust and rail dust are tiny metallic particles that embed themselves in paint. They feel rough and cause tiny rust spots. Spray an iron remover on cool, dry paint in the shade. It will turn purple as it reacts with the iron. After a few minutes, rinse it off completely. This chemical reaction dissolves contaminants a wash mitt cannot touch.
- Mechanical Decontamination (Clay)
This step tackles bonded contaminants like tree sap mist, overspray, and hardened pollutants. After the iron remover, the surface should already feel smoother. Now, using a dedicated lubricant spray, gently glide a detailing clay bar or synthetic clay mitt over the paint. You will feel it grab and pull out the remaining gunk. This process creates a perfectly smooth, contaminant-free base, which is mandatory before any polishing step.
- Paint Correction (Compound/Polish)
This is an optional, as-needed step to remove scratches, swirls, and oxidation. It uses abrasive compounds and polishes with a machine or by hand to level the clear coat. Here is the critical answer to a common question. Can you polish a car with paint protection? No, you cannot. Polishing and compounding will strip off any existing wax, sealant, or coating. You only perform this step when the paint needs correction. Afterward, the paint is bare and completely vulnerable, which leads directly to the final, mandatory step.
- Protection (Sealant/Wax)
You have just cleaned and perfected the surface. Now you must shield it. Apply a paint sealant, ceramic coating, or a quality carnauba wax. This layer acts as a sacrificial barrier against UV rays, water spots, and light contamination. On my daily drivers, I use a spray sealant for efficiency. On my Porsche 911, I apply a more durable coating. Never leave corrected paint unprotected.
Decoding the Label: How to Read a Product (and Its SDS) Like a Pro
Bottles are covered in marketing claims. The truth is in the fine print and a separate document called the Safety Data Sheet (SDS). Knowing how to read both turns you from a hopeful user into an informed one.
A Safety Data Sheet (SDS) is a legally required document that lists the hazards, composition, and safe handling procedures for a chemical product. You do not need to read all 16 sections. For detailers, focus on these. Section 2: Hazard Identification tells you if it’s an irritant or corrosive. Section 8: Exposure Controls/Personal Protection specifies if you need gloves, goggles, or ventilation. Section 9: Physical and Chemical Properties often lists the pH, which is critical for knowing a product’s aggressiveness.
People search for “car paint safety data sheet” or “car paint safety data sheet pdf” for good reason. You can almost always find the SDS for a reputable detailing product on the manufacturer’s website, usually on the product page or in a dedicated support section. Download it. Skim it. It is your right to know what you are using.
Now, look at the product label itself. Ignore the pictures of shiny cars. Look for:
- pH Indicators: Some labels say “pH neutral” (safe for all surfaces) or “alkaline” (good for stripping wax and deep cleaning). A high pH wheel cleaner should not sit on paint. A low pH water spot remover is safe for paint but harsh on wheels.
- Intended Surface: This seems obvious, but it is everything. “For wheels and tires” means just that. Do not use it on interior vinyl. “For vinyl and plastic trim” does not mean use it on leather.
- Dilution Ratios: This is where you save money and ensure safety. A concentrated all-purpose cleaner (APC) that mixes 10:1 is far more economical and controllable than a pre-diluted spray. Using it full-strength is wasteful and often harmful.
Finally, trust matters. Brand reputation within the detailing community is earned over years. These brands subject their products to real-world testing by professionals. When I choose an iron remover or a coating, I pick from companies that detailers themselves use. Their labels are clearer, their SDS is readily available, and their customer service can actually answer technical questions. That trust is part of the safety system.
The Safe Chemicals: A Guide to What Goes Where
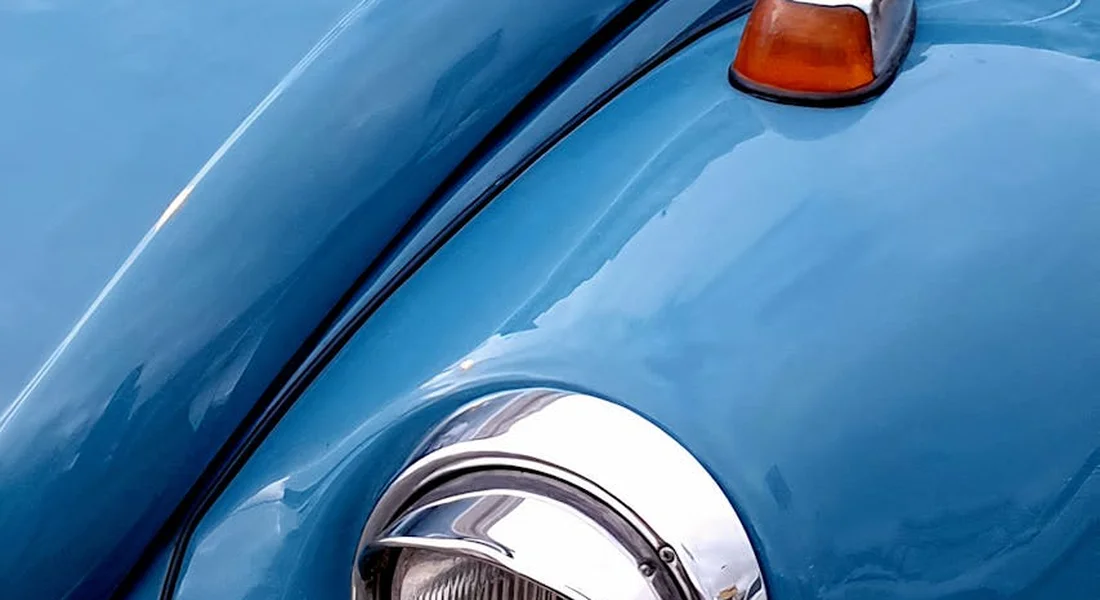
Think of your car’s paint like your own skin. You would not wash your face with laundry detergent or treat a cut with furniture polish. Every product has a specific job. Using the right one for the right task is the only way to get great results safely.
Cleaners & Decontaminants
This group is your first line of defense. They remove things, but they do not permanently alter the paint underneath.
Car Shampoo is like a gentle, pH-balanced shampoo for your car’s finish. It is designed to lift dirt without stripping the wax or sealant you worked so hard to apply. My workhorse F-150 gets a pH-neutral wash every time. Dish soap, in contrast, is a degreaser that will leave your paint naked and vulnerable.
Wheel Cleaners are a special case. You have two types. pH-neutral cleaners are safe for all wheels and are great for weekly maintenance. Acidic wheel cleaners are for heavy, caked-on brake dust. They work fast. You spray them on a cool, wet wheel, watch them turn purple as they react with the iron, and rinse them off completely in under a minute. Let them dry on the surface, and they can stain or etch.
Iron & Fallout Removers are chemical magnets. They dissolve those tiny, rust-colored specks of industrial fallout and brake dust that are embedded in your clear coat. You spray this on after washing, let it dwell for 3-5 minutes (it will turn purple), and rinse. The key is to keep the surface wet and never let the product dry.
Tar Removers are gentle solvents. They melt away road tar and sticky sap from your car’s paint. Use them to spot-treat tar stains. Apply a little to a microfiber towel, wipe the spot, and immediately follow with shampoo to remove any residue. These are spot treatments, not whole-car washes.
Correctives & Polishes
These products contain abrasives. They physically level the clear coat to remove defects. This is where technique is everything.
A Compound is your heavy hitter. It has larger abrasives to cut out deep scratches, heavy oxidation, and sanding marks. I used it to bring my oxidized Miata back from pink to red. A Polish has finer abrasives. Its job is to refine the surface after compounding, removing the tiny hazing or micromarring to reveal a deep, clear shine.
So, does car polish damage paint? The answer lives in your technique. With a soft foam pad and proper machine speed, polish refines the paint to a flawless finish. With a worn-out, dirty pad, too much pressure, or holding the polisher in one spot, you can generate enough heat to burn through the clear coat. The polish itself is safe, the tool in your hands is what does the damage. For deeper scratches, cutting may be needed to level the surface before finishing with polish. When done properly, cutting followed by polishing removes scratches while preserving paint thickness.
Using a machine polisher correctly gives you control, speed, and consistent results. Polishing by hand simply cannot generate the same amount of safe, corrective friction. For my black BMW, a machine is mandatory to remove the swirls without putting new ones in.
Protectants & Sealants
After you clean and correct, you lock in that perfection. These products form a protective barrier.
Ceramic Sealants (or SiO2 sealants) are the modern standard. They create a slick, durable layer that repels water and contaminants for months. Synthetic Waxes (polymer-based) offer great durability and shine. Spray Waxes & Detailers are for maintenance, adding a boost of protection and gloss between major washes. Wax sealant ceramic coatings blend ceramic protection with the look of wax finishes for a long-lasting shine. They sit at the crossroads of traditional waxing and modern SiO2 technology, offering a streamlined path to enduring protection.
Application is critical. Thin, thin layers. Apply a few drops to an applicator, work it in a cross-hatch pattern over a small section, and walk away. If you can see a hazy film after application, you used way too much. Allowing the product to fully cure for the time listed on the bottle, away from moisture, is what makes it bond and last.
If you have Paint Protection Film (PPF) or a professional Ceramic Coating, your chemical routine changes. You must use products labeled as PPF or Coating Safe. Many strong solvents or acidic washes can stain the film or degrade the coating. My Porsche’s PPF gets washed with pH-neutral shampoo only.
Specialty & Trim Products
These are your finishers, for everything that is not painted metal.
Trim Restorers bring faded black plastic back to life. To clean, restore, and protect faded black plastic trim, a dedicated trim restorer makes the difference. Water-based dressings are safer and more matte. Solvent-based ones penetrate deeper and last longer but can sometimes run onto paint in the rain. Glass Cleaners are formulated to be streak-free without ammonia, which can harm window tints. Quick Detailers are your best friend for wiping off light dust or fingerprints between washes.
What about car paint safe tape? This is a vital tool. If you are polishing a roof but want to protect the black trim, you need to mask it. Use a high-quality painter’s tape or, better yet, detailing tape. Standard masking tape or generic “painter’s tape” can leave a nasty adhesive residue, especially in the sun. That “broken window” search people do? They are often looking for how to mask a window for paint or polish without damaging the seal. The answer is the same: use the right tape, press it down firmly, and remove it as soon as your work is done.
The Danger Zone: Chemicals That Will Harm Your Paint
This is the short, non-negotiable list. Keep these far away from your car.
- Dish Soap: It is a degreaser designed to strip grease from plates. It will obliterate your wax or sealant, leaving your paint exposed and often leaving a dulling film.
- Household All-Purpose Cleaners (like Formula 409 or Simple Green at full strength): Their pH is a mystery. They contain additives and surfactants that can stain clear coat or cause premature fading. I have seen them permanently cloud plastic trim.
- Abrasive Cleaners (Comet, Bar Keepers Friend, etc.): These are literal powdered sand. They will scratch your clear coat with a single wipe. They are for sinks, not cars.
Let us talk about Nail Polish Remover (Acetone) and Turpentine. People see them as powerful cleaners. For paint, they are not cleaners, they are solvents. Acetone will instantly dissolve and dull your clear coat, creating a permanent, milky haze. Turpentine is just as harsh. I had a client try to use nail polish remover to clean a sap spot on their hood. It did remove the sap. It also left a cloudy, etched patch the size of a golf ball that required a full repaint of the panel. These are paint thinners, not paint cleaners.
- Vinegar: It is an acid. While diluted it can clean glass, on paint it can etch the surface over time, especially under sunlight. Do not risk it.
- Undiluted Isopropyl Alcohol (IPA): In detailing, we use a 10-20% dilution with water as a final wipe to remove polishing oils before applying a sealant. Straight 70% or 99% IPA from the bottle is a harsh solvent that can dry out and damage paint and plastics.
Application is Everything: Techniques for Safe Chemical Use
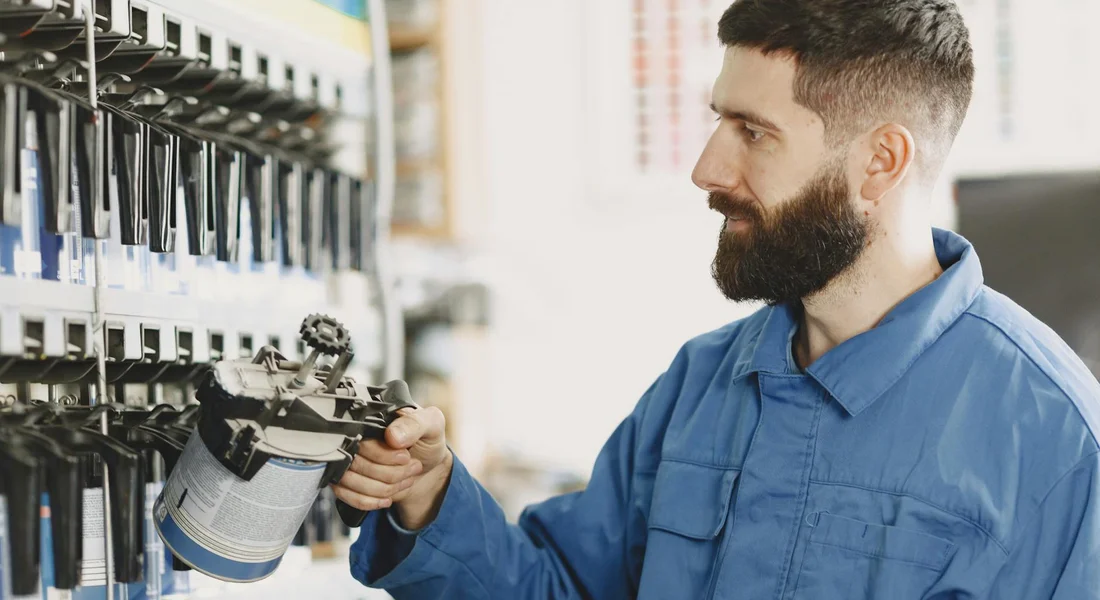
This is where theory meets practice. Good products can cause damage with bad technique. Safe application is a habit.
The Pre-Application Ritual
Never skip the setup. It saves you from a world of hurt. Park in the shade and let the car cool down completely. A hot panel makes chemicals dry too fast and can bake them into the clear coat.
The surface must be perfectly clean. I mean stripped of loose dirt with a pre-rinse, then washed and dried. Applying a chemical sealant over dust is just locking in scratches.
Always do a test spot. Pick a small, hidden area like the edge of a door jamb or behind a mirror. Apply the chemical as directed, wait, and wipe it off. Check for any weird reaction overnight. This five-minute step is the cheapest insurance policy you can buy for your paint.
Before you even open a bottle, have your rinsing gear ready. Keep a bucket of clean water and a hose nearby. If something starts to go wrong, you need to flood the area immediately, not run to find a hose.
Dilution & Distribution
Not every chemical is “use as is.” This is critical for wheel cleaners, especially acidic ones for heavy brake dust. The bottle might say “safe for all wheels,” but full strength on a hot alloy rim is asking for etching.
I dilute my wheel cleaner for my Porsche’s alloys. A 1:1 mix with water is often strong enough. For my daily driver wheels, I use it straight. Know your wheels and your dirt level.
Use a spray bottle for even application on large panels. A mist is better than a stream. For polishes and compounds, saturate the microfiber or foam pad first, not the paint. Apply the product to your tool, then spread it thinly and evenly across the paint. This gives you control and prevents wasteful, gloppy buildup.
Tools of the Trade
Your tools are as important as your chemicals. Using a dirty towel will ruin your work. I have a system.
- Drying Towels: Thick, plush microfiber. They are for drying clean paint only. Never use them for wheels, interiors, or engine bays.
- Polishing/Waxing Towels: Soft, edgeless microfiber. They have no tags or seams to scratch. I keep them sealed in a bag until use.
- Wash Mitts: I use two. One for the upper, clean panels. One for the lower, dirtier panels and wheels. They never cross paths.
- Buckets with Grit Guards: One for soapy water, one with clear water for rinsing the mitt. The guard traps dirt at the bottom.
- Brushes: Have dedicated sets. A stiff brush for wheel barrels. A soft bristle brush for trim and grilles. A detailing brush for vents. Label them. A wheel brush should never touch your paint or interior.
The “Sun Test” and Dwell Time Management
Heat is the enemy of controlled chemical reaction. In direct sun, water-based products can dry (“flash”) in seconds, leaving stubborn residues. Stronger cleaners can etch the surface almost immediately.
If you must work in the sun, do the “sun test.” Spray a little water on the panel. If it evaporates in under 30 seconds, it’s too hot. Wait for shade or heavily mist the panel with water first to cool it.
Work panel by panel. Apply your product to one section-a door, a fender-then immediately wipe it off. Do not apply it to the whole car and then start wiping. In the sun, you are racing the clock from the moment the chemical hits the paint. This is how you get hazy, blotchy results from a wax or sealant.
What to Do If Something Goes Wrong (Damage & Discoloration)
Mistakes happen. I have made them. The key is not to panic and to act fast.
Chemical Staining or Etching
You see a dark drip stain or a weird, dull spot where a cleaner sat too long. First, rinse it with a lot of water. Flood the area. Then, wash the entire panel with a neutral pH car shampoo using your clean wash mitt. Dry it and assess.
Light stains often sit on top of the clear coat. Very often, a clay bar treatment will pull the contamination right out, followed by a light polish to restore the gloss. I had a bird dropping etch the clear on my F-150’s hood. A quick one-step polish took it right out because I caught it early.
Hazy, Dull, or Discolored Spots
This is common with paint cleaners or compounds used incorrectly. The spot looks milky or faded compared to the surrounding paint. The chemical has likely slightly degraded the very top layer of the clear coat.
This almost always needs polishing. Use a fine finishing polish and a soft pad. Work the area gently by hand or with a dual-action polisher. You are abrading a tiny, damaged layer to reveal fresh, clear coating underneath. Go slow, check your progress often, and follow with protection.
When to Stop and Call a Professional
Know your limits. If you see actual paint color-red, black, blue-on your polishing pad, you have burned through the clear coat. Stop immediately. This needs professional repainting.
If a stain or etch remains after you have tried a moderate polish, the damage may be too deep. More aggressive correction might risk cutting through the clear. A pro has the experience and tools to gauge this.
If you are simply unsure about the paint’s integrity, call someone. My BMW “Swirl Magnet” was a perfect case study. The previous owner used harsh chemicals and automatic brushes. The black paint was hazy, swirled, and holographic. It looked ruined. I stopped trying spot fixes, did a full two-stage paint correction, and brought the deep, liquid black back. A pro detailer saved that finish. Sometimes, the right call is to hire the expertise.
Final Thoughts on Protecting Your Paint
The most important habit you can build is to always test any chemical in a hidden spot first, like inside a door jamb or under the trunk lid. This two-minute check is what keeps my black BMW’s finish safe from surprises and saves you from heartache.
Bypass that test, and you risk permanent stains or dullness that only a full paint correction can fix.
Related Guides and Information
- Car Paint Protection: The Essential Shield | Chemical Guys
- Exterior Protection | Chemical Guys
- New Car Paint Protection – Chemical Guys
- Before You Buy a Ceramic Coating for Your Car, Read This First
- 10 Ways to Protect Car Paint | CARFAX
- Auto Paint Protection Products | Quick Spray Sealants
Max Gunther
Max is an automotive enthusiast having worked as a car mechanical and in interior detailing service for over 25 years. He is very experienced in giving your old car, a new fresh vibe. He has detailed many cars and removed very tough smells and stains from all kinds of cars and models, always ensuring that his work and advice helps his customers. He brings his first hand experience to his blog AutoDetailPedia, to help readers breath new life into their car interiors.