How Do You Remove Cement and Concrete from Car Paint and What Are the Effects of Cement Dust?
You just spotted cement or concrete on your car’s paint and worry about immediate damage. Can it be removed without scratching or etching the surface?
In this guide, we will cover how to identify fresh versus hardened material, safe removal techniques for each, the corrosive effects of cement dust on paint, and post-cleanup protection steps.
Ignore it, and the alkaline compounds in cement will permanently etch your clear coat, leading to costly paint correction.
Key Takeaways: A Quick Guide Before You Start
You can get cement off your car’s paint. The clock is your biggest enemy. Every minute that wet concrete sits or dry dust bakes in the sun increases the risk of a permanent mark. It’s essential to protect your car’s paint from environmental damage in the first place.
The single most important rule is this: never, ever scrub at dry cement dust. Those microscopic particles are harder than your clear coat. Scraping a dry towel across them is like using sandpaper.
Your approach splits into two paths. Fresh, wet spills are a messy but sometimes simpler cleanup if you act fast. Cured, rock-hard concrete is a more surgical operation requiring patience and the right tools.
Ignore it, and you are looking at the worst-case scenario. The alkaline nature of cement can chemically etch the surface, leaving a dull, rough spot. In severe cases, it can eat through the clear coat entirely, requiring a full repaint. My Jet Black BMW taught me that lesson the hard way with a tiny, overlooked drip on the hood.
The Protocol: Your Order of Operations for Cement Removal
Do not wing this. Follow these steps in order. Skipping ahead is how small problems become big, expensive ones.
Step 1: Safety & Assessment
Put on a pair of nitrile gloves. Cement and the chemicals we use to remove it are harsh on skin. Now, just look. Get close. Is it a dusting of powder? A thick, wet glob? A thin smear that has already dried? Use your phone and take clear pictures from a few angles. This is your evidence if you need to make an insurance or contractor claim.
This initial assessment decides your entire strategy, so do not rush it.
Step 2: Gentle Hydration
For any dry material, you must re-wet it safely. Do not use a pressure washer. The force can blast particles into the paint. Instead, use a garden hose with a gentle shower setting or a pump sprayer filled with water.
Soak the area thoroughly. You want the cement to absorb water and soften. For a light dusting, this may be enough to turn it into a slurry you can rinse away. For thicker chunks, let the water soak in for several minutes. You are trying to neutralize its bonding power.
Step 3: Chemical Intervention
If water alone does not dissolve it, you need a dedicated remover. The type depends on the cement’s state.
- For wet or freshly cured concrete: Use a dedicated, paint-safe concrete and mortar dissolver. Look for brands like Sure Klean or Prosoco. These are acidic and designed to break the bond. I keep a bottle in my detailing kit for the F-150, which seems to find every construction site.
- For old, fully cured deposits: A high-quality wheel cleaner that is safe for paint can work. These are often acidic (for iron contamination) or alkaline (for brake dust) and can help break down minerals. Test in a small spot first.
Apply the chemical as directed, usually letting it dwell without drying, and keep it off plastic trim and rubber. Always work in a shaded, cool area.
Step 4: Mechanical Removal
After soaking and chemical treatment, the cement should be soft. Now you can touch it.
- Start with the least aggressive method. Use a clean, soft microfiber towel soaked in your rinse water to gently wipe away the sludge. Rinse the towel constantly.
- If residue remains, use a detailing clay bar and plenty of lubricant. The clay will safely pull embedded particles from the paint’s pores. You will feel and hear the grit.
- For stubborn, raised edges of a cured spill, a plastic razor blade held at a very shallow angle can sometimes lift it. This requires a steady hand. If you are unsure, stop. This is where professionals earn their fee.
Step 5: Damage Control & Protection
Once the cement is gone, you will see the truth. Run your fingers over the area. Does it feel smooth like the surrounding paint, or is it rough and gritty? That roughness is etching.
You will need to polish it out. Use a fine polish and a soft foam pad, either by hand for a small spot or with a dual-action polisher for a larger area. This levels the clear coat to remove the dull, damaged layer.
After polishing, the paint is bare and vulnerable. Immediately apply a sealant or wax. This replaces the protection you just removed and shields the surface from future contamination. On my cars, I follow up with a coat of spray sealant for peace of mind.
What Are We Dealing With? Cement Dust vs. Concrete Spatter
Let’s get the terms straight. Cement is the gray powder. Think of the bag you see at the hardware store. Concrete is what you get when you mix that cement powder with water, sand, and rock. Knowing this difference is your first step to cleaning it correctly and avoiding major damage.
If you drive past a construction site or a freshly poured driveway, you’ll encounter two main problems.
Dried concrete spatter feels like gritty, rocky bumps stuck to your paint, wheels, or undercarriage. I’ve found it on the lower doors of my F-150 after a jobsite visit. Each spot is a small, hard lump. If you run your finger over it (gently), you’ll feel sharp aggregate pieces embedded in it.
Settled cement dust is different. It leaves a fine, chalky film over every surface. It clouds your windshield and makes the paint feel like flat powder. It’s sneaky. You might not see it from a distance, but your hand comes away gray after touching the hood.
Here’s the simplest way to think about it. Cement dust is like powdered sandpaper sitting on your clear coat, while wet concrete is like a glue that permanently bonds tiny rocks to your paint. One is a coating of abrasives, the other is a bonded contaminant. Both are bad news.
The Hard Science: What Cement and Concrete Do to Your Clear Coat
So, does cement dust damage car paint? Absolutely. The attack is both chemical and mechanical, and it works fast.
First, the chemical attack, or the “alkaline burn.” Wet cement and concrete mix have a very high pH. Your car’s clear coat is not designed to handle that level of alkalinity for long. The wet paste can actually soften the clear coat, breaking down its protective layer. This allows minerals and dyes from the cement to stain the surface. If left to dry and cure, it creates a chemical bond that is much harder to break.
Then, there’s the mechanical abrasion. Those tiny sand and rock particles are harder than your clear coat. Once concrete hardens, it’s essentially glued-on sandpaper. If you try to wipe the dust off with a dry towel, or if the hardened spatter rubs against a car wash brush, it will grind microscopic scratches (swirls) into the finish with every pass. My black BMW is proof of how easily hard particles can mar a surface.
The long term effect is moisture trapping and permanent etching. Concrete is porous. Once bonded to your paint, it can trap water and road salts against the surface. This leads to hidden corrosion under the contaminant. Even after removal, you’re often left with “concrete etching.” These are cloudy, mineral-stained marks that look like severe water spots, but they are often a permanent alteration of the clear coat’s surface. The spot is literally burned and abraded.
Visual Cues: What Cement Damage Actually Looks Like
After you remove the physical material, the damage often remains. You need to know what to look for.
Cement etching appears as cloudy, hazy, or dull spots exactly where the material was. The gloss is gone. In direct sunlight, these spots look lifeless and flat compared to the surrounding healthy paint. They feel rough to the touch, even after cleaning, because the clear coat is pitted.
On white or light-colored cars, you might see a slight yellow or gray discoloration within that cloudy spot. It’s a stain from the minerals. On my white Tesla, any contamination shows up clearly, and cement residue leaves a distinct shadow.
On single-stage paint, like the classic red on my ’95 Miata, the problem is deeper. There’s no clear coat to take the hit. The staining pigments in the cement can actually penetrate the colored paint layer, leaving a permanent dull or off-color patch. Restoring this requires careful, aggressive polishing to remove the stained paint surface itself.
Assessing the Situation: Is This a DIY Job or a Pro Call?
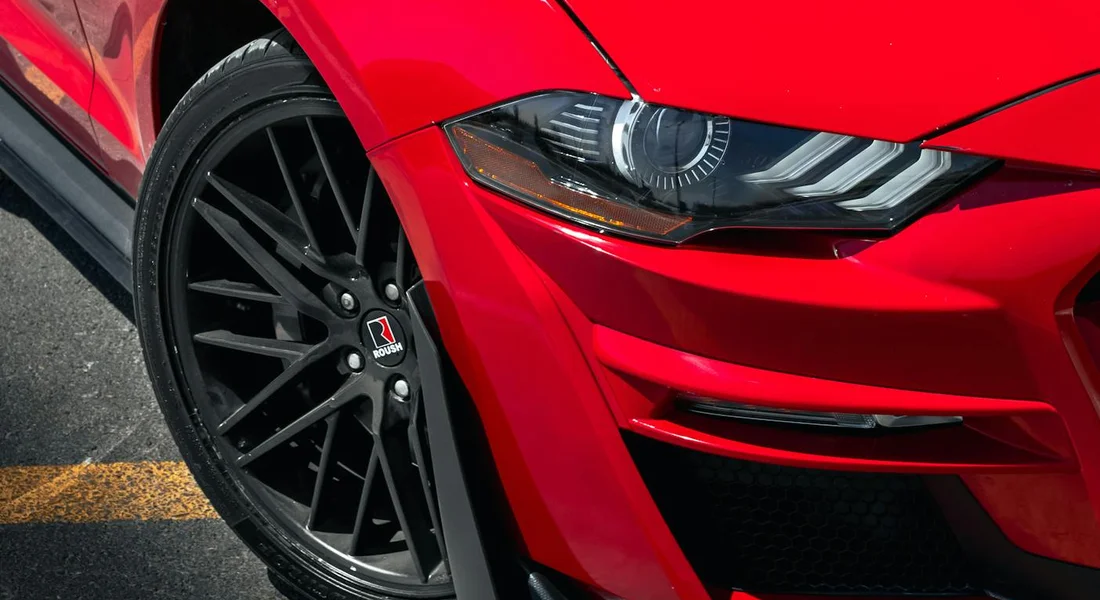
First, take a deep breath and look closely at your car. Run your fingers lightly over the area. Is it just a fine, powdery dust? Or are there globs and chunks? This initial touch test tells you a lot.
You can handle this yourself if you see any of these signs.
- Light dust or film. This is common if you parked near a construction site. It wipes away easily with a proper wash.
- Fresh, wet splatter. If the concrete is still damp and hasn’t set, you have a small window to rinse it off before it bonds.
- A few small, pea-sized spots of fully cured concrete. These can often be carefully lifted without damaging the clear coat underneath.
I dealt with light cement dust on my Ford F-150 after driving past a road crew. A thorough wash with an All-Purpose Cleaner did the trick. It was messy, but straightforward.
Pick up the phone and call a professional detailer immediately for these scenarios.
- Large areas are covered, like an entire door or quarter panel. The risk of widespread etching is too high.
- You see thick, cured chunks or a solid layer. This isn’t a surface contaminant anymore.
- The paint already feels rough, chalky, or etched underneath the concrete. This means the finish is actively being damaged.
- You notice visible dull spots or rings where the concrete was. That’s deep chemical etching, and it needs correction.
Waiting turns a cleanup into a costly paint correction job. Concrete does not get easier to remove with time. It gets harder and does more damage.
Your Removal Toolkit: Choosing the Right Weapons
Gather your supplies before you start. Having everything at hand keeps the process controlled and safe for your paint.
- Bucket, hose, and gallons of water. Your first move is always a gentle, copious rinse. Use a hose without a pressure washer tip to start, as high pressure can drive particles into the paint.
- Detailer’s All-Purpose Cleaner (APC). This is for breaking down the alkaline residues and loosening bonded material. Dilute it as the bottle says. I use it on everything from the Odyssey’s interior to engine bays.
- Dedicated concrete remover or a mild acidic wheel cleaner. Look for a citric acid-based formula designed for cars. These products dissolve mineral deposits safely. Test any chemical in an inconspicuous spot first, like behind a door handle.
- Clay bar and lubricant. After chemical treatment, a clay bar will mechanically pull any embedded silica particles from the paint’s pores. It will feel like sliding glass over sticky glue.
- Plastic razor blades. For carefully lifting the edge of a cured spot. You must keep the blade flat and use detailing spray as lubricant. This is a finesse tool, not a scraper.
- Polish and sealant. The final step. Even successful removal can leave the paint slightly dull. A light polish restores clarity, and a sealant locks in protection.
This toolkit works from gentle to aggressive, preventing you from jumping to a damaging method out of frustration.
What Never to Use: The Quick Way to Ruin Your Paint
I have seen people grab tools from their garage workbench. It never ends well. Your car’s clear coat is softer than you think.
Never use these tools on your paint.
- Metal scrapers or putty knives
- Wire brushes of any kind
- Steel wool, even the “fine” grade
- Abrasive Scotch-Brite pads (the green or brown ones from your kitchen)
These will dig deep scratches, called gouges, into the finish. My black BMW is a swirl magnet from lesser sins than this. These scratches go deep and require serious machine polishing to fix.
Never use these chemicals on your paint.
- Muriatic acid (hydrochloric acid). This is for etching concrete, not cleaning cars. It will strip paint to bare metal in seconds.
- Vinegar at full strength. Household vinegar is too acidic and can etch the clear coat, leaving permanent cloudy spots.
- Generic “concrete dissolver” from a hardware store. These are not formulated for automotive paints and often contain harsh acids or abrasives.
Using the wrong chemical can cause irreversible chemical burning, which is far worse than the concrete stain itself. Always use products meant for automotive surfaces. Your paint’s health depends on it. Practice safe handling and ventilation. This helps you safely use chemicals for car paint.
The Step-by-Step: How to Clean Cement from Car Paint, Safely
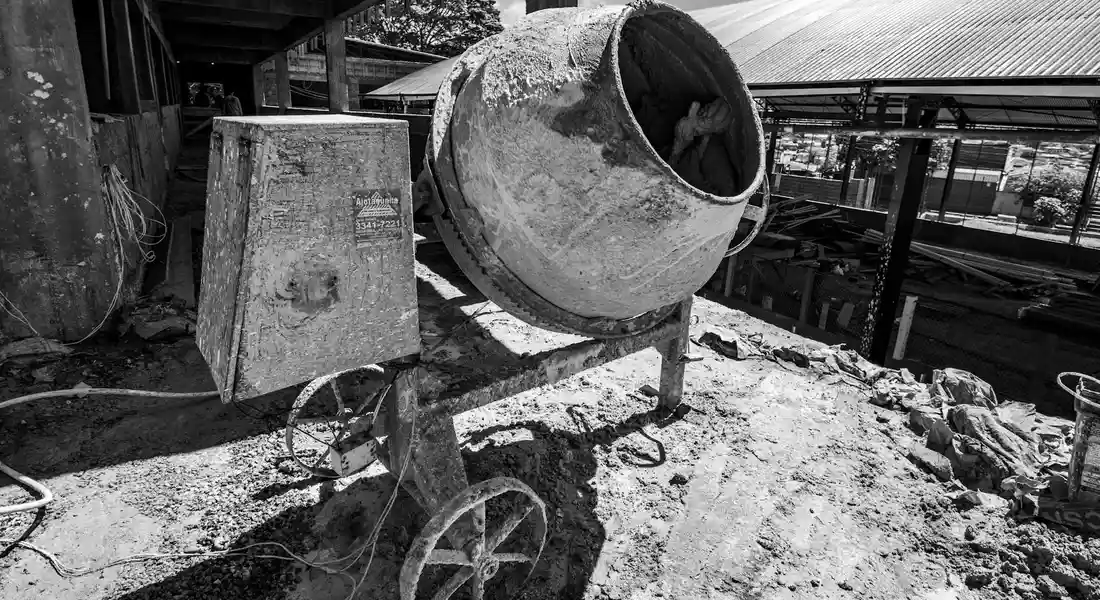
Panic makes you want to scrub. Patience saves your paint. Follow these phases in order. Rushing to Phase 3 is how you turn a cleaning job into a repaint.
Phase 1: The Initial Rinse and Soak
Your goal is to rehydrate and soften the cement. Do not touch it yet.
Get your hose. Set it to a gentle shower or fan spray, not a jet. You want to flood the area, not blast the particles deeper into the clear coat. Soak the contaminated panel completely. Let the water run over it for a full 15 to 20 minutes. Keep it wet. For my F-150, which once wore a splatter of driveway sealer, I set a timer and just let the water flow. This slow soak is the most important step to avoid scratching the paint later.
Phase 2: The First Wash and Gentle Agitation
Now you can make contact, but gently.
Fill a bucket with water and a generous amount of pH-neutral car shampoo. Use a plush, clean microfiber wash mitt. Soak the mitt and gently wash the entire panel, not just the dirty spot. Use light, straight-line strokes. Do not circle or scrub. You are lifting the softened, sloppy residue, not grinding the grit. Rinse your mitt constantly. After washing, do a final, thorough rinse with your hose. A significant amount of the material should slide right off.
Phase 3: Tackling the Stubborn Stuff
What remains will be a thin film, dusty spots, or hard lumps. You need different tools for each.
For the dusty film, you need a clay bar. Knead a clean piece of detailing clay. Spray a heavy amount of clay lubricant on the paint. Glide the clay bar back and forth with light pressure. You will feel it grab and pull the embedded cement dust from the pores. It sounds like light sandpaper. Wipe the area clean with a microfiber towel and inspect.
For hardened spots, you need chemistry. Apply a dedicated concrete remover or a citric acid-based wheel cleaner directly to the spot. Follow the product’s dilution instructions. Let it dwell for the recommended time, usually a few minutes. It will fizz and loosen the bond. Take a soft, clean detailing brush and gently agitate the spot. Rinse immediately. Always test any chemical in an inconspicuous area first.
For a raised edge of cured concrete, you need a plastic razor blade. This is delicate. Hold the blade nearly flat against the paint. Gently work the edge under a corner of the concrete piece. Apply upward lifting pressure, not scraping force. The goal is to pop the chunk off in one piece, not shave it down. My BMW’s black paint taught me that any angled scrape here is a permanent scratch.
Phase 4: The Final Polish and Protect
The cement is gone, but the damage is now visible.
The surface will be etched and marred with fine scratches. This is normal. You must polish it. Use a light polishing compound and a dual-action polisher with a soft foam pad. Work a small section at a time until the haze is gone and the gloss returns. For hand application, use a polish-labeled product and a lot of elbow grease.
Polishing removes a micro-layer of clear coat, leaving the paint vulnerable. Immediately after polishing, you must protect the area. Apply a sealant or a coat of wax. This will fill the microscopic valleys left by polishing and shield the fresh surface. Do not skip this. On my red Miata’s single-stage paint, a good sealant is the only thing keeping the restored red from oxidizing again.
When the DIY Fails: What a Professional Detailer Will Do
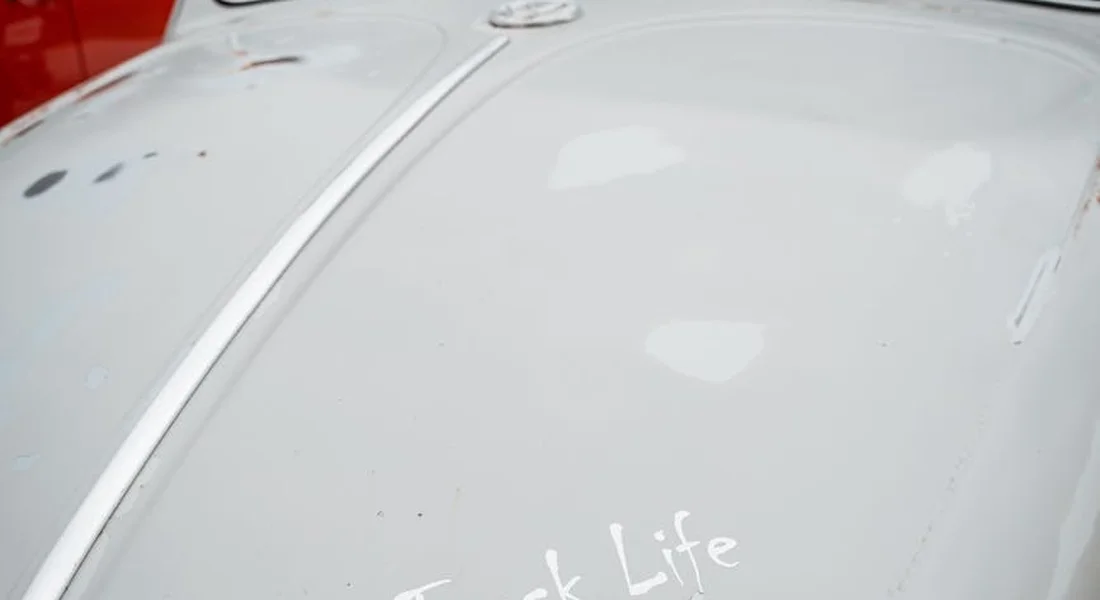
Sometimes the etching is too deep. Sometimes you just don’t have the tools or confidence. That is when you call a pro.
A professional detailer starts where your Phase 4 ends. They will assess the etching under bright lights. For moderate damage, they will use a more aggressive compound with a rotary or forced-rotation polisher, things a DIYer often avoids because they can burn paint. They have the skill to remove deep defects without harming the clear coat.
For severe etching, they may perform controlled wet-sanding. This involves using incredibly fine grit sandpaper (like 3000 grit) lubricated with water to level the deepest pits, followed by multiple stages of machine compounding and polishing to restore a flawless finish. They also have access to stronger, professional-grade chemical removers that they know how to neutralize and contain.
The value of a professional is their guaranteed result and their calibrated eye for paint thickness. They use a paint depth gauge to ensure they don’t polish through to the primer. A good detailer will explain exactly what they can save and what might be a permanent stain.
For a single panel with concrete etching, expect a cost range of $150 to $400, depending on severity and your location. Weigh that against the cost of your time, the price of the tools you don’t own, and the risk of making it worse. For my Porsche’s PPF, or a deep etch on the 911’s clear coat, that’s a call I make without hesitation.
Paint Damage Prevention: How to Protect Your Car from Cement Dust
Getting cement off your paint is a battle. The best strategy is to avoid the fight entirely. A little planning saves you hours of scrubbing and the risk of a scratched clear coat.
Think of cement dust like fine sandpaper. When it’s dry, it grinds. When it’s wet, it sticks and etches. Your goal is to never let it settle in for a long visit.
Smart Parking is Your First Defense
Construction zones are ground zero. If you must park near one, distance is your friend. Every extra yard matters.
Park upwind if you can figure out the breeze. It sounds simple, but it works. I learned this the hard way with my F-150. I parked downwind from a site for one afternoon. The driver’s side was coated in a fine grey powder. The passenger side was mostly clean. The wind direction made all the difference.
If you have a garage, use it. This is the single best protection. For my black BMW, which shows every speck, the garage is its sanctuary from dust, pollen, and everything else.
The “Quick Rinse” Rule: Don’t Wait
You drive through a cloud of dust or past a pouring cement truck. You feel that grit on the paint. Your next stop should be for water.
Rinse the car as soon as you possibly can, even if you can’t do a full wash. A gentle hose-off at home or a careful use of a coin-op spray bay can lift that abrasive dust away before it bonds. The goal is to flood the surface and let the water sheet it off. Don’t scrub a dry, dusty panel. You will swirl the paint. To keep the finish pristine, this is a good moment to think about how to wash clean car exterior safely. A careful, safe exterior wash helps prevent scratches and swirl marks.
For my daily drivers, I keep a bottle of rinseless wash concentrate and a few microfiber towels in the trunk. If I get dusted far from home, I can do a safe wipedown with plenty of lubricant. It is a great compromise between a full wash and doing nothing.
Build a Better Barrier: Sealants and Coatings
A naked, unprotected clear coat is vulnerable. A layer of protection adds chemical resistance and makes contaminants release easier, such as a ceramic coating.
A durable synthetic sealant is a fantastic upgrade from regular wax. It lasts for months and creates a very slick surface. When dust lands on my Tesla, which has a sealant, it does not seem to grab on as tightly. The water beads up and rolls right off, taking a lot of the dirt with it.
For the ultimate shield, consider a professional-grade ceramic coating. This is what I have on the Porsche. These coatings create an exceptionally hard, chemically inert layer that makes removing contaminants like cement dust much safer and simpler. The bonded dust has a harder time adhering to the coating itself. It is not magic armor, but it is the closest thing we have. It turns a potential disaster into a manageable clean-up.
The Car Cover: A Careful Last Resort
If you must park long-term near a cement plant or major construction, a cover might cross your mind. Use this option with extreme caution.
A soft, clean, high-quality cover can block falling dust. But if any gritty dust gets underneath the cover, every gust of wind will grind that cover against your paint. You will trade dust etching for a network of fine scratches.
If you go this route, the car must be perfectly clean before the cover goes on. Not just rinsed, but fully washed and dried. For a car like the Miata during a garage restoration, a cover makes sense. For a daily driver sitting in a dusty lot, it is often more risk than reward.
The best protection is a combination: park smart, rinse immediately, and keep a strong protective layer on your paint. This turns cement dust from a crisis into a minor nuisance.
Keeping Your Paint Safe from Concrete and Cement
The single most important rule is to act fast and remove the contamination gently. Letting concrete cure or scrubbing it with the wrong tool will turn a simple clean-up into a full paint correction project. Your priority should always be to neutralize and lift the material without grinding its abrasives into your clear coat.
Ignore these steps, and you risk permanent, dull etching that only a professional polisher can remove.
Citations and Authoritative Sources
- r/AutoDetailing on Reddit: Gf car covered in spots of dry cement
- What is the best way to get concrete splatters off a vehicle without damaging the paint?
- How To Remove Cement Splatter on Your Paint – IGL Coatings Blog
- How to Remove Cement from a Car: 8 Steps (with Pictures) – wikiHow
- Removing cement from a vehicle’s exterior – Professional Carwashing & Detailing
- How to remove cement dust from car paint?| Grassroots Motorsports forum |
Max Gunther
Max is an automotive enthusiast having worked as a car mechanical and in interior detailing service for over 25 years. He is very experienced in giving your old car, a new fresh vibe. He has detailed many cars and removed very tough smells and stains from all kinds of cars and models, always ensuring that his work and advice helps his customers. He brings his first hand experience to his blog AutoDetailPedia, to help readers breath new life into their car interiors.