How Do You Remove Gum from Car Paint and Interior Without Causing Damage?
You just found gum stuck to your car’s paint or interior, and that sinking feeling hits. You need a method that works without leaving a scratch or a stain.
This article will walk you through the process, covering assessing the gum’s hold, the safe freeze-and-lift technique for paint, careful removal from leather and vinyl, methods for fabric and carpet, and the final steps to restore protection.
Use the wrong tool or technique, and you will grind the gum into the clear coat or upholstery, causing permanent damage.
Key Takeaways: Your Gum Removal Cheat Sheet
Before you touch that gum, remember these rules. They come from years of cleaning everything from my family’s minivan to a show car paint job—and especially when cleaning car windows.
- Cold is your best friend for fresh gum. It hardens the gum, making it brittle and easier to lift off. I use ice on my Ford F-150’s muddy bumper when gum sticks after a drive.
- Heat is your secret weapon for old, dried gum. Gentle warmth softens it for safe removal. A hair dryer on low saved the seats in my Honda Odyssey.
- Never, ever pick or scratch at it. This is how you create permanent scratches and swirls. My black BMW’s paint is proof of what impatience can do.
- Always start with the gentlest method first. Test any chemical in a hidden area. This patience keeps my Tesla’s white paint flawless.
- Plan your time based on the mess. Fresh gum on a window is a five minute wipe. Old gum ground into carpet might take half an hour of careful work.
First, Assess the Situation: What Are You Up Against?
Look at the gum. Is it shiny and soft, or dull and hard? Touch it gently. The surface under it matters more. Clear coat scratches if you breathe on it wrong. Fabric soaks up stains. You answer the question, “How do you remove gum from car paint without causing damage?” by looking first, acting second.
Note these two things:
- Is the gum fresh and sticky or old and rock hard?
- Is it on clear coat, fabric, plastic, or vinyl?
This table helps you choose your first move.
| Surface | Sensitivity | Initial Approach |
|---|---|---|
| Clear Coat (Paint) | High. Scratches show easily, especially on dark colors like my BMW. | Cold for fresh gum, low heat for old. Lift gently with a plastic tool. |
| Fabric (Seats, Carpets) | Medium. Gum can push fibers apart and leave residue. | Freeze with ice in a bag. Pick off bulk, then clean with interior cleaner. |
| Plastic/Vinyl (Dashboard, Trim) | Low to Medium. Harsh chemicals can dry it out. | For interiors, use peanut butter or oil to loosen. Wipe clean after. |
| Glass (Windows) | Low. But be careful not to scratch the glass or surrounding paint. | Use a razor blade held flat. Spray with glass cleaner first. |
Start with the approach for your surface. If in doubt, test on a hidden spot.
Your Gum Removal Toolkit: A Product Tier List
You do not need expensive gear. But having the right tool makes the job safe and easy. Here is what I keep in my detailing cart, sorted by how serious you are about your car. From everyday car detailing products tools kits, there’s something for every level of care. The right kit can turn a quick wash into a standout detailing session.
Budget/Drive Through Tier: Stuff you likely have at home.
- Ice cubes in a zip top bag. Crush them a bit. Press the bag on the gum for a few minutes. It gets brittle.
- Plastic razor blade. Safer than metal. Use it to lift the hardened gum at a shallow angle.
- Rubbing alcohol (isopropyl). Dab it on a microfiber to dissolve sticky leftovers. Always test on paint first.
- Peanut butter or cooking oil. For interiors only. The oils break down the gum. Smear it on, wait, wipe off. It sounds weird, but it works on my Odyssey’s sticky seats.
- Hair dryer. Use it on the lowest heat setting. Wave it back and forth to warm the gum slowly.
Enthusiast Tier: For those who detail their car regularly.
- Dedicated commercial gum remover. Products like Goo Gone Automotive are formulated for cars. They work fast and are often paint safe.
- Citrus based adhesive removers. These use orange oil. They smell better and are less harsh, but still need a test spot.
- Dedicated interior cleaner. After removing gum, use this to clean the area fully. It prevents stains and odors.
Show Car/Pro Tier: For perfectionists and professionals.
- Dedicated waterless wash. After gum removal on paint, spray this on and wipe with a clean microfiber. It cleans without scratching, perfect for my Porsche’s PPF.
- Leather/vinyl conditioner. Once the interior is clean, apply this to restore moisture and protection. It keeps surfaces looking new.
The most important tools are not products. A soft, clean microfiber towel and a lot of patience. Rushing causes damage. Take your time.
How to Get Gum Off Car Paint and Exterior Trim
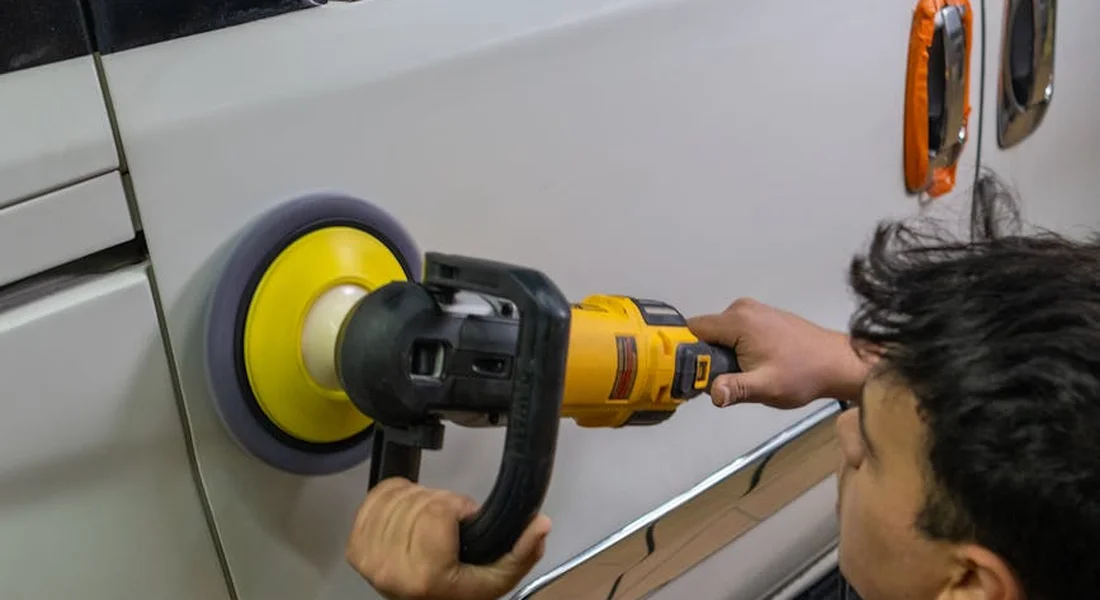
This is where you have to be careful. A mistake here can leave a permanent mark. You can fix a stained seat. A scratch in your clear coat is a different story. My black BMW and the red Porsche taught me this. The “Swirl Magnet” shows every single flaw. The Garage Queen has a perfect finish I refuse to harm. The goal is to remove the gum without touching the paint underneath it. Pulling on sticky gum stretches it and grinds it deeper. We do not do that.
The Freeze-and-Lift Method (Best for Fresh Gum)
This is my first move for how to get bubble gum off car paint. Cold makes gum brittle. Brittle gum breaks instead of stretches.
- Step 1: Chill It. Put a few ice cubes in a small plastic bag. Hold the bag directly on the gum for two to three full minutes. You want the gum rock hard.
- Step 2: Lift It. Use a plastic razor blade or your fingernail. Do not use metal. Gently work under an edge of the frozen gum and flex it. It should crack and pop off in pieces. If it’s still gummy, freeze it longer.
- Step 3: Clean Up. You will have tiny bits left. Spray a little quick detailer or waterless wash on the spot. Use a clean, soft microfiber towel to gently wipe the residue away. The lubricant lifts it without scratching.
Freezing the gum first is safer because it turns a sticky mess into a solid you can simply lift away.
The Warm-and-Wipe Method (For Old, Dried Gum)
Sometimes you find old, crusty gum. Freezing might not work. For how to get chewing gum off of car paint that’s been baked on, you use gentle heat.
- Step 1: Warm It. Use a hair dryer on its lowest setting. Keep it moving over the gum from a few inches away. Your goal is to soften it, not melt it into a hot liquid. That would make it worse.
- Step 2: Wipe It. Have a microfiber towel ready, soaked in warm water with a bit of car shampoo. As the gum softens, use the towel to gently roll and wipe it away. Change to a clean part of the towel often.
- Step 3: Dissolve Stubborn Bits. If a stain remains, use a solvent. Apply a dedicated automotive tar and gum remover or a citrus-based adhesive remover to your towel, not directly on the paint. Wipe gently. Wash the area after.
Textured black plastic trim is different than smooth paint. On trim, use the freeze method first, but be more careful with a plastic blade to avoid scuffing the texture. A soft-bristled brush can help after warming. If you’re aiming to restore faded black plastic trim, these methods can help revive its color and texture. This sets the stage for the next steps.
How to Clean Gum Off a Car Interior: Seats, Carpet, and Plastic
The interior is more forgiving but trickier. Gum pushes into fabric fibers. The question “how do you remove gum from a car interior?” has more than one answer. It depends entirely on the surface. The “Kid Hauler” Odyssey has seen it all. The common, stubborn problem of how to remove gum from car seats often depends on whether the surface is fabric, vinyl, or leather.
Removing Gum from Upholstery and Cloth Seats
Fabric wants to hold onto gum. You have to be patient.
- Step 1: Freeze and Pick. Same idea as the paint. Ice in a bag, hold it on the gum. Once it’s hard, carefully pick off the main chunk. Try not to push it deeper.
- Step 2: Treat the Stain. There will be a sticky stain left. Test an inconspicuous spot first. Then, put a small amount of isopropyl rubbing alcohol or an interior cleaner on a microfiber. Dab and blot the spot. Do not scrub. Scrubbing spreads the gum and frays the fabric.
- Step 3: For Deep Carpet Gum. For how to clean gum off car carpet that’s really in there, try the warm method. Soften it slightly with a hair dryer, then use a plastic tool to lift. Follow with a carpet extractor or a damp towel to pull up the last of the residue.
Removing Gum from Hard Plastic, Vinyl, and Leather
This is the easiest win. These non-porous surfaces don’t absorb gum.
- Step 1: Peel. You can often just lift the bulk of the gum off by hand. If it’s fresh and sticky, freezing it first makes this step clean.
- Step 2: Scrape Safely. For a dried patch on a hard dashboard, a plastic razor blade is perfect. Hold it at a very shallow angle, almost flat, and scrape gently. It will come right off.
- Step 3: Clean and Condition. Wipe the area with an all-purpose interior cleaner. For real leather or synthetic like the Tesla’s “Vegan Leather,” follow up with a light conditioner to restore protection.
A small dab of peanut butter or coconut oil on a towel can dissolve the last bits of gum residue on plastic trim; the oils break down the gum. Just wipe the area thoroughly with soapy water afterwards to remove all the oil.
Paint Damage Prevention: The Don’ts of Gum Removal
I get it. You see a wad of gum stuck to your car door and your first instinct is to just get it off, now. You grab what’s handy. That’s how scratches happen. That’s how stains set. Let’s talk about what not to do so you don’t create a bigger, more expensive problem.
- Do not use metal blades, knives, or screwdrivers. This is the fastest way to scratch down to primer. My Jet Black BMW taught me this lesson early. Its soft clear coat shows every single mark. A metal edge, even used gently, will act like a tiny plow, carving a permanent gouge you’ll need a professional to polish out. If you wouldn’t use it on your phone screen, don’t use it on your paint.
- Do not use gasoline, lacquer thinner, or acetone. These will instantly destroy clear coat and interior materials. Gasoline is a harsh solvent that will strip wax and can permanently stain or dull the paint’s finish. Lacquer thinner and acetone are paint thinners. They will melt your car’s clear coat, leaving a hazy, etched spot that cannot be fixed without a respray. On my Tesla’s vegan leather or the Odyssey’s fabric, these would cause irreversible staining and material breakdown.
- Do not scrub fabric aggressively. You’ll fray the fibers and set the stain deeper. Picture gum ground into the carpet of the minivan. If you take a stiff brush and go at it, you’re not lifting the gum out. You’re mashing it deeper into the weave and breaking the fabric loops. The stain becomes a permanent part of the carpet. Gentle agitation is the only way.
- Do not pour remover directly on the car. Always apply to your tool or towel first for control. Pouring a solvent directly onto a painted surface or interior trim lets it run everywhere. It can seep into seams, drip onto other panels, or pool in a spot and start damaging the material before you can wipe it. I apply everything to a microfiber towel or a cotton swab first. This gives me surgical precision.
Patience and the right tools will get the gum off without a trace, while haste and hardware store chemicals will leave a permanent reminder.
Troubleshooting Stubborn Gum and Residue
So you tried the ice cube trick or a little safe remover, and that gum is still clinging on like it owns the car. Don’t panic. Some gum has been baking in the sun for weeks, turning into a hardened, fossilized glue. Here’s how to handle the tough cases.
For ancient, sun-baked gum, the game changes from “picking” to “dissolving.” You need to rehydrate and soften it. A quick spray won’t cut it. My method is to soak a small piece of a microfiber towel in your chosen safe remover, like a dedicated tar and glue solvent or isopropyl alcohol diluted with water. Lay the soaked cloth directly on the gum spot. Then, cover it with a small piece of plastic wrap or masking tape to seal it. This traps the solvent against the gum and stops it from evaporating. Let it sit for ten, even fifteen minutes. You’re giving the chemistry time to work.
After the soak, the gum should be soft and gummy again. Gently lift it with a plastic razor blade or your fingernail covered by a microfiber cloth. Work from the edges inward. For paint, once the gum itself is gone, you will almost always have a thin, oily residue left behind. This is where a detailing clay bar becomes your best friend. Spray a lubricant on the area, knead a clean piece of clay, and glide it over the spot. You will feel it grab that last bit of contamination. The paint will go from slightly tacky to perfectly smooth.
You should stop and call a professional detailer if you are dealing with a very large area, if the gum is on a fragile surface like a convertible top or a matte wrap, or if your initial attempts have already caused visible damage. On my Porsche, if gum was stuck on the Alcantara steering wheel or the delicate PPF, I wouldn’t experiment. The cost of a professional removal is always less than the cost of replacing a steering wheel or a section of paint protection film. Know your limits. There’s no shame in calling for backup.
Keeping Your Car’s Surfaces Gum-Free
The most important rule is to always harden the gum with cold first, using ice or a dedicated freeze spray. This simple step turns a sticky mess into a brittle shell you can pop off, which has saved the paint on my black BMW more than once.
Try to scrape or pull soft gum, and you will drag it across the surface, guaranteeing scratches in your paint or tears in your upholstery.
Citations and Authoritative Sources
- How To Remove Chewing Gum From Car Paint
- How to Remove Chewing Gum from a Car Exterior: 9 Steps
- r/cars on Reddit: So what’s the best way to get gum off your car?
- How to Get Chewing Gum Off Your Car – Inland Empire Autobody & Paint
- How To Remove Gum From Your Car’s Exterior
- How to get gum off of car exterior | TexAgs