How Do You Properly Paint and Touch-Up Scratches on Car Bumpers?
That new scratch on your bumper feels personal, and you worry a DIY fix will only make it more obvious. I know the feeling from staring at the first nick on my own black BMW.
I will guide you through my hands-on process, covering matching your paint code perfectly, prepping the plastic without causing damage, applying touch-up paint without runs, and sealing the repair for a glossy finish.
Use the wrong technique, and you will embed dirt under the paint or create a raised, cloudy blotch that permanently mars the bumper.
What Kind of Scratch Are You Dealing With?
First, do not panic. I have felt that sinking feeling too, like when I found a new scratch on the door of my black BMW. Take a deep breath. The first step is always diagnosis. You need to know your enemy.
Use the fingernail test. Gently run your fingernail across the scratch, perpendicular to its length. If your nail catches in a groove, the scratch is deep. If it glides over smoothly, you might be in luck. This simple trick tells you everything.
Scratches come in layers, just like your car’s paint.
- Clear Coat Scratches: These are surface level. They only affect the transparent top layer. Think of a fine web of lines from a car wash brush or a light scrape. On my Tesla’s white bumper, these often look like dull scuffs. These scratches can almost always be polished out without any paint.
- Base Coat Scratches: Here, the scratch has cut through the clear coat and into the colored paint layer. You will see the actual color of the scratch. On my red Miata, a deep key mark showed bright red plastic underneath. Your fingernail will definitely catch. This damage needs touch-up paint.
- Deep Gouges into the Plastic: This is the worst case. The scratch has gone through all the paint layers and into the raw bumper plastic. You will see a different color or texture, often a grey or black plastic. The edges might feel sharp. My F-150’s bumper has a few of these from trail debris. This requires filling and painting.
So, can you polish it? Only if the scratch is confined to the clear coat. The moment you see color missing or feel a deep groove, you need touch-up paint. This is where that common question about a ‘bumper scratch repair kit’ comes in. Keep in mind that bumper surfaces can react differently from body panels, sometimes needing a bumper-specific repair path. When the damage is on the bumper, a dedicated bumper scratch repair approach—or professional refinishing—may yield the best blend even if the rest of the panel looks fine. A kit is sufficient for a single, isolated base coat scratch no bigger than a few inches. For larger areas, multiple scratches, or deep gouges, a kit will not blend well. You need the full arsenal.
The Detailer’s Arsenal: Tools & Chemicals for Bumper Touch-Ups
Fixing a scratch is like surgery. You need the right tools and a clean room. Start by cleaning and preparing the scratches before repair. Do not skip items. It can save you time and prevent rework later. I learned this the hard way on an old Honda, trying to rush. Here is everything you will need, laid out in order of use.
Let’s address the big question right away: can you spray paint plastic car bumpers? Yes, but only for larger repair areas. For 90% of scratches, a small brush from a touch-up bottle is the right choice. Spray cans are for when you are repainting a whole section. They are harder to control and require extensive masking. For a precise touch-up, the bottle is your friend.
Cleaning & Prep Supplies
This step is non-negotiable. Any dirt left behind will be sealed under your new paint, ruining the repair.
- Safety First: Nitrile gloves and safety glasses. Paint and solvents are not skin or eye friendly.
- pH-Neutral Car Shampoo: Like the one I use on my Porsche. It cleans without stripping wax or damaging surfaces.
- Wash Bucket with a Grit Guard: This traps dirt at the bottom. It prevents you from grinding grit into the paint during prep.
- Microfiber Towels: You need two types. A plush, 300-500 GSM towel for drying the area. Then, a soft 70/30 blend towel for the final wipe-down with isopropyl alcohol. The 70/30 blend is less likely to leave lint.
- Isopropyl Alcohol (IPA) Mix: A 10-15% solution in a spray bottle. This is your final degreaser. It removes all wax and oils so the paint can stick.
- Painter’s Tape and Plastic Sheeting: To mask off the area around the scratch. Protect your car from overspray or accidental compound splatter.
Abrasive Materials & Paint
This is where you shape the repair and add color. Patience is your best tool here.
- Sandpaper: You need wet sanding paper. I keep 2000-grit and 3000-grit on hand. The 2000-grit is for leveling the edges of a deep scratch. The 3000-grit is for smoothing the repair before polish. Always use them with plenty of water.
- Adhesion Promoter: This is critical for plastic bumpers. Plastic is flexible, and paint can chip off. A promoter creates a sticky layer for the paint to grip. Do not skip this.
- Exact Match Touch-Up Paint: Find your vehicle’s color code. It is on a sticker in the driver’s door jamb or under the hood. Order the paint from a reputable supplier using this code. The paint in the bottle should have a small brush in the cap.
- Clear Coat: Paint needs protection. You can get clear coat in a small bottle with a brush for tiny repairs, or in a spray can for larger ones. For most touch-ups, the bottle is perfect. It goes on over your color coat after it dries.
- Applicator Brushes or Toothpicks: For very fine scratches, the brush in the cap is too big. I use a fine artist’s brush or even a toothpick to dab in tiny amounts of paint.
Polishing & Protection
The final act. This is where you hide the repair and lock in your work.
- Dual-Action Polisher: I use a model with a 15mm throw, like my go-to for the BMW’s swirls. This size gives you control on curved bumper surfaces without the risk of burning the paint that a rotary polisher has.
- Polishing Pads: A soft foam polishing pad for your compound. A separate, even softer finishing pad if you use a glaze.
- Fine Finishing Compound: After wet sanding, the area will be hazy. A fine, non-aggressive compound will cut that haze and restore gloss. It is gentler than a heavy cutting compound.
- Spray Sealant or Wax: Once the repair is polished and flawless, you must protect it. I prefer a synthetic spray sealant for its durability. It beads water and shields the new paint from UV rays. Apply it after the final polish for a uniform layer of protection.
The Unbreakable Protocol: Order of Operations for a Flawless Repair
I treat every scratch repair like a recipe. Miss one ingredient or step, and the whole thing falls apart. On my black BMW, the swirl magnet, a botched touch-up from a previous owner looks like a dark smudge in certain light. It happened because they painted over dirt. Follow this order exactly to make sure your repair sticks and disappears into the surrounding paint.
The Bumper Touch-Up Checklist
This is your list. Do not skip ahead.
- Deep Clean: Wash the whole bumper with car shampoo, then use an iron remover spray. Bumpers collect brake dust and road film that soap alone cannot lift.
- Mechanical Prep: Sand the scratch edges only if they are rough or raised. The goal is to create a smooth ramp for the new paint, not to make the scratch bigger.
- Mask & Protect: Use automotive painter’s tape to mask a small border around the scratch. This keeps your work area clean and protects the good paint.
- Prime & Paint: If you sanded down to bare plastic, apply a plastic adhesion promoter first. Then, apply your color coat in multiple thin layers, not one thick glob.
- Clear & Cure: Apply a clear coat over the color. Then, walk away. Let it dry for the full time listed on the product, even if it looks dry to the touch.
- Level & Blend: Once cured, wet sand the repaired spot until it is perfectly flush with the surrounding paint. Then, use a compound and polish to restore the deep gloss.
- Protect: Apply a spray sealant or wax over the entire bumper. This ensures the new paint and the old paint have the same shield against the elements.
Step-by-Step: How to Apply Touch-Up Paint to a Car Bumper
Let’s get your hands dirty. This process works on my F-150’s scraped bumper or my Model 3’s chipped front end. I will address the common gripes you see on forums, where people complain about paint not sticking or the repair looking worse than the scratch.
Step 1: The Surgical Clean
Wash the bumper normally and dry it with a clean microfiber towel. Now, focus on the scratch itself. Soak a lint-free cloth in isopropyl alcohol, about 70% strength. Wipe the scratch and an inch around it. This alcohol wipe removes every trace of wax, silicone, and fingerprints that will repel your touch-up paint, essential for repairing paint scratches on a car bumper. Let it evaporate completely. Do not touch the area after this.
Step 2: Sanding and Feathering the Edges
This step is only for scratches you can feel with your fingernail. Take a small piece of 3000-grit wet sandpaper. Keep a spray bottle of water handy. Spray the scratch, then gently sand back and forth along the scratch line, not across it. You are not trying to erase it. You are smoothing the rough, torn edges of the clear coat so the new paint has a surface to grip. Feathering the edges makes the transition from old paint to new paint invisible. These steps are part of repairing car paint scratches. Proper prep helps the new paint adhere and blend. Rinse the area, dry it, and do another alcohol wipe.
Step 3: Applying the Paint-Brush, Pen, or Spray?
People always ask me which tool to use. The answer depends on the scratch size. For a tiny stone chip, use the brush that comes in the bottle. Dab a tiny drop into the chip. For a long, thin scratch, a paint pen can work if you use a steady hand. For a scrape larger than a quarter, a spray can is your best bet. This answers the common question, ‘can i spray paint my car bumper.’ Yes, but you must mask. Tape off a large area around the repair and use light, sweeping passes from about 10 inches away. Building color with three misty coats is always better than drowning the area in one heavy coat that will run and sag. With any method, patience between coats is your best friend. DIY car scratch repair can be tackled at home with patience. Test your approach on a hidden area first to nail the finish.
Step 4: The Clear Coat and Cure
The color coat is just that, color. It will be dull and vulnerable. Clear coat is the hard, shiny shell that protects it. Apply it the same way you applied the color, with thin, even layers. Now, the hardest part. You must let it cure. The paint may feel dry in an hour, but it is still soft underneath. If you sand or polish too soon, you will peel the whole repair right off the bumper. I give it at least 24 hours, or even 48 for spray can jobs. Park the car in a clean, dry garage if you can.
Step 5: Sanding Level and Cutting the Gloss Back
After curing, your repair will be a small bump. Get your 3000-grit sandpaper and spray bottle again. Wet sand the bump gently, using a small sanding block for even pressure, until it is completely flush with the surrounding paint. You will see a hazy, matte spot. Do not panic. This is normal. Now, use a dual-action polisher with a light cutting compound to remove that sanding haze. Follow with a fine polish to bring back the deep, wet shine. This leveling and polishing step is what separates a professional-looking repair from an obvious blob of paint. On my red Porsche’s bumper, this is the difference between a visible patch and a perfect blend.
Detailer’s Pro-Tip: The Lighting and Layering Technique
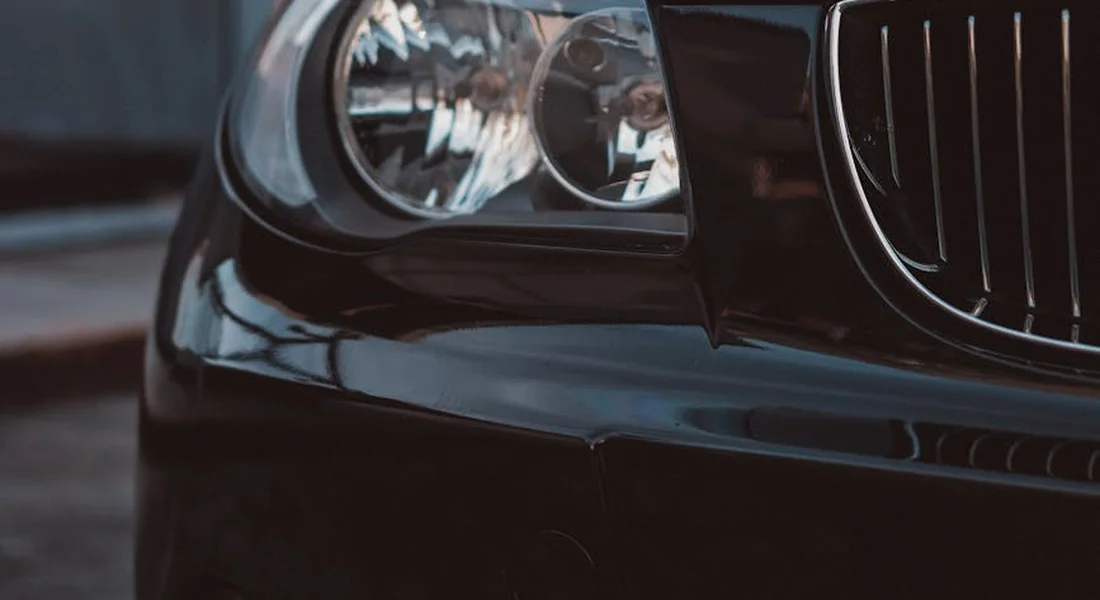
I have fixed stone chips on my F-150 and deep scuffs on the Odyssey. The line between an okay repair and one that vanishes is not magic. It is two physical tweaks: how you light your work and how you build the paint.
Lighting Angle is Everything
Ambient light hides flaws. You need to see the texture. Take a bright LED flashlight. Hold it down low, so the beam rakes across the bumper at a shallow angle, like morning sun across a field. This turns a faint scratch into a stark black canyon, revealing every dip and ridge as you sand. On my Jet Black BMW, this method showed me where my sanding block was tilting. Keep the light moving. When the shadow is gone, the surface is flat.
The Layering Dance: Patience Over Pressure
Think of applying paint like pouring syrup, not spreading butter. With a spray can, start your motion before the bumper. Use a steady, even arm speed across the whole area. Do not stop mid-pass. A consistent sweep lays down a uniform coat that dries evenly and prevents runs. If you are using a brush-tip bottle, rest your wrist on something stable. Touch the brush to the scratch and let go. The paint will flow into the groove by capillary action, all on its own. Pressing creates a blob that sits above the surface. On my Ford’s bumper, a blob meant I had to sand it all off and start over. Apply three thin layers. Wait for each to flash off. Patience here is your best tool.
When DIY Makes Sense vs. Calling a Pro: Cost and Realistic Outcomes
You need to be honest with yourself. Is this a quick cover-up or a restoration? I see questions all the time about ‘bumper scratch repair cost’ and ‘bumper scratch repair near me’. The answer depends on what you can live with.
DIY Route: Kit Costs and Skill Level
A proper touch-up kit from a brand like Dr. ColorChip or your dealership costs between $20 and $50. It has the correct color and clear coat. Your realistic goal with a DIY kit is a repair that looks clean from a few feet away, what we call a ‘five-foot fix’. It will not be perfect under a raking light. If you search ‘bumper scratch repair kit near me’, your local auto parts store will have options. This path works for small scratches where the plastic is not showing. I did this on a door ding for the Honda. It took an afternoon and saved me a big bill.
Professional Repair: What You’re Paying For
For a long scratch or damaged clear coat, call a pro. Understanding the paint car bumper cost helps you plan which repair route fits your budget. It also helps you compare a spot repair against a full bumper respray. A professional spot repair for a bumper scratch typically runs $150 to $300. A full bumper respray, where they remove it, prime it, and paint it in a booth, starts around $500 and can go over $1000. That money buys you a controlled environment and an artist’s eye for color blending, which is the real answer to ‘how to paint a bumper to match your’ car. They use spray guns and mix paint by code to make it seamless. For my red Porsche, even a small scratch gets pro treatment. The finish matches perfectly, and the value stays high.
Keeping It Clean: How to Protect Your Bumper After the Repair
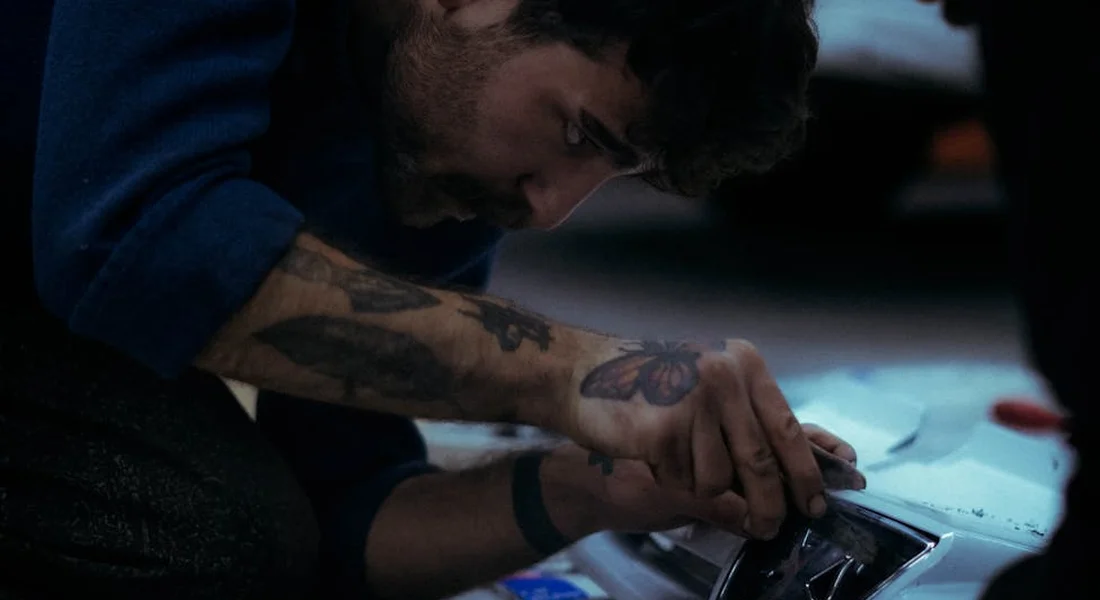
Your fresh paint is still soft. It is vulnerable. The work you just did can be undone in a week with poor care. My 2016 BMW 3 Series taught me this the hard way. A perfect touch-up can be surrounded by new swirls if you are not careful – even if you took an unconventional approach. The goal now is not just to clean, but to preserve.
Immediate and Long-Term Protection
Do not wax or seal the area for at least thirty days. The paint needs to outgas and cure fully. Touching it too soon can trap solvents and create a hazy finish. After that curing period, your first line of defense is a sealant.
I apply a ceramic spray sealant over the entire bumper, not just the repair, for a uniform layer of chemical resistance. These sprays are forgiving. They bead water fiercely and protect against bug acids, bird droppings, and road film far better than a plain carnauba wax. On my F-150’s bumper, this is the only thing that keeps the mud and salt from etching in.
Your washing technique becomes the most important habit. You cannot use a drive-thru brush or a gritty sponge. The two-bucket method is non-negotiable. One bucket holds your clean, sudsy shampoo mix. The other is your rinse bucket with a grit guard at the bottom to trap dirt. You wash a section, then rinse your mitt in the clean water bucket before getting more soap. This keeps abrasive particles off your paint.
Use a high-quality, pH-neutral car wash soap that lubricates the surface; this lifts dirt away instead of grinding it in. Cheap dish soap will strip your new sealant and leave the paint squeaky clean but utterly defenseless. I learned that lesson on my Miata’s single-stage paint years ago. If you’re prepping for bodywork or color correction, removing the old sealant from the bodywork is often the first step. That prep helps the new finish bond properly.
Smart Habits to Avoid a Repeat Performance
You fixed the scratch. Now, change your behavior. Parking habits are free protection. I always park at the far end of a lot. The walk is good for you, and it keeps other car doors away from your bumpers. In my tight garage, I use a simple foam bumper guard hanging from the wall. It is a soft kiss for the bumper instead of a concrete crunch.
For the front bumper, keep your distance when following other vehicles. Those pebbles and road debris are tiny paint chisels. Give yourself space.
If you are serious about protection, consider paint protection film (PPF) for the high-impact zones. For vulnerable areas like bumper corners and leading edges, a clear paint protection film (PPF) is the ultimate armor, absorbing rock chips and scuffs without damaging the paint underneath. It is a more involved investment, but on my Porsche’s front end, it has saved the paint countless times. You can even apply a small, pre-cut piece just to the bumper’s most exposed curve. Think of it as a permanent, self-healing clear bra.
Securing a Professional-Grade Finish
The entire job rests on how thoroughly you clean and sand the scratch before a single drop of paint is applied. Get this base perfectly smooth and free of contaminants, and the color will lay down evenly, hiding the damage. This prep is the first step in a scratch repair paint correction workflow, shaping the polishing and finishing stages to come.
Neglect this prep work, and the new paint will chip away in weeks, leaving a messy, obvious patch that requires a full redo.
Relevant Resources for Further Exploration
- r/fixit on Reddit: Scratched bumper – any way to DIY fix it?
- Amazon.com: Bumper Scratch Repair Kit
- How to Repair Plastic Bumper Scratches : 9 Steps – Instructables
- How to fix scratches on a car bumper affordably?
- BUMPER SCRATCH FIX – Scratch Fix Products