How Do You Remove Paint Overspray from Car Windows Without Scratching the Glass?
As a detailer, I’ve felt that sinking feeling when I spot dried paint splatter on a window after a nearby project. You need a safe way to clean it without turning those specks into permanent scratches.
I will walk you through identifying the type of paint contamination, choosing the correct solvents and tools, executing a safe step-by-step removal, and finishing with a perfect polish.
Use the wrong scraper or chemical, and you will etch fine scratches into the glass that never come out.
Key Takeaways: Your Quick-Start Guide
You can fix this. Paint on glass looks terrible, but it is one of the simpler detailing problems to solve. I have cleaned everything from construction splatter off the Odyssey to overspray on the BMW’s windows. The method depends entirely on what landed on your glass—especially when it comes to paint stains.
- For a fine mist of overspray (it feels like sandpaper), use a detailing clay bar and lubricant. This is the gentle, sculpting method. It safely pulls the embedded particles off the surface.
- For thick, cured dots of splatter, use a fresh single-edge razor blade held at a shallow angle. This is the precise scraping method. Glass is harder than the steel blade, so it won’t scratch if done correctly.
Difficulty: Easy to Moderate. The work is simple, but patience is your most important tool.
Time: 15 minutes for a single window with light overspray, up to 60 minutes for a full car with heavy splatter.
The non-negotiable rule for both methods: the glass must be perfectly clean and wet with lubricant first. You are never scraping or claying a dry surface. Ever. For clay, use a dedicated clay lubricant or a very slippery soapy water mix. For a razor blade, use the same lubricant, glass cleaner, or even plain water as a safety buffer.
A firm warning: The razor blade is for glass only. Do not let it touch the painted body, the window trim, or the rubber seals. Tape them off if you are unsure. Never use abrasive pads like steel wool, even the fine grade, or harsh paint thinners. They will instantly ruin adjacent surfaces.
Understanding What You’re Up Against: Overspray vs. Splatter
Knowing your enemy is half the battle. Paint contamination on your windows typically comes in two forms, and they require different tactics.
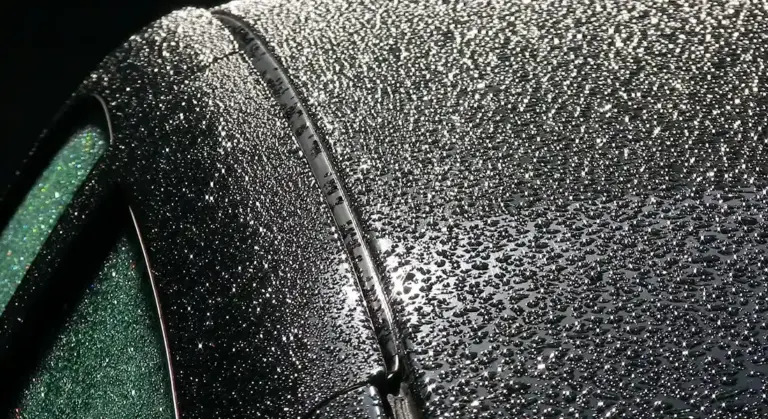
Paint Overspray is a fine, dry mist of paint particles. It happens when someone sprays paint nearby and the wind carries it. It does not stick like a wet coat. Instead, it settles onto your glass and feels like a layer of gritty dust. Run your hand over it. If it feels like very fine sandpaper, that is overspray. It is bonded by static and minor adhesion, not by curing, unlike paint haze or cloudiness on car paint.
Paint Splatter or Droplets are the blobs. These are actual wet drops that hit your window and dried in place. They are thick, often have a raised edge, and are physically bonded to the glass. You can catch your fingernail on them. This is common from painting trim, fences, or from construction sites.
Glass is your friend here. It is a non-porous, extremely hard surface. On paint or trim, these contaminants can etch or bond permanently. On glass, they are just sitting on top. This makes glass the easiest and safest surface on your car to decontaminate. The goal is to break the bond and lift the contaminant without leaving any marks behind.
The type of paint matters less than its cure time. Latex house paint, when fresh, can sometimes be wiped off with water. After it cures for days, it becomes plastic-like and needs scraping. Acrylic enamel automotive overspray is often fully cured and gritty when it lands. The good news? Your removal method (clay or blade) works on all of them once they are dry. The cure just determines how much mechanical effort you will need. Similarly, if dried paint ends up on a car surface, these same methods apply. Start with the gentlest approach—clay or careful blade work—to remove dried paint from car surfaces without damaging the finish.
So, will overspray come off glass? Yes, one hundred percent. If you feel any grit left behind after claying or scraping, you are not finished yet. A perfectly clean glass surface will be perfectly smooth and silent when you glide your fingers across it. You will get there.
The Required Arsenal: Tools & Chemicals
You need the right tools for this job. Using whatever is under the kitchen sink will likely scratch your glass. I learned this after a neighbor painted his fence and my black BMW was covered in a fine mist. Professional results demand professional-grade supplies, chosen for their specific purpose and safety.
Clay & Abrasive Tools
These are your physical removers. Glass is harder than paint, but you still need tools that grab contamination without leaving their own marks.
- Detail Clay Bar: For paint particles, a heavy-duty grade clay bar is best. I use the aggressive blue or gray bars. They have more bite to pull embedded overspray. You must knead it constantly to expose a clean surface and discard it the moment it touches the ground.
- Synthetic Clay Mitts: A reusable option like a Nanoskin Fine Grade pad. It is faster for large areas, like my Tesla’s glass roof, but for hardened, gritty paint splatter, the traditional clay bar often provides better direct contact and pulling power.
- Razor Blades: The ultimate tool for bonded paint. You must use a single-edge industrial blade, like a Stanley 1992, or a dedicated glass scraper with a fresh blade. A new blade for each window is cheap insurance against scratches from a dull or chipped edge.
Chemical Soldiers
Chemicals break the bond between the paint and the glass, making physical removal safe and easy.
- Bug & Tar Remover or All-Purpose Cleaner (APC): A dedicated product like Stoner Tarminator is formulated to dissolve these bonds. A pH-neutral or mild alkaline APC, such as CarPro MultiX diluted 1:10, also works well. Spray, let it dwell for a minute to soften the paint, then proceed.
- Dedicated Glass Cleaner: For the final wipe. Always choose an ammonia-free formula, like Sprayway Glass Cleaner, to safely clean tinted windows without causing haze or damage to the film.
- Addressing Common Home Remedies: People suggest WD-40, vinegar, or rubbing alcohol. I have tried them all. WD-40 leaves a greasy residue that smears and attracts dirt. Vinegar is too weak for cured paint and can harm rubber. Rubbing alcohol evaporates too fast and provides no lubrication. These kitchen solutions are imprecise, often ineffective, and can damage surrounding trim and paint. Use products made for cars.
Lubrication & Finishing Tools
Lubrication prevents scratching. The right towels leave nothing behind.
- Clay Lubricant or Detail Spray: A dedicated clay lube, like from a Griot’s Garage kit, is ideal. A quality detail spray, such as P&S Bead Maker diluted as a lubricant, also works. I use this on my F-150’s windshield all the time. The surface must stay slick.
- Microfiber Towels: You need two kinds. Use 300-350 GSM towels for applying chemicals and wiping away residue. They are economical and absorbent. For the final buff, a 500+ GSM waffle weave glass towel is non-negotiable. It polishes the glass to a perfect, streak-free shine without lint.
The Step-by-Step Safe Removal Method
This is the exact process I follow in my shop. It combines chemical softening, clay, and careful scraping. For removing spray paint from car glass, this approach is a proven method to do so safely. It preserves clarity while lifting overspray. This method removes paint overspray from glass without introducing scratches, guaranteed.
Step 1: The Critical Wash & Isolate
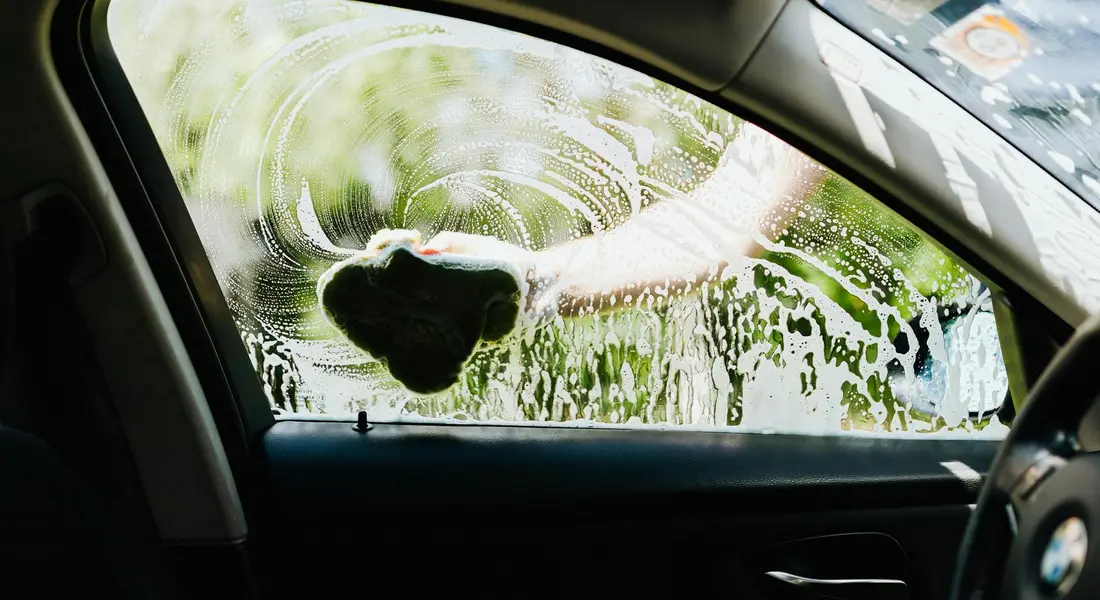
Any dirt on the glass will grind under your tools and cause scratches. Wash the entire window and the surrounding paint and trim with car wash soap and water. Rinse it completely. Dry the area with a clean microfiber towel. Then, take a roll of painter’s tape. Run a thin line of tape along the rubber gaskets and the edge where the glass meets the paint or trim. This protects those surfaces from chemicals and accidental blade contact. On my Honda Odyssey’s complex window seals, this tape is a lifesaver, especially when removing scratches from car glass.
Step 2: The Clay Bar First Pass
Always try clay first. For light, fresh overspray, this is often all you need. Knead your clay bar until it is soft, then flatten it into a patty. Spray a generous amount of clay lubricant onto a small section of the glass. Keep the surface flooded with lubricant while you work. Glide the clay bar back and forth with light, even pressure. You will feel it grabbing the tiny bumps. After each pass, fold the clay to expose a clean interior. If the clay bar hits the ground, throw it away. For synthetic mitts, use the same technique with straight-line motions. When the glass feels smooth to the touch, you are done. If it still feels gritty, move to the next step.
Step 3: The Razor Blade Technique (For Stubborn Bits)
For paint dots that are welded on, the razor blade is your solution. Spray the stubborn spots with your bug & tar remover. Let it sit for 30 seconds to soften the paint. Hold the razor blade or scraper so the cutting edge is at a very shallow angle to the glass, between 15 and 30 degrees. Imagine you are shaving the surface. Constantly spray a stream of clay lubricant or detail spray onto the glass in front of the blade. Use light pressure and pull the blade toward you in single, controlled strokes. Never scrape back and forth. Never use a dry blade.
Detailer’s Pro-Tip: Use a flashlight held at a low angle. The light will cast a shadow from the paint speck. As you shave it off, the shadow vanishes. Focus on keeping the entire back of the blade flat against the glass to maintain that safe, shallow angle. This trick saved the curved glass on my Mazda Miata.
Step 4: The Final Clean & Inspection
Your glass will have lubricant and chemical residue. This must be completely removed. Spray your ammonia-free glass cleaner directly onto the glass. Wipe it off with a 300-350 GSM microfiber towel. Then, take your dry, clean waffle weave glass towel and buff the entire window in circular motions until every streak is gone.
To inspect your work, put your hand inside a thin, disposable plastic bag. Lightly drag your bagged fingertips across the glass. Any remaining contamination will feel like definite grit under the plastic. Also, look at the reflection of a light or the sky in the glass. A perfectly clean window will show a sharp, undistorted reflection. On my Porsche’s windshield, this final check is what proves the job is done right.
When the Paint is Stubborn, Cured, or on Other Surfaces
Sometimes, the paint is no longer a fresh spatter. It has baked on for days or weeks under the sun. It feels like a permanent part of the glass. Do not give up and start scraping. There is still a safe process.
Handling Rock-Hard Paint Dots and Specific Types
I found this on my blue F-150 after parking near a house painting job. The dots were tiny, hard, and felt like rough sand under my fingernail. For this, you need chemistry and patience, not force.
The goal is to re-soften the paint. My most reliable method is the soak and scrape.
- Spray a dedicated bug and tar remover or isopropyl alcohol directly onto the paint dot. Do not skimp.
- Immediately lay a small, folded microfiber towel square over the spot. Press it down so it makes contact.
- Spray more product onto the back of the towel to soak it through. You want it wet and sitting on the paint for 5 to 10 minutes. This keeps the solvent from evaporating too fast.
- After soaking, the paint should be gummy. Use a brand-new plastic razor blade. Hold it at a very shallow angle, almost flat against the glass.
- Gently push the blob. It should slide off. If it resists, soak it again. Never use a metal blade.
For specific paints, your approach can change. Water-based acrylics or tempera (common “glass paint” for windows) often soften with just warm, soapy water and a longer soak. Chalk paint can be powdery and may clay off easily once the surface is lubricated. The key is identifying the paint. If it came from a spray can, assume it is lacquer or enamel and needs the stronger solvent soak, similar to how you would remove touch-up paint from a car.
What To Do About Overspray on Trim and Paint
This is the critical moment. The methods we use on glass are dangerous everywhere else.
Plastic razors, heavy solvents, and scraping will ruin your car’s finish. They will scratch clear coat into a haze and can melt or stain plastic trim. I learned this the hard way on an old mirror cap, which even professional cutting and polishing couldn’t fix.
For overspray on painted surfaces or trim, you must use a detailing clay bar with plenty of lubricant. The clay will gently encapsulate and pull the particles away. After claying, you will often need to polish the area to restore perfect clarity, as the clay can leave mild marring. On delicate trim, a dedicated trim cleaner and a soft brush may work. For severe cases on paint, this becomes a paint correction job. We have detailed guides on that process on the site.
When to Call a Professional Detailer
There is no shame in calling for backup. I do it when a client’s car is beyond my time or tool limits. It is the smart choice for preserving value.
Call a pro if the overspray covers the entire vehicle. The labor is immense. Call a pro if you lack confidence or the proper tools like a polisher. Call a pro if the car has expensive paint, a fragile wrap, or Paint Protection Film. The risk is too high. If you’re dealing with paint overspray on a car, you’ll want safe removal options. We’ll cover how to remove paint overspray from a car in the next steps.
The cost for professional paint overspray removal is not a flat rate. It depends on the vehicle’s size and how bad the contamination is. A small sedan with light overspray costs less than a large truck covered in hardened dots. This is true whether you are in Plano, Uptown Dallas, or anywhere else. Sometimes the overspray leaves adhesive residues that require a different removal approach. If adhesive is involved, you may need specialized methods.
To find a reputable company, look for detailers with certifications from groups like the IDA or manufacturer training. Read reviews that mention specific results. A good shop will assess the car in person and should be able to guarantee the overspray will be removed without damaging your finish. They have the experience and industrial-grade products to handle what we cannot in our home garages.
Smart Habits for Spotless Windows
The most important rule is to always start with a lubricated clay bar, gently gliding it over the glass to lift the contamination. This simple step, which I perform on everything from my F-150’s windshield to the 911’s side windows, prevents the need for aggressive scraping and keeps the surface flawless.
Skip this gentle foundation and drag a dry razor blade, you will etch fine scratches into the glass that catch the sun and never polish out.
Research and Related Sources
- How to Remove Paint from a Car Windshield – Jerry
- r/fixit on Reddit: Accidentally got oil based spray paint overspray on my car windows, how can I completely remove it all?
- r/AutoDetailing on Reddit: How do I get overspray off my windshield
- How to Remove Overspray (and Other Messes) From Glass | Behind the Detail
- Car Overspray Removal – Safe Car Paint Decontamination
- Removing overspray from auto glass – Car Care Forums
- How to Clean Paint Overspray Off of Car Windows | It Still Runs
Max Gunther
Max is an automotive enthusiast having worked as a car mechanical and in interior detailing service for over 25 years. He is very experienced in giving your old car, a new fresh vibe. He has detailed many cars and removed very tough smells and stains from all kinds of cars and models, always ensuring that his work and advice helps his customers. He brings his first hand experience to his blog AutoDetailPedia, to help readers breath new life into their car interiors.