How Do You Restore Faded Black Car Paint to a Deep, Mirror Finish?
That dull, chalky film on your black car makes it look tired and old, but I can tell you from experience that shine is still hiding underneath.
Using the same process I rely on for my jet black BMW 3 Series-the ultimate “swirl magnet”-this article will teach you how to diagnose the cause of the fade, wash without inflicting new scratches, decontaminate the surface, polish away the dead layer, and protect your hard work with a durable sealant.
Leave the fade untreated, and UV rays will continue to degrade the clear coat, potentially leading to irreversible damage that hurts your car’s value and appearance.
The Restoration Protocol: Your Order of Operations
Restoring black paint is like performing surgery. You need a clean room and sterile tools. If you skip a step, you introduce infection, in this case, scratches. I learned this the hard way on my 2016 BMW 3 Series, the Jet Black swirl magnet. One rushed job left me with holograms I spent hours fixing. This checklist is your sterile procedure; follow it exactly to bring that paint back to life.
- Wash & Dry
Start with a thorough two-bucket wash. Use a pH-neutral shampoo and a clean microfiber mitt. Rinse the car completely. Dry it with a large, soft drying towel using a pat-and-pull motion. Do not drag the towel on dry paint. Any dirt left here becomes sandpaper in the next steps.
- Chemical Decontamination
Spray an iron remover over the entire paint surface. It will turn purple as it reacts with embedded brake dust and rail dust. Let it dwell for a few minutes, then rinse it off completely. This step dissolves contaminants your wash missed. Wear gloves and do this in a shaded, cool area.
- Mechanical Decontamination (Clay)
After washing and decontaminating, the paint might still feel rough. Use a detailing clay bar or synthetic clay mitt with a lubricant spray. Glide it gently over a small section. You will hear and feel it grabbing microscopic debris. This step makes the paint perfectly smooth, which is mandatory before any polishing.
- Assess Paint & Tape Trim
Now, with clean, smooth paint, look at it under a bright LED work light or in direct sun. Identify the worst oxidation areas. Use painter’s tape to mask off plastic trim, rubber seals, and edges. This protects them from compound splatter and prevents staining. On my BMW, I always tape the window trim.
- Compound (Cut)
This is where you remove the oxidation. Apply a cutting compound to a foam cutting pad on a dual-action polisher. Work on one two-foot by two-foot section at a time. Keep the polisher flat and moving slowly. The hazy, white film will start to disappear, revealing the true black color underneath. Wipe off the residue with a clean microfiber towel before it dries.
- Polish (Finish)
Compounding leaves microscopic scratches. Polishing removes them. Switch to a soft foam finishing pad and a fine polish. Repeat the same section-by-section process. This step brings back the deep, liquid gloss. The difference on black paint is night and day.
- Final Wipe & Inspect
Do a full wipe-down with a clean microfiber towel and a spray of isopropyl alcohol diluted with water (a 1:10 mix). This removes any leftover oils so you can see the true finish. Inspect the entire car under your lights. Look for any missed oxidation or haze.
- Protect (Sealant/Wax/Ceramic)
Your fresh paint is bare and vulnerable. Apply a layer of protection immediately. A synthetic sealant or ceramic spray coating works best for long-lasting defense against UV rays. This locks in the gloss and prevents the fade from coming back quickly. On my daily drivers, I use a spray sealant for efficiency. Environmental exposure—acid rain, pollution, and fallout—can still threaten the finish. A protective layer helps shield against environmental damage and keeps the color vibrant.
Swap step 2 and 3, or compound before claying, and you will grind those contaminants right into the clear coat. That mistake creates deep scratches that require even more compounding to remove, risking the longevity of your paint.
What “Faded Paint” Really Means on a Black Car
Faded black paint is not just dirty. It is sick. It looks chalky, hazy, and dull. It loses its depth and looks flat, sometimes with a whitish or grey cast over the black. You can wash it ten times, and that dullness won’t budge.
Here is what happened. Ultraviolet light from the sun breaks down the chemical binders in your clear coat. As those binders fail, dead, oxidized pigment rises to the surface. It sits there like a layer of grey dust. Modern cars have a clear coat over colored paint, so you are seeing the clear coat fail. On older cars with single-stage paint, like my 1995 Miata, the color layer itself oxidizes, turning pink or chalky.
My 2016 BMW 3 Series in Jet Black is the perfect example. When it’s clean and protected, the paint looks like a pool of dark oil. But when it oxidizes, it looks tired and grey. Black paint has no color to hide behind, so every flaw, including this fade, is glaringly obvious. That’s why black cars are the ultimate test of your detailing skill and patience, especially when choosing the right wax for black car paint.
Is It Oxidation, Scratches, or Both?
You need to diagnose the problem before you start cutting. Oxidation feels chalky and looks uniformly dull. Scratches and swirls are lines you see in specific light.
Use the baggie test. Put your hand inside a thin, disposable plastic sandwich bag. Now, lightly run your fingertips over the clean, wet paint. With the bag on, your touch becomes super sensitive. You will feel the gritty contaminants that need claying. If the paint feels smooth but looks swirly under light, you have scratches.
Lighting is your diagnostic tool. Look at the paint in direct sunlight. Oxidation shows as a flat, hazy blanket. Swirls look like spiderweb patterns in the reflection. At night, use a bright LED work light held at an angle. Move it across the panel. Scratches will light up like tiny ribbons under the haze of oxidation.
So, can you restore faded black car paint? Yes, absolutely. I do it all the time. The final result, however, depends entirely on how much clear coat thickness you have left to work with. The compounding step removes a tiny amount of clear coat. If the oxidation is severe but the clear coat is still thick, you can restore a deep, glossy finish. If the clear coat is already thin, you must be very gentle to avoid burning through it.
Gathering Your Arsenal: Tools and Products for Black Paint
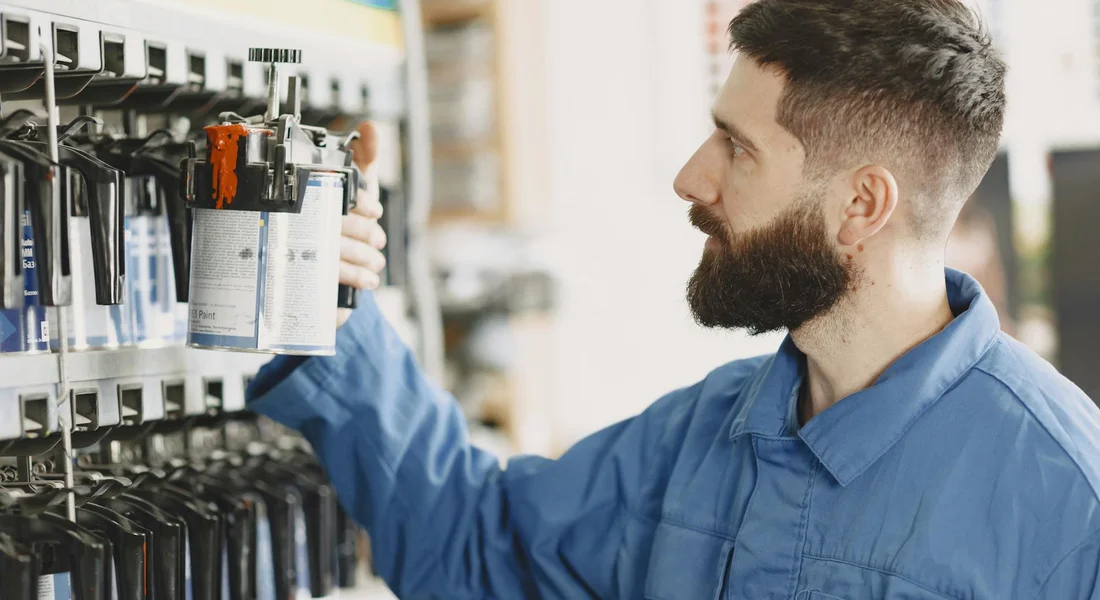
Restoring black paint is a commitment. You need the right tools. Trying to do this by hand will leave you exhausted with mediocre results. A dual-action polisher is your best friend here. It oscillates and rotates, cutting defects without the high risk of burning through the clear coat like a rotary buffer can.
You will need a selection of pads. Think of them like sandpaper with different grits, but for polishing. A firmer, foam cutting pad works with compound to remove heavy oxidation and scratches. A softer, foam finishing pad works with polish to refine the surface to a high gloss. For my black BMW, I start with a cutting pad and compound on the worst panels, then switch to a finishing pad and polish for the whole car.
Your supporting cast is just as critical.
- Microfiber Towels: You need different piles. Use low-pile, edgeless towels for wiping off compound and polish. Use plush, high-pile towels for applying sealant and final buffing. Never use the same towel for different steps.
- Grit Guards: These go in the bottom of your wash buckets. They trap dirt so it doesn’t get back on your wash mitt. This is non-negotiable for black paint.
- Quality Car Shampoo: Use a lubricating, pH-neutral shampoo. This is for the wash before you even start polishing.
- Iron Remover & Clay Bar: These are for decontamination. Iron remover dissolves brake dust embedded in the paint. The clay bar pulls out everything else the wash missed. Your paint should feel smooth as glass before you touch it with a polisher.
- Compound, Polish, Sealant/Wax: This is your three-stage finish. Compound cuts. Polish refines. Sealant or wax protects.
You have a choice between consumer “all-in-one” products and professional-grade separate compounds and polishes. An all-in-one product combines a mild abrasive and a protectant in one step, which is great for light cleanup and adding gloss quickly. I use them on my Odyssey and F-150 for a seasonal refresh. For true correction on faded paint, separate compounds and polishes are superior. They give you total control over the level of cut and the final finish. A heavy-cut compound on a cutting pad fixes severe problems. A fine polish on a finishing pad delivers the deep, liquid shine black is famous for.
Technique Tweak: Working on Curves and Edges
This is where you can get into trouble. The clear coat on sharp body lines, edges, and raised curves is often thinner. It polishes away faster than on flat panels. I learned this the hard way on the hood edge of my 3 Series.
Your technique must change here. Reduce the speed on your polisher. If you run at speed 5 on a flat panel, drop to speed 3 or 4 on a sharp edge. Let the tool’s weight do the work. Apply almost zero downward pressure on convex curves like a fender bulge. The goal is to kiss the surface, not press into it.
Always keep the polishing pad as flat as possible. If you tilt it, you focus all the force and heat on a tiny corner of the pad. This can instantly damage the paint. On tight curves, use the very edge of the pad with a light, steady, sweeping motion.
Before you start, tape off any trim, badges, and rubber window seals with painter’s tape. Compounds and polishes can stain black plastic and rubber, leaving a chalky white residue that is difficult to remove. Taping takes ten minutes and saves you an hour of frustration. It also protects delicate parts from accidental contact with the spinning pad.
Step-by-Step: The Correction Process for Faded Black Paint
Your car is clean. The dirt and grime are gone. Now you face the faded paint. This is the moment you bring back the black. I did this on my Jet Black BMW, the Swirl Magnet. Follow these steps. They work.
Step 1: The Test Spot – Your Roadmap
Do not guess what your paint needs. The test spot tells you. Find a flat section on the hood or roof. I use the center of my BMW’s hood.
Start gentle. Attach a soft finishing pad to your dual-action polisher. Add a dime-sized drop of a fine polish. Work a two foot by two foot area. Use slow, overlapping passes. Wipe it clean with a microfiber towel.
Look at it under a bright light. If the chalky fade is gone and the black looks deep, stop. You only need to polish the whole car. But black paint often needs more.
If the test spot still looks dull and faded, you need to move up to a compound with a cutting pad. Do a new test spot with this stronger combo. This method answers “how do I fix faded paint on my car” with certainty, not hope.
Step 2: Cutting the Oxidation with Compound
This step cuts off the dead, oxidized layer. It is aggressive but controlled. For my BMW, I use a medium-cut compound and an orange cutting pad.
Put four small dots of compound on the pad. Spread it on the paint with the polisher off. Then, turn the machine on to a medium speed, about three quarters of its max. Work in small sections again.
Move your arm in straight, slow lines. Overlap each pass by half. Do not press down. Let the weight of the machine do the cutting. After four passes, stop. Check your pad. If it looks caked with white residue, clean it with a brush.
Wipe the area with a clean, fluffy microfiber. Fold the towel often. Lift the residue, do not scrub. You will see the change. The flat, chalky film disappears. The paint underneath is darker. It is also hazy and full of fine scratches from the compound.
Compounding strips away the oxidation, revealing the true color but leaving a surface that is rough and dull under light. This is expected. You are halfway there.
Step 3: Polishing to a Perfect Finish
This is where the gloss returns. Polishing refines the compounded surface, removing the haze and scratches. It answers the real question: “how do you restore faded black car paint?”
Switch to a polishing pad. A white or black pad works well. Apply a fine polish, about the same amount as before. Work your polisher at a slightly higher speed, with the same slow arm movement.
You will feel the difference. The polisher will glide smoother as the surface becomes flawless. After a few passes, wipe the section clean. The haze is gone. The black paint now looks wet and deep, like a pool of ink.
Polishing restores the reflective clarity, turning the corrected paint into a brilliant, mirror-like finish that defines a perfectly restored black car. This step delivers the shine you have been missing.
Locking In the Shine: Protecting Restored Black Paint
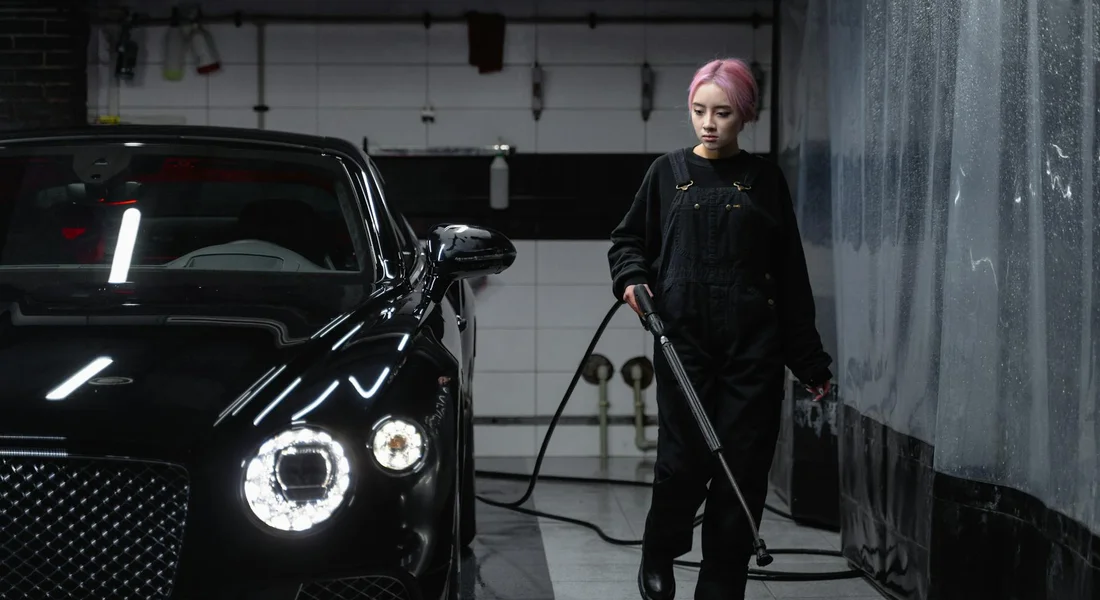
You just spent hours bringing that dead, grayish paint back to a deep, liquid black. I have felt that satisfaction with my 3 Series. Here is the hard truth. If you walk away now, your work is already being undone. Sunlight, contaminants, and even washing will attack that fresh, clean surface. Without a protective layer, your corrected paint will begin to fade and oxidize again within weeks, not months. This final step is not a suggestion. It is the lock on the door.
Think of your paint like skin after a deep exfoliation. It is clean and smooth but also more vulnerable. You need sunscreen and moisturizer. For your car, that is a sealant, wax, or ceramic coating. They act as a sacrificial barrier.
Choosing Your Paint’s Bodyguard
Not all protectants are the same. Your choice depends on how much effort you want to invest and the specific look you crave. For black paint, the goal is always depth and clarity.
Synthetic Paint Sealant: The Set-and-Forget Choice
These are lab-made polymers that bond to your paint. They are my go-to for daily drivers like my F-150 or the family Odyssey.
A high-quality sealant offers the longest protection, often lasting six months or more, with a brilliant, high-gloss shine that makes black paint look like glass.
It applies almost like a wax but cures harder. You usually apply it to one panel at a time, let it haze, and wipe it off. The key is a perfectly clean and cool surface. Apply it in a garage, not in direct sun. The slickness it adds also makes future washes easier, as dirt has less to grab onto.
Natural Car Wax: The Classic Warmth
Made from carnauba or other natural oils, wax is the old-school choice. It will not last as long as a sealant, maybe two to three months. What it gives up in longevity, it makes up for in appearance.
A premium carnauba wax imparts a warm, deep, almost three-dimensional glow to black paint that synthetics sometimes cannot match.
It is a more physical product, often in a paste. You scoop it out, apply it with an applicator in thin, even circles, let it dry, and buff it off with a clean microfiber. The effort is part of the ritual. The smell is classic. On my black BMW, I use a wax for special occasions, layering it over a sealant for the ultimate wet look.
Spray Ceramic (SiO2) Coating: Modern Ease
This is the bridge between traditional products and professional-grade ceramic coatings. These sprays contain silicon dioxide (SiO2). You use them after a wash on a damp or dry car.
Spray ceramics provide exceptional slickness, strong water beading, and up to a year of protection with unbelievable ease of use, making them a fantastic choice for most owners.
I rely on these for my entire fleet for maintenance. You simply spray onto a microfiber or the panel, wipe it on, and then buff it with a second dry towel. There is no harsh hazing or difficult removal. The beading effect is dramatic, and they add a serious hydrophobic layer that sheets water and dirt away. For the Model 3 with its soft clear coat, this is my default protection after every wash.
The Protected Garage Queen: A Principle in Red
My Porsche 911 is red, not black. The principle is identical. From day one, its paint was coated with a professional-grade ceramic. This is a more permanent version of the spray ceramics. Bug splatter on the front bumper? It wipes off with almost no pressure. Heavy brake dust from a canyon drive? It rinses from the wheels with a gentle spray. The paint feels like Teflon.
Seeing how contaminants slide off the Porsche’s protected finish proves the value of this step, regardless of your car’s color.
For your restored black paint, even a simple spray ceramic will replicate this effect. It transforms maintenance from a chore into a quick wipe-down. The paint stays cleaner longer, and every time water beads into perfect, tight marbles, you will know your hard work is safely encased.
Your final move is simple. Choose your protector. Apply it meticulously to your clean, cool, and perfectly corrected paint. Then, just admire the depth. And know it will last.
Can a Hand Application Fix Faded Paint?
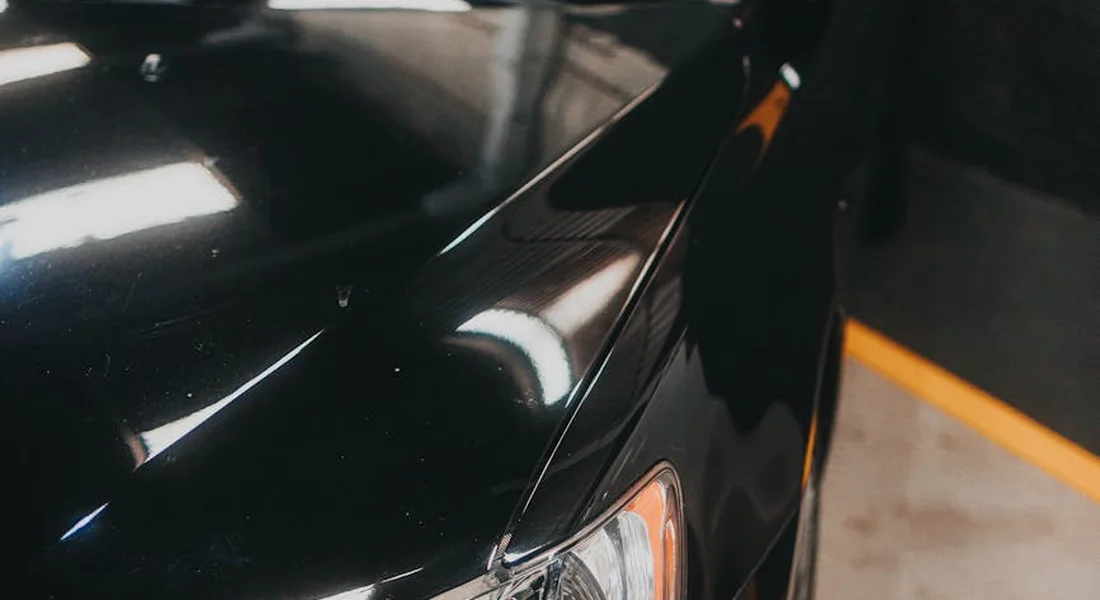
You have seen the bottles on the shelf. They promise to wipe away years of sun damage and bring back a deep shine with just your hand and a rag. I have tried them all. On my black BMW, the “Swirl Magnet,” I learned their true nature the hard way.
These hand-applied “restorer” or “cleaner wax” products can be useful, but you must know their limits. They contain very mild abrasives and heavy fillers. The abrasives can clean off a thin layer of surface oxidation, which is that chalky, dull film. The fillers are oils and polymers that temporarily fill in fine scratches and swirls to make them less visible.
The result is a cleaner, glossier surface that looks dramatically better for about two weeks, or until the next time you wash it. The sun bakes the oils away, and the rain washes the fillers out. Then the scratches and haze return, unchanged. It is a bandage, not a cure.
When a Hand Application Makes Sense
Do not write these products off completely. They have their place for maintenance, not restoration.
- Quickly refreshing a car you are selling to make it “pop” in photos.
- Adding a layer of protection over an already corrected paint job between full details.
- Cleaning light oxidation on a single-stage red paint, like my Miata’s, where the color comes back instantly (but still temporarily).
- Areas where you cannot safely use a machine, like tight body seams or thin plastic trim.
The process is simple. Wash and dry the car perfectly. Apply the product to a clean, soft microfiber pad with your hand. Work it in a circular motion over one panel at a time. Buff it off with a fresh, dry microfiber towel before it dries. You will see an immediate difference. Just do not expect it to last.
The Permanent Fix: Machine Polishing
True correction, the kind that lasts for years, requires removing the damaged clear coat layer. You cannot rub hard enough by hand to do this safely or evenly. This is where a dual-action polisher changes everything.
A machine polisher, with the right pad and compound, systematically levels the surface by abrading away the scratched, oxidized top layer to reveal fresh, clear paint underneath. The defect is gone, not hidden. On my BMW, this is the only way I defeated the swirls for good. For a detailed, step-by-step approach, the repair buff polish scratches guide is a helpful reference. It covers the correct pad choices, compounds, and technique to avoid introducing new defects.
Here is the basic, permanent process:
- Wash and Decontaminate: Start with a perfect wash. Then, use an iron remover spray and a clay bar. This removes bonded contaminants that would otherwise be ground into the paint during polishing.
- Test Your Process: Always start with the least aggressive method. Try a light polishing compound on a soft foam pad first. Work a 2×2 foot section. If that removes the defect, stop. Do not use a heavy cut if you do not need to.
- Polish Systematically: Work in overlapping passes, keeping the polisher flat. Let the machine and product do the work. Do not press down. Your goal is to remove the minimum amount of clear coat necessary.
- Inspect and Refine: Wipe the panel clean with a detailing spray. Inspect under good light. If haze or micromarring is left from the compound, follow with a finer polish on a finishing pad to perfect the gloss.
This is not a quick wipe-on solution. It takes time, patience, and the right tools. But when you run your hand over a black hood that was once chalky and feel it turn slick and glassy, you will know the difference. The shine comes from the paint itself, not from a temporary layer on top. It will stay that way until new scratches are inflicted, which proper washing will prevent.
Manage your expectations. Hand-applied products are for a quick visual lift. Machine polishing is the true restoration. For a faded black car, the polisher is your only real path back to a lasting, deep reflection.
Keeping Your Black Paint Black: Maintenance After Restoration

You just brought that black paint back from the dead. It looks deep, glossy, and wet. The trick now is to keep it that way. With black paint, especially my BMW, maintenance isn’t just a suggestion. It’s the only way to stop the swirls and haze from coming back.
Think of your fresh clear coat like a brand-new pair of dark dress shoes. A single scuff shows up instantly. Black paint is the same. Your goal is to clean it without adding new scratches.
The Non-Negotiable Wash Routine
Forget the sponge and bucket from the driveway. That’s how you ruin your work in one afternoon. The goal is to lift dirt away without grinding it into the surface.
The only reliable way to wash a black car is the two-bucket method with grit guards. One bucket holds your clean soapy water. The other is just rinse water. Before you reload your mitt with soap, you rinse it in the “rinse” bucket. The grit guard at the bottom traps the heavy sediment you just washed off. This stops you from picking it up again and scratching your paint. This is the safest way to wash any car.
- Tools Matter: Use a plush, clean microfiber wash mitt, not a sponge. I use a specific one just for my black cars. The deep fibers trap dirt safely away from the paint.
- Work Top to Bottom: Start on the roof and windows, then the hood, then the sides. The lower panels and bumpers are the dirtiest. You wash those last with a fresh load of soap.
- Rinse First, and Rinse Often: Before you touch the car with your mitt, use a hose or pressure washer (on a wide, gentle setting) to blast off loose dirt. During the wash, keep the panel you’re working on wet and lubricated with soap.
The Final, Critical Step: Drying & Adding Protection
Air drying is not an option. Water droplets act like tiny magnifying glasses in the sun, baking in mineral spots. You must dry it yourself, but carefully.
Use a large, soft drying towel made of waffle-weave or twisted-loop microfiber. Don’t wipe. Gently blot and drag the towel over the surface, letting the material absorb the water. Flip to a dry section often.
Here is my secret weapon: never dry a black car “dry.” Always use a drying aid. As you do your final rinse, switch to a hose without a nozzle or use a pressure washer’s “mist” setting. This leaves a sheeting layer of water, not thick droplets.
While the car is still wet, mist a spray wax or a quick detailer onto a panel. Then dry as normal. The product adds a thin layer of lubricity so the towel glides, and it leaves behind a fresh coat of protection. I do this every single time I wash my BMW. It takes two extra minutes and makes the paint pop while fighting water spots.
Storage and the Philosophy of Gentle Care
Where you keep the car matters almost as much as how you wash it. A garage is the best paint protection money can buy. It blocks UV rays that break down coatings and keeps off acidic bird droppings and tree sap (sun damage).
If a garage isn’t possible, a high-quality, soft-lined car cover is a good shield. Never, ever put a cover on a dirty car. You will just sandwich grit against the paint and create a giant piece of sandpaper. Only use it on a clean surface. This is a key aspect of car covers paint protection, keeping the finish pristine by blocking dust and UV exposure. Choose a breathable, well-fitted cover for the best protection.
My Porsche sits in the garage. My black BMW does too, when it’s not being my daily driver. This brings me to the core philosophy for black paint: frequent, gentle cleaning is always better than infrequent, aggressive cleaning.
Wash it every week or two, even if it “doesn’t look that dirty.” That light film of dust is easy to rinse off. Let it bake on for a month mixed with rain, and now you’re dealing with bonded contaminants that require a clay bar and more aggressive work. That aggressive work, over time, wears down your clear coat. Stay ahead of it with gentle, consistent care, and your black paint will stay mirror-deep for years.
When to Call a Professional Detailer
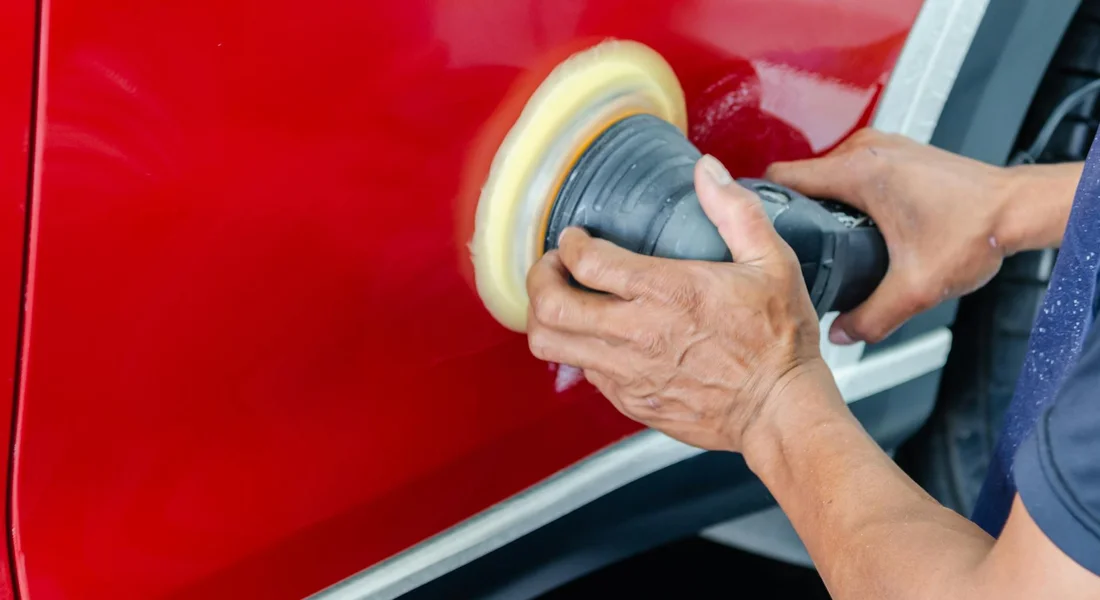
I love a good DIY project. Bringing my black BMW back from a dull, hazy state is a personal victory. But I am also honest about my limits and my time. Knowing when to step back is a sign of a smart car owner.
You should seriously consider calling a pro if you see any of these signs on your car.
Severe clear coat failure is your biggest red flag. This goes beyond simple oxidation. Look for a pattern of tiny cracks, like a dried-up riverbed, which we call “crazing” or “checking.” If the clear coat is actively peeling up in sheets or feels rough and cracked to the touch, it’s too late for a simple polish. You need a repaint or a wrap.
Deep scratches that catch your fingernail are another sign. If a scratch goes through the clear coat and into the color layer, no amount of polishing will remove it. It needs touch-up paint or professional filling. Trying to polish it out will just make a wider, dull spot.
Sometimes, the barrier is just you. Maybe you lack a dual-action polisher, proper pads, and a garage. Maybe the thought of putting a spinning machine to your paint makes you nervous. That is perfectly okay. A weekend of your time has real value.
A professional detailer brings an arsenal and expertise that is hard to match at home.
They have high-end tools. I use a good polisher, but a pro shop will have forced-rotation machines that are more efficient and safer on curves. They have powerful extractors, industrial-grade steamers, and paint thickness gauges. That last tool is critical. It tells them exactly how much clear coat they have to work with, so they never burn through it.
Their techniques are advanced. Restoring a badly faded black car often needs a “multi-step correction.” This means using a coarse compound to cut away severe defects, followed by a finer polish to remove the haze that compound leaves behind. It is a skilled, multi-hour process. They also know how to handle edges, plastic trim, and complex body lines without causing damage.
Finally, they offer a guaranteed result. A reputable pro will stand by their work. If you are investing in fixing your car’s paint, you want it done right the first time. For my Porsche or that perfect black sedan you love, that peace of mind is often worth the cost, especially considering the expense of professional car paint.
Choosing Your Products: What to Look For
The aisle at the auto parts store is overwhelming. Bottles with flashy graphics promise to make your paint look new in one wipe. I have learned the hard way with my black BMW that most of those are lies in a bottle.
You need real tools, not magic potions. The right compound and polish are the foundation of any paint correction.
Decoding the Label: The Promise vs. The Reality
Ignore any product that claims “permanent restoration” or “lifetime shine.” Paint care is maintenance, like mowing a lawn. The sun and environment are always working against you. A good label tells you what the product does: cutting compound, finishing polish, glaze. It lists its purpose, not a fantasy.
Stick with brands that are staples in the professional and dedicated DIY detailing community. These companies sell to people who know the difference, so their claims are usually more honest. If you see a brand primarily on TV infomercials, put it back on the shelf.
Listening to the Right Voices: Finding True Reviews
When you search for “restore black car paint reviews,” you’ll find a mix of sponsored posts and real experiences. Marketing claims are designed to sell. Real-world feedback shows you what happens after six months.
Skip the generic product page reviews. Go to detailing forums and watch multi-part video reviews on YouTube from people who show their work on actual black cars. Look for consistency. If ten experienced detailers all say a specific medium-cut compound finishes down well on soft black paint, that is a more powerful review than any 5-star rating from someone who used it once.
The best review for a product on black paint will show you the result under a bright LED light or direct sun, not just in a shaded garage. That’s the only true test.
A Simple Starting Point: The Two-Step Approach
For most moderately faded or oxidized paint-the kind that looks chalky and dull but doesn’t have deep scratches down to primer-a two-step process is perfect. You don’t need the most aggressive compound on the market. Starting too aggressive on soft black paint is how you create a new set of problems, like holograms.
Here is what I keep on my shelf for jobs like this:
- A Moderate Cutting Compound: This is your workhorse. It should be labeled as a “medium cut” or “one-step” compound. It removes the dead, oxidized top layer and levels out light scratches. On my BMW, I use a compound that is effective but designed to leave a finish that’s easy to polish out.
- A Fine Finishing Polish: This is your refinisher. After the compound does the heavy lifting, the polish removes the very fine micromarring the compound might leave behind. It brings back the deep, clear gloss. Think of compound as sandpaper and polish as the buffer that makes it glassy smooth.
For your first attempt, choosing a well-reviewed medium-cut compound and a separate fine polish gives you the most control and the best chance for a flawless, glossy result. All-in-one products that claim to compound and seal in one step often compromise on both fronts, especially on unforgiving black paint.
Long-Term Care for Your Black Paint’s New Gloss
From my time with my Jet Black 3 Series, the core lesson is this: a perfect correction is your only lasting foundation. Protect that flawless surface with a robust sealant, and you’ll defend against the sun and scratches that cause fading.
Skip this, and the dull, swirled haze will return faster than you can wash the car.
Citations and Authoritative Sources
- Car Paint Correct, Repair & Restoration | Exterior Care | Turtle Wax
- Rejuvenator™ One-step Auto Paint Restoration
- Paint Restoration | Chemical Guys
- r/Detailing on Reddit: How do I approach restoring my cars paint job? Close ups show the worst of it. Some sort of step by step guide would be amazing! Would also prefer to be able to do it myself.
Max Gunther
Max is an automotive enthusiast having worked as a car mechanical and in interior detailing service for over 25 years. He is very experienced in giving your old car, a new fresh vibe. He has detailed many cars and removed very tough smells and stains from all kinds of cars and models, always ensuring that his work and advice helps his customers. He brings his first hand experience to his blog AutoDetailPedia, to help readers breath new life into their car interiors.