What Cleaning Does a Rental Car Need Before Return to Protect Trade-In Value?
You’re about to return a rental car. The difference between a quick wipe-down and a proper detail can cost you real money at trade-in.
I use my same hands-on process for every vehicle. We will cover interior deep-cleaning for stains and odors, exterior decontamination to preserve the paint, inspecting and caring for any wraps or protection film, and the final cosmetic prep that influences an appraiser’s eye.
Skip this, and the next owner sees every grimy detail, cutting straight into the car’s worth.
Key Takeaways: The Short Answer to Saving Money and Time
Focus on these points to avoid fees and increase value.
- Rental companies expect “normal dirt” from travel, like light dust or footprints, but they charge extra for “excessive” messes such as spills or stains.
- When trading in your own car, a professional detail often boosts the offer by hundreds of dollars, more than covering the service cost. A clean car signals care.
- The single biggest mistake is leaving trash or smoking inside. Odors and debris are immediate red flags for fees.
- A basic DIY clean costs about $20 for wipes and spray, while a professional detail for trade-in ranges from $150 to $300. The investment pays off.
The Rental Car Return Protocol: Your Step-by-Step Cleaning Checklist
Work in this order. It is the same method I use on my Honda Odyssey after a long trip.
- Remove all personal items first. Check under every seat, in door pockets, and the center console. Feel for phones or chargers.
- Dispose of all trash. Empty cup holders of cups and lids. Gather food wrappers and napkins. Aim for a crumb-free and odor-free cabin.
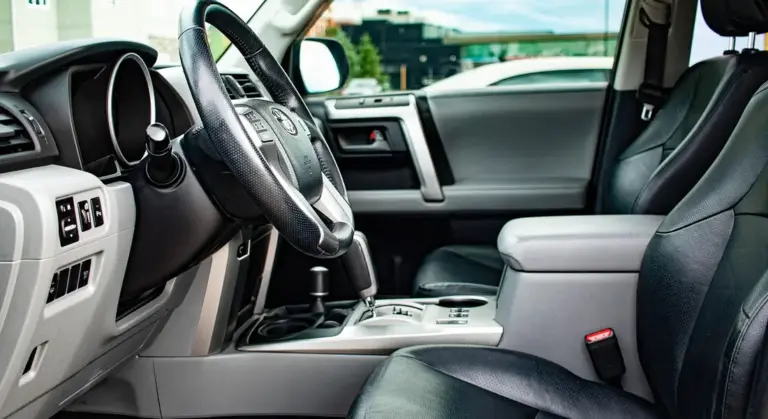
- Wipe down all interior surfaces. Use pre-moistened interior wipes on the dashboard, steering wheel, gear selector, and door panels. The goal is visibly clean and smudge-free.
- Shake out the floor mats thoroughly. Remove sand, mud, and gravel. Bang them against the ground to dislodge embedded dirt.
- Clean the windows and mirrors for visibility. A quick spray of glass cleaner and a microfiber towel makes the interior look fresher.
- Do a final sweep of forgotten spots. Check the trunk, glove box, and under the sun visors for items. Leave nothing behind.
The Interior Deep-Clean vs. Surface Tidy Divide
Understanding this difference saves you money.
Excessive interior dirt means spills that soak into fabric, ground-in food in carpets, clumps of pet hair, or any smoke smell. These require deep extraction, like when I had to clean spilled milk from my Odyssey’s seats. Rental companies will charge for this labor.
Acceptable normal use includes a light film of dust on the dash, a few footprints on rubber mats, or minor window smudges from fingerprints. This is expected wear.
For quick fixes, a portable hand vacuum can lift crumbs from seats in minutes. A damp microfiber cloth easily cleans a sticky steering wheel or console. Avoid aggressive scrubbing that might damage plastic trim.
The Exterior: How Clean is Clean Enough?
Exterior fees are less common, but avoid obvious neglect.
Heavy mud coating the lower panels, baked-on bird droppings, or fresh tree sap can trigger cleaning fees. These substances can etch the paint if left.
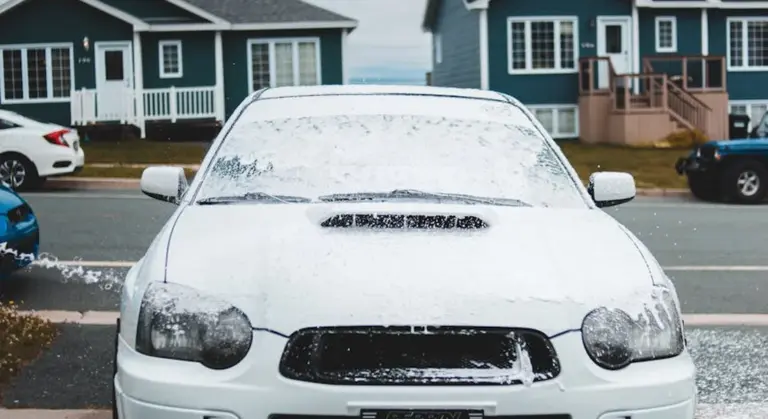
For fresh grime, use a rinse-less wash method. Fill a bucket with two gallons of water and add two ounces of rinse-less wash concentrate. Soak several plush microfiber towels, wring them until damp, and gently wipe one section of the car at a time. Immediately dry the panel with a separate, clean dry towel. This method safely lifts dirt without scratching and takes about fifteen minutes.
Do not use gas station brushes or automatic car washes with spinning bristles. They grind dirt into the paint, causing swirls. My black BMW is proof of how easily soft clear coat gets marred, especially on black cars when waxing.
Common Mistakes That Guarantee a Cleaning Fee

Having detailed thousands of cars for dealers and rental agencies, I can tell you what makes them reach for the fee sheet. The difference between a normal cleaning and a chargeable one is the extra labor and specialty chemicals needed to fix a problem. Avoid these specific errors, and you’ll walk away clean.
Smoking or Vaping in the Vehicle
The smell of smoke or vape juice doesn’t just sit in the air. It gets into the headliner, the seat foam, and every fabric fiber. My 2019 Honda Odyssey needed an ozone treatment after someone smoked near it with the windows down. That smell clings like nothing else. My regular smoke and vape odor removal methods just didn’t cut it.
Rental companies charge a heavy fee because odor removal is a multi-step, time-consuming process. Air fresheners just mask it for a day. A proper fix needs an ozone generator, deep extraction, and sometimes even shampooing the HVAC ducts. If you absolutely must, do it outside the car, far from the interior. But really, just don’t.
Leaving Sand or Mud Caked in the Footwells
A little dirt is expected. A packed layer of beach sand or dried mud is a different story. It grinds into the carpet fibers and can scratch plastic trim when it’s brushed out.
I see this all the time on my Ford F-150 after a job. Shake out your floor mats completely over a grassy area or trash can before you return the car. Give the carpet a quick vacuum if you can. Leaving it forces the lot attendant to spend 20 minutes per footwell with a stiff brush and a powerful vacuum to get it all. That’s billable time.
Returning with Stained Upholstery from Food or Makeup
A coffee spill on cloth seats or greasy makeup on a headrest creates a stain that a simple wipe won’t fix. Set-in stains require a dedicated cleaner, agitation, and extraction to lift from the fabric. For my Tesla’s white vegan leather seats, a spill wiped immediately with a damp microfiber is fine. One left for hours can stain permanently.
Act fast. Keep a travel-sized interior detailer or a pre-moistened upholstery wipe in your bag. Blot, don’t rub. If a stain sets, you’re likely looking at a charge for specialized cleaning.
Forgetting to Check for Child Seat Crumbs & Toy Debris
You take the car seat out, but the evidence remains. Goldfish crackers, cereal bits, and sticky gummy bears melt into every crevice of the seat and center console. This isn’t just vacuuming, it’s a forensic cleanup to find every last piece of debris.
My Odyssey taught me this. Tilt the seat forward, check the seat belt buckle cavities, and run your fingers along the seat bight (where the back and bottom cushions meet). A quick pass with a small vacuum crevice tool can save you a surprising fee.
Ignoring a Fluid Spill or Leak
This is critical. If you notice the rental car leaking oil, coolant, or transmission fluid onto the parking spot, or if you spill a chemical inside, do not try to clean it yourself. Report any fluid leak or major chemical spill immediately to the rental company.
This isn’t a detailing issue; it’s a mechanical and liability issue. Trying to degrease an engine oil puddle or remove coolant from carpet can cause environmental hazards and mask a serious problem. Your responsibility is to report it, not to fix it. They won’t charge you for a leak you reported, but they will charge for damage from neglect or improper cleanup.
Do I Have to Clean My Rental Car? What the Contract Actually Says
You are not supposed to clean your rental car like a professional detailer would. The question, “do I have to clean my rental car,” has a simple answer. You must return it in a reasonably clean state. That is the universal rule buried in the fine print.
Every contract uses language like “reasonable cleanliness” and warns against “excessive soiling.” Think of it this way. You are borrowing a tool. You should not return it broken or caked in mud. The same logic applies here. Your goal is to avoid an extra fee, sometimes called a “cleaning fee” or “valet fee.” This fee is not for a little dust. It is for a mess that requires extra time and labor to fix.
Company policies differ slightly. Some budget agencies might be quicker to charge for a back seat full of fast-food wrappers. Premium agencies might focus more on sand in every crevice or severe stains. The core principle is the same across the board. You are not required to vacuum, shampoo, or wax the vehicle. You are required to avoid leaving an abnormal, time-consuming mess for the next customer.
Your job is to return the car without any mess that stands out as neglectful or excessive to a reasonable person.
Interpreting “Excessive Dirt” from a Detailer’s Eye
As someone who has detailed my “Kid Hauler” Odyssey more times than I can count, I see messes in tiers. A rental agent does the same thing, just faster. They perform a 60-second visual and olfactory scan. They are looking for anything that breaks the normal wear-and-tear cycle.
Let us use examples from my van. A single cheerio under a seat is normal wear. A spilled juice box that was left to soak into the fabric for three days is excessive. A few light footprints on the carpet are expected. A pile of beach sand covering the entire footwell, the seats, and even the dashboard vents is a problem.
Here is what their eyes scan for first, in order:
- Odor: Smoke or heavy food smells hit them the second they open the door. This is an instant fail.
- Major Stains: Large, dark stains on seats or carpets. Something spilled, not just a scuff.
- Trash Volume: Is the interior a landfill? Cups, wrappers, and bags everywhere.
- Exterior Debris: Thick, caked-on mud or dirt that clearly needs a pressure washer.
- Sticky Residue: Spilled soda on the center console, gum on the door panel.
The line is drawn at anything that requires a specialty cleaner, an extractor, or more than a few minutes to tidy up.
A quick pass with a gas station vacuum to get the bulk of your crumbs is often enough. Wiping a spill off the plastic trim with a napkin prevents a stain. These small acts show you made a reasonable effort. They move your return from the “excessive” category back into the “normal, ready for a quick turnaround” category. That is all you need to do.
Understanding and Avoiding the Rental Car Cleaning Fee
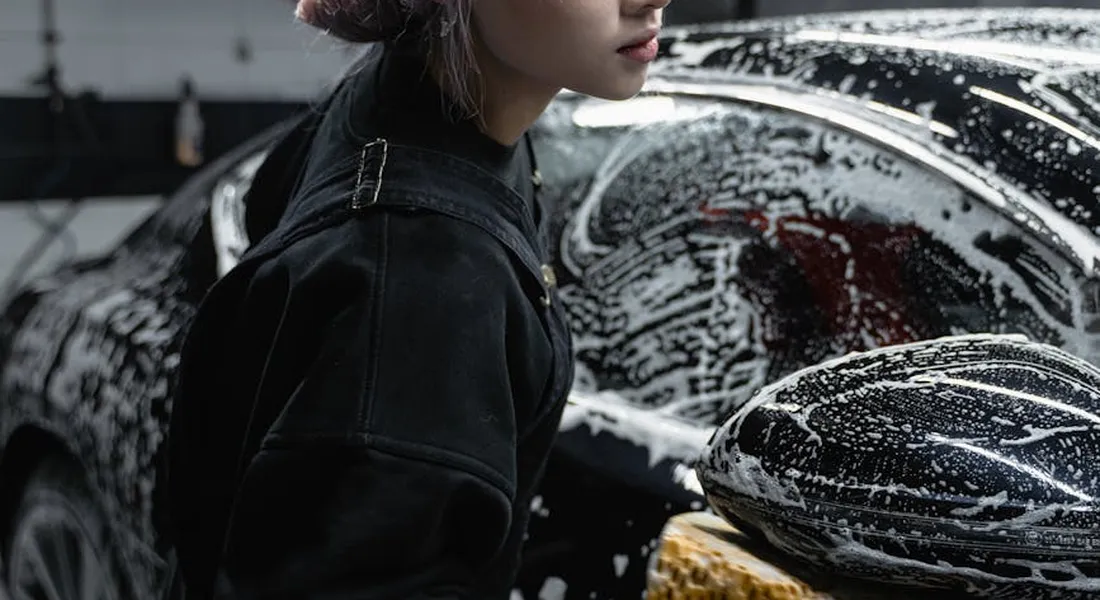
You see the term “cleaning fee” in the rental agreement. It feels vague. From a detailing standpoint, it is not vague at all. It is a specific charge to restore the vehicle to a rentable condition, which is a higher standard than just being free of trash.
Common questions online focus on companies like Avis and experiences in places like Melbourne, Sydney, or across NSW. The core issue is the same. People on Reddit often complain, “I returned it clean!” only to get hit with a fee. The disconnect is usually about the definition of “clean.”
That fee covers professional labor, specialized products, and sometimes advanced decontamination that goes far beyond a quick wipe-down. A rental agency’s staff, or a contracted detailer, must address what you leave behind. This is not just vacuuming. It is removing ground-in sand from carpets, disinfecting all touchpoints, degreasing steering wheels, and cleaning windows to a streak-free finish. If there’s a stubborn odor from smoke or spilled food, they may need to perform an ozone treatment, which is a dedicated process requiring special equipment.
How Much Is a Rental Car Cleaning Fee and What’s the Budget?
The cost is not fixed. It scales with the severity of the mess. A simple interior vacuum and wipe-down might incur a lower fee, perhaps in the range of $50 to $100. An interior that requires extraction cleaning for stains, or a full interior shampoo for smells, can easily push the fee to $250 or more. Exterior messes like excessive bug splatter or tree sap that needs clay bar treatment will also increase the cost.
A cleaning fee is typically lower than a damage fee, but it is the more common and often unexpected charge. Damage fees involve bodywork, parts, and paint, which are inherently expensive. A cleaning fee involves labor and consumables. The reason it stings is because it feels preventable. You think, “I could have done that myself.” And you often can.
Location impacts price. Labor costs in a major metro area like Sydney may be higher than in a regional center. A cleaning that costs $150 in Melbourne might be $180 in Sydney for the same work. The agency’s policy is the final factor, so always check your contract.
Real Stories: When the Cleaning Fee Hits (and When It Doesn’t)
I have seen both sides. A client once brought me their personal car after a long rental. They had avoided a fee, but just barely. The rear seat area looked like a snack factory exploded. They had done a good job removing large trash, but ground-in cracker dust and sticky juice rings were everywhere. They told me, “The agent looked in, sighed, and just waved me off.” That was a close call. The agent likely decided the mess was within their normal prep workload.
Another time, a friend was charged because their dog left a layer of hair on the back seat, despite their best vacuuming efforts. Pet hair, especially on cloth seats, requires a pet hair removal tool or a detailed brush-and-vacuum technique most people do not use. The rental company saw it as beyond normal wear and levied the fee. It was justified from their view.
On forums, you read the classic complaints. “Hertz charged me $250 for a small stain!” The lesson is not about the stain’s size. It is about its nature. A water stain might dry clear. A coffee or soda stain will leave a sticky, discolored residue that attracts more dirt. The rental company is not just cleaning the spot; they are ensuring the next renter does not complain about a sticky console or a stained seat. Your goal is to return the car so the agent sees no reason to look closer. If the interior smells fresh, surfaces are dry and free of residue, and floors are free of debris, you will likely drive away without an extra charge.
Prepping Your Own Car for Trade-In: The Detailer’s Value Guide
Returning a rental is about avoiding fees. Trading in your own car is about securing your money. The person appraising your car is not a rental agent checking for obvious damage. They are a professional looking for reasons to lower the offer. A car that looks and smells neglected gives them every reason to do just that.
First impressions matter far more here than at a rental counter, and a detailed car silently argues that it was maintained well beyond the basics. I think of it like showing up for a job interview in a wrinkled shirt versus a pressed one. The appraiser’s first glance sets the value tone for everything that follows.
How Much Value Can a Professional Detail Really Add?
Let’s talk numbers from my shop experience. A basic professional detail might cost you $300. On a trade-in, that can easily add $1000 or more to the appraised value. It is one of the highest returns on investment you can make before selling.
My Jet Black BMW, the “Swirl Magnet,” is the perfect example. A simple wash leaves the paint looking hazy and scratched under the lights. Correcting those holograms with a light polish transforms the entire car, making the paint look deep, liquid, and well-kept, which directly counters an appraiser’s instinct to deduct for wear. A car that looks “as-is” with stained seats and a stale smell invites lowball offers. The same car, detailed, smells new and feels cared for. People pay a premium for that confidence.
Think about your own reaction. Would you pay more for a clean car or a dirty one? An appraiser is no different. They are just translating that feeling into a number.
The Trade-In Detail Checklist: Focus on the Appraiser’s Eyes
You do not need a show-car finish for a trade-in. You need strategic cleanliness. Focus on what the appraiser will see and touch in the first five minutes.
- Clean Glass: Inside and out. Streaky windows make the whole interior look dingy. Use a dedicated glass cleaner and a clean microfiber towel, folding it often to a fresh side.
- Spotless Driver’s Area: The driver’s seat, steering wheel, and pedals tell the story of use. Extract any stains from the seat fabric or leather. Wipe down the wheel and shifter to remove skin oils. Scrub the brake pedal rubber clean.
- Odor-Free Cabin: This is huge. Kids, pets, or old food smells scream neglect. Vacuum thoroughly, shampoo the carpets, and use an odor eliminator on the fabrics. For my “Kid Hauler” Odyssey, an ozone generator was the only thing that killed the spilled milk odor permanently.
- Shiny Wheels and Tires: Clean wheels change a car’s stance. Remove brake dust with a safe iron remover spray. Dress the tires with a water-based product to make them look new, not greasy.
For the paint, a full correction is often overkill, but a light polish to remove superficial swirls can make a dark-colored car like my BMW pop under the lot lights. A good wash, clay bar to remove grit, and a spray sealant for shine is often the perfect middle ground.
Save your energy on the engine bay. An appraiser doing a quick trade-in valuation rarely pops the hood for a deep inspection. A quick wipe of any obvious oil spills is plenty. Your time is better spent making the interior impeccable.
DIY vs. Professional Detailing for Your Trade-In: A Cost-Benefit Breakdown
The goal is simple. You want to get the most money for your car without spending more than you get back. The math is different for every vehicle.
For my 2022 Porsche 911, the “Garage Queen,” I would hire a professional without a second thought. Its perfect paint and flawless interior are a huge part of its value. A pro can perform a light paint correction to remove any hidden swirls and apply a ceramic sealant that makes the red paint look liquid. That investment of a few hundred dollars can add a thousand or more to the final offer from a discerning buyer. On a high-value vehicle where condition is paramount, professional work pays for itself. Budget-conscious owners can still access professional affordable car paint services that preserve that standard without a premium. A careful light paint correction and durable sealant can deliver showroom-worthy results at a more accessible price.
Now, look at my 2018 Ford F-150, the “Workhorse.” It has scratches in the bed, some oxidation on the roof, and the interior smells like dirt and dog. A full professional detail might cost $400. Will it raise the trade-in value by $400? Probably not. A dealer will still categorize it as a used truck. For this vehicle, my sweat equity is the better investment. A thorough, smart DIY clean can present it as well-maintained without cutting into my profit. For daily drivers and work vehicles, a diligent DIY detail often provides the best return on your time and money.
What a Professional Detail Before Trade-In Should Include
If you go the pro route, know what you’re buying. Services generally fall into three tiers. Always ask for an itemized list.
The Basic Clean ($150 – $250): This is a heavy reset. Expect a strong interior vacuum, wipe-down of all plastics and vinyl, a thorough glass cleaning, and an exterior wash and wheel clean. They might use a spray wax. This is for the car that just needs to look tidy and presentable. It removes the “I just drove through a mud puddle” factor.
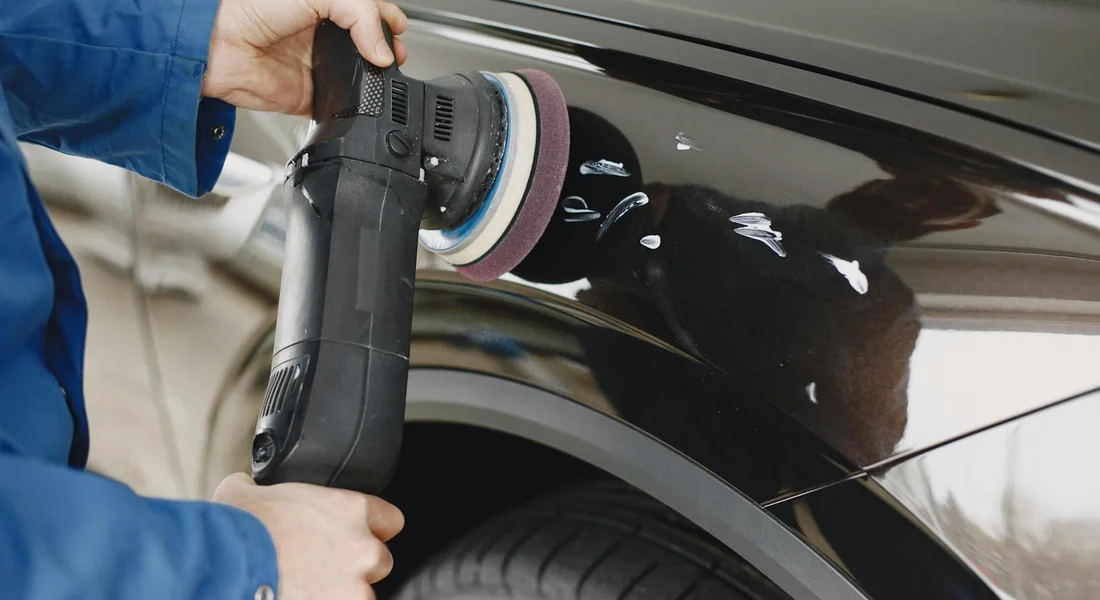
The Enhanced Detail ($300 – $500): This is where real value gets added for a trade-in. The interior gets a shampoo of carpets and cloth seats. Sticky residues and minor stains are addressed. The exterior gets a chemical decontamination wash to remove bonded grit, followed by a clay bar treatment to make the paint smooth. The key step here is a single-stage machine polish with a fine abrasive to remove light swirls and restore gloss, followed by a synthetic sealant or ceramic spray for protection and shine. This makes a five-year-old car look two years old.
The Showroom Prep ($600+): This is for the Garage Queens. It includes everything in the Enhanced tier, but with a multi-step paint correction to achieve near-perfect reflection. Leather gets conditioned, engine bays are detailed, and wheel barrels are cleaned. A longer-lasting ceramic coating or high-end wax is applied. The car is made to look brand new. For a private sale on a special car, this can be a game-changer.
Set realistic expectations. A proper Enhanced detail will take a professional 4 to 6 hours. The Showroom prep can take a full day or more. You get what you pay for in time and expertise.
Your DIY Trade-In Detail Plan
You have a weekend. Here is your battle plan to make a strong impression. We focus on impact, not perfection.
Gather your cost-effective weapons. You need a gallon of all-purpose cleaner, a quality glass cleaner, a concentrated car wash soap, and a good spray wax or sealant. A clay bar kit is optional but powerful if your paint feels rough.
The tools make the job. A strong wet/dry vacuum with attachments is non-negotiable. A dozen clean, soft microfiber towels will save you from scratching everything.
- Start Inside, Top to Bottom. Remove all personal items. Vacuum the headliner, seats, and finally the carpets. Use the crevice tool everywhere. Mix your all-purpose cleaner 10:1 and spray it on a microfiber, then wipe every surface: dash, doors, console, steering wheel. For cup holder grime, spray lightly, let it sit, then scrub with a soft brush.
- Tackle Stains and Glass. For cloth seats, spray with diluted APC, agitate with a stiff brush, and blot with a dry towel. Clean all interior glass with your glass cleaner and a fresh, lint-free microfiber. Do not use the all-purpose cleaner on windows.
- Wash the Exterior Properly. Use the two-bucket method. One bucket with soapy water, one with clean rinse water. Wash the wheels first with a dedicated brush. Then, starting at the roof, wash the paint panel by panel, rinsing your wash mitt in the clean water bucket after each pass. Dry completely with a large drying towel.
- Decontaminate and Protect (The Secret Step). Feel the paint after drying. If it feels gritty, use the clay bar. Lubricate a small section with the included spray, and glide the clay bar back and forth. The paint will become glass-smooth. Finally, mist your spray wax onto a panel and wipe it on, then buff off with a clean towel. This adds instant gloss and makes the car look cared for.
This focused, four-step DIY plan can be done in an afternoon. It addresses the things an appraiser or buyer sees and touches first. You present a clean, shiny, and odor-free vehicle. That is how you protect your trade-in value.
Do Dealerships Clean Cars Before Selling? The Behind-theScenes Truth
Yes, dealerships clean cars before selling them. But the word “clean” covers a wide range of work. The process is called reconditioning, or “recon.” As someone who has seen both sides of the detail bay, I can tell you it is almost never the deep, meticulous clean you and I would perform.
Recon is about speed and presentation for the lot, not perfection for the enthusiast. A typical recon detail involves a highpressure rinse, a pass through an automated brush tunnel, a quick interior vacuum, and a wipe down of surfaces with an allpurpose cleaner. Stubborn stains or groundin dirt might get a basic shampoo. The goal is to make the car look good from ten feet away under showroom lights.
This is very different from the free wash you might get after a routine oil change. A service wash is purely a courtesy. It is fast, often using the same automated tunnel, and focuses only on exterior road film. They do not detail your interior, clean your wheels, or address anything beyond basic dirt.
Manage your expectations accordingly. After a service, your car might be washed, but it is not detailed. Do not expect them to remove the coffee stain from your center console or the bird droppings that baked on your hood for a week. If you care about your paint’s finish, you might even consider politely declining the complimentary wash altogether.
The Service Center Wash: What You Get and What to Check For
That free service wash comes with a hidden cost for your paint. The automated tunnel brushes are notorious for instilling swirl marks. These are the fine, cobweb like scratches you see in direct sunlight. The brushes trap grit from every car that went through before yours and then drag it across your clear coat. Scratches and swirl marks caused by wash brushes can be difficult to remove, often requiring specialized products and techniques.
You should always do a quick postservice inspection in good light before driving away. Look for new, circular scratch patterns on horizontal surfaces like the hood and roof. Check your interior for any greasy handprints on the steering wheel or door panel that the tech might have left. Make sure your seat and mirror settings were not moved.
My Tesla Model 3, the “Modern EV,” is a perfect example of why this matters. Its clear coat is notoriously soft. A single pass through a harsh brush tunnel can mar the paint more than six months of my own careful hand washing. For cars with soft paint like this, a complimentary wash can quickly become a complimentary set of scratches that requires a paint correction to fix.
Wrapping Up Your Rental Car Cleanup
From my experience detailing everything from kid-haulers to sports cars, the most important rule is this: treat the rental car’s clean-up like a final inspection on your own vehicle. A focused, thorough job on the interior surfaces and exterior paint is your best defense against fees and your biggest boost for its future worth.
Skip this focused effort, and you invite cleaning charges from the rental company or a lower trade-in valuation.
Relevant Resources for Further Exploration
- r/NoStupidQuestions on Reddit: How well do I need to clean a rental car before returning it?
- Do you have to clean a rental car?
- The Proper Way to Clean A Rental Car Before Returning It
- How clean should a rental car be returned? – Travel Stack Exchange
- Do You Have to Clean a Rental Car Before Returning It? | FINN
Max Gunther
Max is an automotive enthusiast having worked as a car mechanical and in interior detailing service for over 25 years. He is very experienced in giving your old car, a new fresh vibe. He has detailed many cars and removed very tough smells and stains from all kinds of cars and models, always ensuring that his work and advice helps his customers. He brings his first hand experience to his blog AutoDetailPedia, to help readers breath new life into their car interiors.