How Do You Clean Your Car’s Roof, From Headliners to Convertible Tops?
That stained headliner or dirty soft top can make your whole car feel neglected, and using the wrong cleaner can do real harm. I’ve been there, leaning awkwardly over seats, worried about making a mess worse.
Based on cleaning everything from the kid-stained roof in my Odyssey to the canvas top on my Miata, I’ll show you a safe, methodical approach. We will cover identifying your specific roof material, choosing gentle yet effective cleaners, step-by-step interior headliner cleaning, proper exterior roof washing, and dedicated care for convertible soft tops.
Use harsh chemicals or rough scrubbing, and you risk permanent stains, fabric sagging, or a cracked and leaking convertible top.
Why Cleaning Your Car’s Roof is Non-Negotiable
You look at your car’s hood and doors. You wash the windows. But the roof gets a quick spray and a hope. I get it. It’s up high. It’s out of sight. But neglect up there has real consequences you see every day from the driver’s seat. Water spots bake into the clear coat. Tree sap and bird droppings etch the paint. Inside, that soft fabric headliner soaks up every smell and starts to sag with stains. Wash the car exterior safely with proper soap and a gentle rinse. This protects the finish and keeps the exterior looking clean.
My 1995 Miata taught me this lesson hard. When I got it, the once-bright red canvas top was a faded, stiff pink. Dirt and pollen had clogged the weave. The water repellency was gone. It took serious work to bring it back. My black BMW 3 Series shows every single water spot and faint swirl from a dirty wash mitt dragged across it. The roof is a magnet for these flaws.
If you’re searching “how to clean car roof,” you already know it needs attention. You’re right. Regular roof cleaning isn’t just about looks; it’s about stopping damage before it becomes permanent and expensive to fix.
The Real Cost of a Dirty Roof
Let’s talk about what actually happens when you ignore it. On paint, contaminants don’t just sit there. They bond. Water spots become etched circles you can feel with your fingernail. UV rays hit dirty, oxidized paint much harder, turning a clear coat cloudy and chalky. This is permanent without a professional paint correction.
Inside, a fabric headliner is a sponge. Smoke, cooking odors, and moisture from wet passengers get trapped. Over time, they cause yellow or gray stains that simple cleaners can’t touch. Once a headliner is stained, it’s often stained for good. That’s why many look for tips on clean car fabric headliner stains odors. With the right method, you can lift stains and neutralize lingering smells.
For convertible tops, grime breaks down the protective coatings. The material loses its ability to shed water. This leads to leaks. Many searches for “car roof leaking” start because dirt and debris piled up around the seals, holding moisture and making the seals wear out faster.
A clean roof protects your investment, maintains your car’s value, and keeps the interior environment healthy for everyone inside.
Spotting the Early Warning Signs
You don’t need to wait for a major stain. Your car gives you signals. After it rains, look at the water on your painted roof. Is it beading up in tight, round beads? Good. Is it sheeting flat or leaving behind spotted residue? That means your protective wax or sealant is gone, and the paint is vulnerable to stains and contaminants that can damage the surface.
Inside, tilt your head back. On light-colored headliners, look for a general grayish tinge, especially above the driver’s seat. Smell the air when you first get in on a warm day. A faint musty smell is a big red flag for mold or mildew starting in the fabric.
Pay special attention to the edges and front corners. A “car roof leaking near windshield” will often leave a visible water stain or a slightly darker patch on the headliner. Catching and cleaning that early prevents a bigger, smellier problem later.
Gathering Your Roof-Cleaning Arsenal: Tools and Chemicals
Good results start with the right gear. Using the wrong towel or cleaner can create more work. Think of this as building a small, specialized kit. Having these items dedicated to roof cleaning will make the job faster and safer for your car.
The right tools don’t just clean; they prevent the scratches, streaks, and damage that come from using improvised supplies.
Microfiber Towels: The GSM Breakdown
Not all microfiber is the same. GSM stands for grams per square meter. It tells you how thick and plush the towel is. For your roof kit, you need two types.
Use lighter 70 to 300 GSM towels for applying cleaners or quick detailers and for buffing off sealants. They’re less bulky and great for precision.
Use heavy 300 to 500 GSM plush towels for drying. The thicker nap safely lifts and traps water droplets without dragging them across the paint. I keep three separate sets: bright yellow for interiors (headliners), green for exterior painted surfaces, and blue only for my convertible top. This stops me from accidentally rubbing convertible top grit onto my BMW’s paint.
Chemicals: Why pH Matters for Every Surface
pH is a measure of how acidic or alkaline a product is. Your car’s surfaces are engineered for specific pH ranges. Stray outside that range and you cause harm.
- For Painted Roofs: A pH-neutral car shampoo (pH 7-8) is perfect. It cleans without stripping the wax or sealant you worked hard to apply. Dish soap is a harsh degreaser and will leave your paint completely unprotected.
- For Soft Tops: Use a dedicated fabric or vinyl convertible top cleaner. Check the label for its pH recommendation. These are formulated to lift grime from the weave without harming the water-repellent treatment.
- For Fabric Headliners: An interior fabric cleaner with a neutral pH is safe. It won’t leave a residue that attracts more dirt or discolors the delicate fabric.
Foaming cleaners are excellent for vertical surfaces like a car’s sides and roof. The foam clings to the surface, giving the chemicals time to break down dirt without instantly running off. A “car roof cleaning foam” can be a very effective first step.
Brushes, Pads, and Mechanical Aids
Your hands can’t reach everything. That’s where brushes come in, but they must be soft.
- Interior Brush: Get a soft-bristled detailing brush, like a boar’s hair or very soft synthetic brush. This is for gently agitating cleaner on a headliner without soaking or mashing the fabric.
- Exterior Wash Brush: A long-handled wash brush with soft bristles lets you safely clean the roof without climbing on the car. It should feel soft on the back of your hand.
- Detailing Brush: A small, soft brush is essential for cleaning the tight seams and stitching on a convertible top, where dirt loves to hide.
Your wash bucket needs a Grit Guard at the bottom. This plastic insert traps dirt and sand, preventing your wash mitt from picking it back up and grinding it into the paint. It’s a simple, non-negotiable tool for scratch-free washing.
If you use a pressure washer (“car roof cleaning machine”), never use a pinpoint nozzle. Always use a wide-angle (40-degree) nozzle and keep it at least a foot away from the surface. You want to rinse dirt away, not blast water under trim seals or into the convertible top’s framework.
The Detailer’s Protocol: Order of Operations for Roof Cleaning
Cleaning a roof wrong is easy. You wash the car, then spray the top, and watch brown water streak down your clean paint. You treat a fabric top, then realize you need to vacuum inside, raining dust onto your fresh work. It feels like two steps forward, one step back.
A strict order of attack prevents this. It is your battle plan for a clean, undamaged result without rework.
Following a master sequence protects your work and ensures every layer, from the headliner to the top’s outer skin, gets the right attention at the right time.
The Master Checklist: From Interior to Protection
This is the sequence I use on every car that comes into my space, from the kid-hauling Odyssey to the garage-kept Porsche. Stick to the numbers.
- Interior Vacuum and Dry Brush. Start inside. Use a soft brush attachment on your vacuum to gently remove dust and sand from the headliner and upper pillars. A dry, soft-bristled detail brush loosens debris from seams first. Doing this now means any dust that escapes falls onto a dirty interior floor, not a clean exterior.
- Convertible Top Dry Debris Removal (if applicable). If you have a soft top like my Miata, take a dry, clean microfiber towel and gently wipe the surface to lift off loose pollen, dust, and grit. This prevents grinding that debris into the fabric during the wet wash.
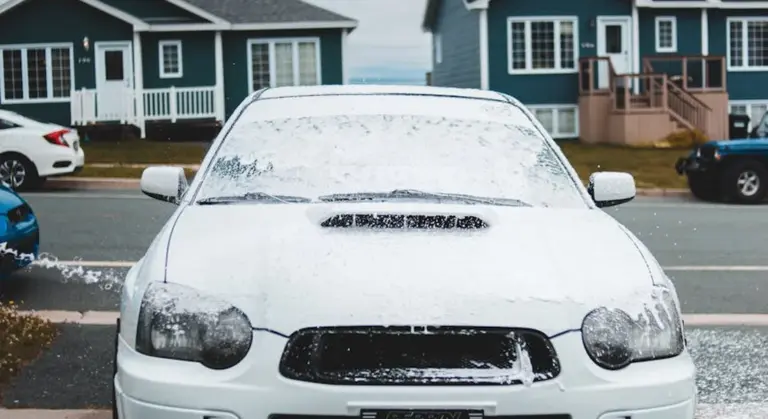
- Exterior Rinse and Wash (working top-down). Here is the core rule. You always wash from the top of the car down. The roof is the first panel you shampoo after the rinse. Washing the exterior roof first ensures any dirty run-off flows down over panels you haven’t cleaned yet, which you will then immediately wash away. This keeps your lower doors and quarter panels pristine.
- Convertible Top Wash and Rinse. Only after the painted roof is clean do you move to a fabric or vinyl top. Use products specific to the material and a soft brush, rinsing thoroughly.
- Comprehensive Drying. Dry the entire exterior completely, starting with the roof and glass. Trapped water in seams will drip and spot your work later.
- Application of Protectants. Finally, apply your chosen protection. This could be a spray sealant for painted roofs and windows, or a fabric guard for a convertible top. Doing this last ensures a clean surface for the product to bond to.
When to Call a Pro: Understanding “Car Roof Cleaning Services”
You can handle 95% of roof cleaning with this guide. But some jobs need a specialist’s touch, and knowing when to call is a sign of a smart detailer.
Consider professional car roof cleaning services for a few clear scenarios. If you see extensive black or green mold spots deep in a fabric convertible top, professional-grade cleaners and steam are needed. A headliner that is sagging or falling needs adhesives and techniques that go beyond cleaning. If you simply lack the time, equipment, or confidence for this high-stakes area, hiring a pro for an annual deep clean is a wise investment.
For the typical layer of grime, pollen, and water spots, your own two hands and this protocol are more than enough. My BMW’s black roof gets this treatment every month to keep it from looking like a swirl galaxy.
How to Clean a Painted Exterior Roof Without Adding Scratches
So, how do you clean the roof of your car? You attack it with a plan, not just soap. The roof is the largest, flattest, and most overlooked paint panel. It collects the most environmental fallout, which can damage your car’s paint. It’s also where most people, leaning over, use poor technique and create fine scratches.
Forget fancy products for a moment. Technique is everything up here.
Step 1: The Safe Rinse and Two-Bucket Wash
Begin with a gentle fan-spray from your hose or pressure washer to soak and loosen the dirt. Do not use a pinpoint jet stream directly on the paint.
Then, with your two buckets ready (one with shampoo solution, one with clean rinse water and a Grit Guard), start at the roof. Use a clean, high-quality wash mitt. Load it with suds from the shampoo bucket. I recommend a long-handle wash pad for the roof. It lets you maintain reach without leaning your body or sleeve onto the paint. Work in straight, overlapping passes, rinsing your mitt in the clean water bucket after every pass or two.
The two-bucket method is non-negotiable for preventing the dirt you just washed off from being reapplied as scratches.
Step 2: Drying and Inspecting for Defects
After the final rinse, dry the roof immediately. Use a large, plush drying towel-I prefer 500 GSM or higher. Lay it flat on the surface and pull it across in straight lines, using a light dragging motion. Do not scrub or wipe in small circles.
Once dry, inspect your work. Use the sun or a bright LED work light. Hold it at a low angle to the roof’s surface. You are looking for two things: the clean, uniform reflection of good paint, or the tell-tale speckles of remaining bonded contaminants and the spider-web haze of fresh swirls. If the surface feels rough, it needs a clay bar treatment. If you see new fine scratches, revisit your wash mitt and drying technique next time.
Detailer’s Pro-Tip: The Overhead Technique Tweak
Washing a roof is a shoulder workout, not a wrist flick. Your body position matters. Use a stable step stool to get height. Plant your feet. Tuck your elbow into your rib cage. Now, make slow, sweeping passes across the roof by rotating your torso from your shoulders.
This locked-arm, shoulder-driven motion gives you even, consistent pressure across the entire mitt, preventing missed spots and the uneven pressure that causes streaks and marring. It feels awkward at first, but it keeps your wrist from steering and your sleeve from dragging. On my F-150’s massive roof, this is the only way to get consistent, safe coverage.
How to Clean an Interior Roof or Headliner Without Sagging or Stains
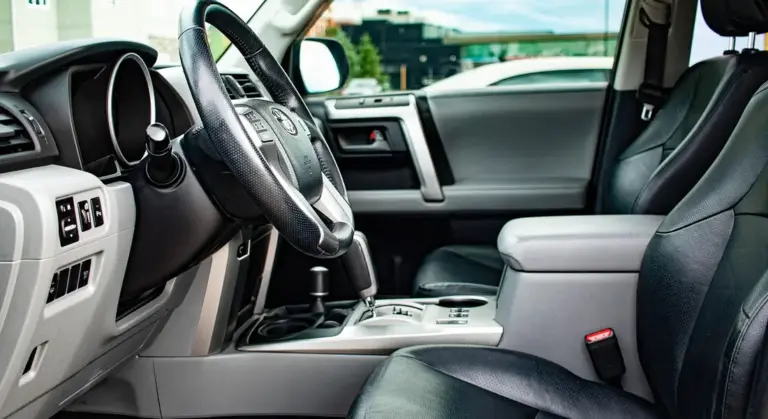
That soft fabric overhead is one of the most delicate surfaces in your car. I get it. You look up at a stain or a smudge and your first thought is, “If I touch that, the whole thing will fall down.” That fear is real. The foam backing and adhesive hate moisture. But with a gentle, patient approach, you can clean it safely. This method also works for those frustrating water stain rings from a past sunroof or window leak.
Identifying Your Headliner Material First
You cannot just spray and scrub. The first rule is to know what you are touching. Run your fingers over it in a hidden spot, like behind the sun visor. Is it a tight, woven cloth? That is the most common. Is it a smooth, sometimes perforated vinyl? Or does it have a plush, suede-like feel? That could be a synthetic like Alcantara. Your first action with any new cleaner is to test it in that hidden spot, wait a minute, and blot it dry to check for color transfer or texture change. My 2019 Honda Odyssey has a standard light grey fabric headliner. It has seen everything from cracker dust to a rogue chocolate milk splash. Knowing it is a basic fabric tells me a general interior cleaner will work, but I must be extra careful with the dairy stain’s grease. That same caution extends to clean cloth fabric car seats; always test the cleaner first in a hidden spot, then blot dry to check for color change. For cloth seats, use fabric-safe formulas and light, even application to avoid oversaturation.
The Gentle Cleaning Process: Vacuum, Spot, Blot
Forget everything you know about cleaning seats or carpets. The headliner requires a lighter touch. That same careful method also applies to deep-cleaning car seat upholstery. Here is the safe sequence.
- Start with a dry, soft brush attachment on your vacuum. Gently go over the entire surface to lift away loose dust and crumbs. Do not press hard.
- For stains, never spray cleaner directly on the headliner. The drip will soak in. Instead, spray a small amount of a mild interior cleaner onto a clean, soft microfiber towel.
- Fold the towel so the damp spot is inside a clean pad. Gently dab and blot the stain. Do not rub. You are trying to lift the stain into the towel.
- If the stain is stubborn, you can use a very soft bristle brush, like a boar’s hair detailing brush, to gently agitate the dampened area. Use the lightest touch imaginable.
This is the most critical warning: never soak the headliner. Excess moisture dissolves the adhesive behind the fabric, and that is what causes a sagging, droopy roof that cannot be fixed without a major repair. Use moisture like you are applying medicine with a cotton swab, not washing a window.
Technique Tweak: Lighting and Patience for Stain Removal
Flat overhead light hides stains. To really see what you are dealing with, use a bright LED flashlight or work light. Hold it at a shallow angle, almost parallel to the roof surface. This side lighting will make every water spot, grease ring, and shadow leap into view. Work in small sections, about one square foot at a time, so you can control the moisture and see your progress clearly. For old, set-in water stains from a leak, a gentle solution of distilled water and a little white vinegar (about 10 parts water to 1 part vinegar) can help break up the mineral deposits. Apply it with the same dab-and-blot method, and then use a dry towel to blot as much moisture out as possible. Follow up with airflow from a fan or a cool setting on a blow dryer held at a distance to ensure the area dries completely.
How to Clean Convertible and Soft Tops: From Canvas to Modern Vinyl
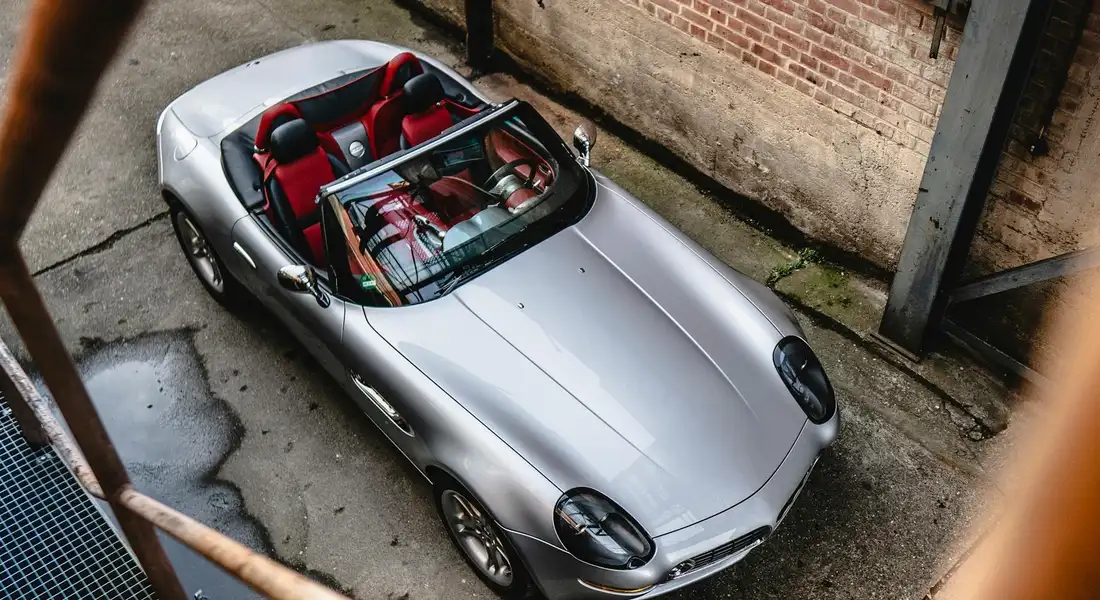
Cleaning a convertible top is not like washing your car’s paint. The wrong brush or chemical can leave it frayed, discolored, or leaking. The single most important step is identifying your material. The care for my 1995 Mazda Miata’s classic canvas is completely different from the care for the modern vinyl top on my 2022 Porsche.
Step 1: Material Identification and Dry Debris Removal
Look closely and feel it. Canvas feels like a heavy-duty cloth or denim. It has a textured weave you can see. Modern vinyl tops are smoother, often have a slight sheen, and feel more like a synthetic leather. Before anything gets wet, always remove dry dirt first. Use a soft bristle brush, like a horsehair detailing brush, to gently sweep off leaves, pollen, and grit. You can also use a vacuum with a soft upholstery attachment. This prevents you from grinding dirt into the material during the wash.
Step 2: Washing with a Dedicated Cleaner
Do not use car wash soap or dish detergent. Get a cleaner made for convertible tops. Fabric cleaners for canvas, vinyl cleaners for vinyl. Follow the bottle’s instructions. Usually, you apply it to the damp top, agitate with a very soft brush or a microfiber mitt, and then rinse it off completely. Rinse until the water runs totally clear; any leftover soap residue will attract more dirt and can break down the top’s materials over time. This is especially important when washing delicate surfaces like vinyl car wraps or fabric convertible tops. I use a garden hose with a gentle shower setting, never a high-pressure stream that can force water past the seals.
Never use a stiff brush, a Scotch-Brite pad, or aggressive cleaners like wheel acid or tire shine. On canvas, these will fray the threads. On vinyl, they can create micro-scratches and cause permanent discoloration or fading.
Step 3: Drying and Applying Protectant
Let the top air dry in the shade with the top fully up. If you need to speed it up, gently blot with a clean, absorbent microfiber towel. You must never, ever put the top down while it is still damp. Trapped moisture leads to mildew, stains, and can weaken the fabric or vinyl. Once it is bone dry, the job is not done. Protection is key. For a canvas top like the Miata’s, apply a quality fabric water-repellent protectant. It will bead water for months. For a vinyl top, use a UV-resistant vinyl conditioner. This keeps it supple and prevents it from drying out, cracking, and fading in the sun. This aftercare step is what makes your cleaning effort last.
Detailer’s Pro-Tip: The Directional Brush Stroke
This small technique makes a big difference. When you agitate cleaner into a canvas top, always look for the direction of the weave. Move your soft brush in straight lines, following that grain. Never scrub in circles or go against the weave. Brushing with the grain prevents you from hooking and pulling individual threads, which is what leads to fuzziness and premature wear. For a smooth vinyl top, you can use light, overlapping circular motions, but let the soft bristles do the work. Use almost no pressure from your hand. You are guiding the cleaner, not scouring the surface.
Keep Your Headliner and Top Looking Their Best
Whether it’s the fabric headliner in your minivan or the canvas top on your classic roadster, the most important rule is to use the right cleaner for the material. A dedicated fabric cleaner for headliners and a specialized convertible top cleaner will protect the materials and prevent the kind of damage that soap and water can cause.
Using the wrong chemicals or a harsh scrub brush can permanently stain a headliner, degrade the waterproofing on a soft top, and lead to a very expensive replacement bill.
Related Guides and Information
- r/CleaningTips on Reddit: Just had a can of coke explode into the roof of my car, what should I use to get rid of this stain
- Headliner and Car Roof Cleaning 101: The Ultimate Guide to Reviving Your Car’s Interior
- Amazon.com: Car Ceiling Cleaner
- How to Clean a Car Interior Roof: Easy Steps & Expert Tips
- How To Clean Your Car’s Interior Roof – In The Garage with …
- Best way to clean SUV roofs | Auto Geek Online Auto Detailing Forum
- How to clean car roof ? Interior Roof Cleaner
Max Gunther
Max is an automotive enthusiast having worked as a car mechanical and in interior detailing service for over 25 years. He is very experienced in giving your old car, a new fresh vibe. He has detailed many cars and removed very tough smells and stains from all kinds of cars and models, always ensuring that his work and advice helps his customers. He brings his first hand experience to his blog AutoDetailPedia, to help readers breath new life into their car interiors.