What Are the Best Products to Clean and Protect Your Car Dashboard?
You glance at your dashboard and see a layer of dust or a greasy shine, worried that the wrong wipe will leave it streaky or dull.
This article will walk you through understanding your dashboard’s material, choosing safe and effective cleaners, applying lasting UV protection, and maintaining a perfect finish.
Without the right care, your dashboard will fade, crack, and become a sticky, sun-damaged eyesore.
What Is Your Dashboard Made Of, and Why Does It Matter?
Calling your dashboard just “plastic” is like calling a steak just “meat.” It misses the details that matter. That surface takes the most sun and heat in your entire car. Using the wrong cleaner can turn it sticky, faded, or cracked, especially if it’s vinyl. Proper care is essential for vinyl dashboards.
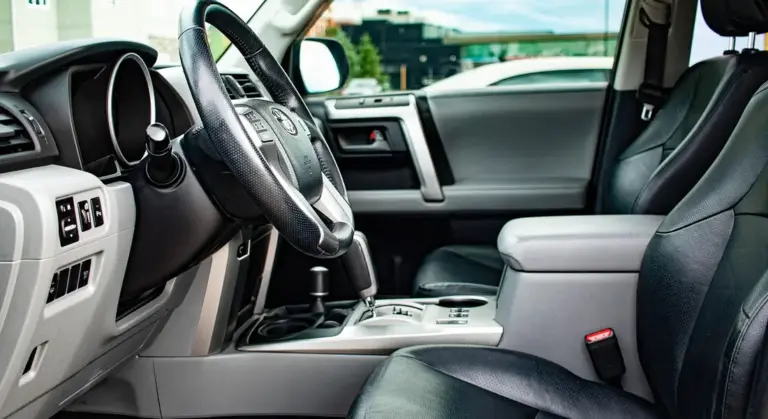
Modern dashboards are a mix of materials. You often find hard thermoplastics, soft-touch vinyl, synthetic leatherette, real leather stitching, open-pore wood trim, and that fingerprint-prone piano black gloss plastic. Each one needs a different touch.
The material directly dictates your cleaning risk. Strong solvents or abrasive cloths can permanently damage the delicate coating on soft-touch surfaces, leaving them feeling rough. Piano black gloss plastic scratches with a single wipe using a dusty towel.
Look at my own cars. The dashboard in my white Tesla Model 3 is a matte, vegan leather. It feels great but shows every oily fingerprint. My Porsche’s Alcantara trim feels like soft suede and needs a gentle, dry brush. My Honda Odyssey’s hard plastic is a battlefield of dried juice and crayon wax. You cannot clean them all the same way.
Before you spray anything, do the simple glove test. Put on a clean, white cotton glove or use a white microfiber cloth. Wipe it firmly across your dashboard. If the glove comes away gray or dirty, you need a cleaner. If it’s clean, you likely just need a protectant or a damp cloth to refresh.
Building Your Dashboard Care Kit: Cleaners, Protectants, and Tools
Your product choice is the most important step. Getting this wrong means you’re either not cleaning effectively or you’re actively damaging the surfaces you want to save. Let’s break down what works.
The Budget / “Drive-Through Clean” Tier
This is for the quick wipe-down when you’re at the gas station. Brands like Armor All or Meguiar’s Quik Interior Detailer are on most store shelves. They’ll lift light dust and fingerprints fast.
Just know their limitations: many leave a high-gloss, slippery finish that attracts dust and can cause glare on your windshield. If you’re looking for “dashboard cleaning products south africa” or similar local searches, the same rule applies. Look for keywords like “UV protection” and “matte finish” on the label, even in a budget bottle. It makes a difference, especially when paired with quality cleaning products for your car windows.
The Enthusiast / “Long-Term Keeper” Tier
This is the sweet spot for most car owners who care. Here, you want a pH-balanced, interior-specific detailer. I use these on my F-150 and BMW weekly. They clean lightly soiled surfaces without stripping existing protectants.
The real star here is a dedicated UV protectant like 303 Aerospace Protectant. You use your cleaner first, then apply this. 303 Aerospace leaves a rich, matte, factory-like finish that blocks the sun’s UV rays, which are the number one cause of dashboard fading and cracking. This is the single best habit for preserving your interior. That same sun-blocking routine helps protect your car’s paint from sun damage, too. Exterior protection matters for a lasting, showroom finish.
The Show Car / “Maximum Durability” Tier
For surfaces like my Porsche’s dash or a show vehicle, ceramic technology has moved indoors. Ceramic-infused interior dressings and dedicated interior ceramic coatings are now common.
They feel different. Not oily or slick, but like a smooth, treated surface. Their main advantage is longevity; a single application can repel dust and stains for months, not weeks. They make cleaning subsequent light dirt much easier, as it has trouble sticking.
What to Avoid: The “What Can I Use?” Trap
Let’s be direct. Someone will ask, can i use vaseline to clean my car dashboard? The answer is a firm no. Never. It attracts a layer of dust almost instantly, can melt and run in the summer heat, and will permanently ruin the porosity of your dashboard materials.
Other common mistakes look harmless but cause damage:
- Glass Cleaner (like Windex): It’s for glass. On plastics and vinyl, the ammonia and solvents will dry out the material, making it brittle and chalky over time.
- Dish Soap: It’s designed to strip grease from plates. It will strip any protective layer from your dashboard, leaving it bare and vulnerable.
- Generic All-Purpose Cleaners: These are often too alkaline or acidic for fine automotive interiors. They can fade colors and degrade soft-touch coatings.
The Tools You Actually Need
Good products need good tools. You don’t need many.
- Microfiber Towels: Use two kinds. A shorter, 300-400 GSM towel for applying and scrubbing cleaners. A plusher, 500+ GSM towel for buffing off protectants to a streak-free finish. Never use the same towel for your wheels and your dashboard.
- Soft-Bristle Detail Brushes: A 1-inch wide brush is perfect for dusting air vents, instrument cluster crevices, and around buttons without scratching.
- A Good Interior Vacuum: Crumbs and sand grind into surfaces. A vacuum with soft brush attachments lets you remove this abrasive grit before you start wiping.
The Step-by-Step Process: How to Clean and Protect Your Dashboard Right
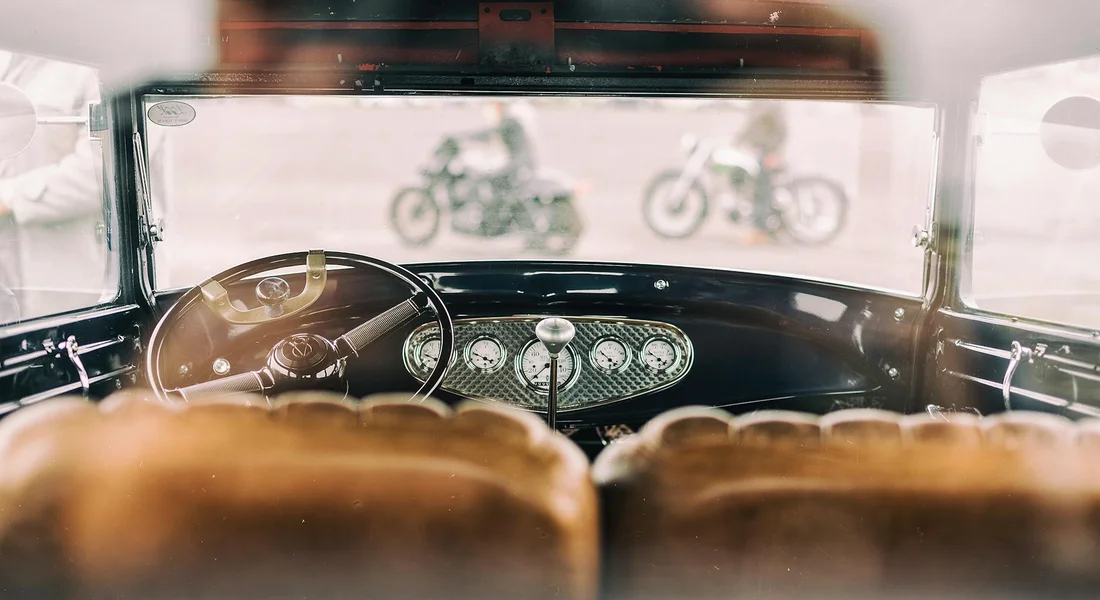
This method works every time. It is safe for your car’s materials and for you. You will not get streaks, a greasy mess, or damage anything. I use this same process on every car, from my kid’s Odyssey to the 911.
Step 1: The Pre-Vacuum and Dry Brush
First, take everything out. Coffee cups, phone cords, parking slips. Get it all out of there. You cannot clean around clutter.
Now, take a soft detailing brush, the kind with fine bristles. Gently flick it across the air vents, the seam where the dash meets the windshield, and around the gauges. This loosens the packed dust so your vacuum can actually pull it away instead of just pushing it around. Then, use your vacuum’s soft brush attachment to suck up all that dust. Do this with the doors open so you have good light.
Step 2: The Initial Wipe-Down (The “Glove Test”)
Take a clean, premium microfiber towel. Fold it into quarters so you have fresh sides to use. Lightly mist one quarter with plain water, just enough to dampen it.
Wipe a small, noticeable section of your dashboard, like the top near the windshield. Look at the towel. If it comes away clean, your dash just needed dusting. If you see a gray or brown smudge, that is ingrained grime and body oils. That smudge means you need to use a proper interior cleaner to get down to a truly clean surface. This test saves you time and product, ensuring you’re cleaning and not just masking dirt.
Step 3: Applying Cleaner (If Needed)
Never, ever spray cleaner directly onto your dashboard. Overspray will land on your windshield and create a hazy film that is a nightmare to remove later.
Instead, spray your chosen all-purpose or interior cleaner directly onto your microfiber towel. Two or three sprays is plenty. Wipe the dashboard using gentle pressure, working in straight lines. For textured plastic, I use a soft brush. I spray a little cleaner on the brush, agitate the texture, and then immediately wipe it with the damp towel to lift the dirt. Working in small sections prevents the cleaner from drying and ensures you lift the dirt instead of just moving it. Using the right tools and products is part of the best car cleaning methods. When you pair these techniques with quality gear, you’ll see a more thorough, longer-lasting clean.
Detailer’s Pro-Tip: Cleaning Piano Black and Touchscreens
Glossy plastic and screens scratch if you look at them wrong. I keep a separate, brand new microfiber towel just for these surfaces. I use a cleaner labeled as safe for screens or tinted glass. I spray it on the towel, never on the surface. Then I float the towel over the area with almost zero pressure. Any grit on your towel or heavy hand will leave fine swirls in that soft plastic, and they catch the light every time you drive. My BMW’s glossy trim taught me this lesson the hard way.
Step 4: Applying Protectant
This step only works on a perfectly clean and dry surface. If the dash is damp or still dirty, you will seal that in.
Apply your protectant to a foam applicator pad or a fresh microfiber. Do not pour it on. A few drops is enough for a whole section. Work it into the plastic in a circular motion, covering one area at a time. You must immediately buff off any excess with a clean, dry microfiber towel. If you let it sit, it will dry streaky and feel greasy to the touch. This immediate buffing is the secret to a natural, satin finish.
Technique Tweak: The “Cross-Hatch” Buff
When you buff off the protectant, do not just wipe in circles. Buff in one direction, then turn your towel and wipe across that path. This cross-hatch method makes any leftover streaks obvious so you can buff them away. It guarantees an even, streak-free finish with no shiny patches.
Solving Common Dashboard Problems and FAQs
You will run into these issues. Everyone does. Here is how to handle them without making things worse.
My Dashboard is Faded, Chalky, or Sticky. Can I Restore It?
A faded, chalky dashboard is crying out from UV damage. The plastic is literally drying out and breaking down. A deep cleaning with a good interior cleaner can remove the oxidized layer on top. Following up with a strong UV protectant can bring back a richer color and stop further damage. But if the plastic is severely bleached or cracked, the damage is permanent; you are preserving what is left, not restoring what is gone.
A sticky dashboard is a different beast. That usually means a soft-touch coating is degrading. It gets gummy. You can try gently cleaning it with a mild all-purpose cleaner and a very soft brush. The same technique can be used on sticky car dashboard buttons. Clean them gently with a mild cleaner and a soft cloth. You might actually remove that sticky coating entirely, leaving the hard plastic underneath. It may look a little different, but it will not be tacky anymore.
How Do I Clean Vents and Those Tiny Crevices?
Your vacuum and detail brush are your best friends here. First, use the vacuum hose to pull dust from the vent slats. Then, use a soft detail brush to dislodge what is stuck in the fins. For the tight seams around the infotainment screen, I wrap a microfiber towel around a plastic trim tool. It gets into the crack without scratching. Compressed air in a can is great for blasting out dust from buttons and crevices before you wipe anything, just do it outside the car.
Is Armor All (or Other Old-School Products) Actually Bad?
It is not evil, but it is outdated. The old formulas were based on oils and silicones that gave a very high, wet-looking gloss. That gloss attracts dust like a magnet. The slick feeling can also make your steering wheel slippery. Modern products are designed to protect without that extreme shine, offering a matte or natural finish that looks like new car plastic, not a plastic toy. If you like the look, the modern versions are fine. Most detailers prefer the natural look.
How Often Should I Do This?
It depends on your car and where you live. For my daily drivers, I give the dash a quick dust with a dry microfiber every other week. A full clean and protectant application, like the process above, I do every season, or about every four months. For the garage-kept Porsche, twice a year is plenty. If you park in the sun every day, lean toward every three months to keep the UV protection strong. How often you clean your car’s interior also affects the longevity of your dash protectant.
Keeping It Fresh: Your Dashboard Maintenance Routine
A deep clean feels great. Keeping it that way feels better. Moving from a major detail to simple upkeep is the real secret to a car that always looks cared for.
The 2-Minute “Touch-Up”
You do not need a full detailing session every week. Life gets in the way. I keep a bottle of interior quick detailer and a clean, plush microfiber towel in my door pocket. In my Honda Odyssey, the “Kid Hauler,” this is a lifesaver.
After school, the dashboard has a fine layer of dust and a few sticky fingerprints. I spray the towel lightly, not the dash, to avoid overspray on the windshield. A few quick wipes across the main panel and the top of the instrument cluster clears it all. That same care works on the door panels and dashboard, helping them stay clean and protected. Extending the routine to these surfaces sets you up for easy maintenance and a longer-lasting interior.
This quick habit prevents dust from bonding and becoming a gritty film that scratches surfaces later. Use a towel labeled for glass and interiors, as it is less likely to leave lint behind on your smooth plastics and vinyl.
Sun Protection is the Best Protection
All your cleaning is for nothing if you let the sun bake your dashboard daily. Ultraviolet light is the primary cause of fading, cracking, and hardening on your interior plastics and vinyl. Think of a clean sunscreen approach for your interior and pair it with regular care for your car seats and dashboards to keep surfaces protected and looking new.
The single most effective thing you can do is use a sunshade. I use one in every car, even my garage-kept Porsche. It is not just about temperature. It is a physical barrier against the most damaging rays.
Pair that shield with a protectant that contains UV inhibitors. These are not just for shine. They are sunscreen for your dashboard. On my Tesla’s synthetic leather, I use a protectant made for modern, low-gloss interiors. On the BMW’s traditional vinyl, I might use something with a bit more richness.
Reapply your UV protectant every 4-6 weeks during sunny months, as the protective layer slowly wears away from heat and light exposure. Always apply it to a clean, cool surface out of direct sun for the best bonding.
When to Re-Apply Your Protectant
How do you know your protectant has worn off? You perform the water bead test. It is simple and shows you exactly what is happening on the surface.
Here is how I do it on my F-150’s dash. I lightly mist a few drops of clean water onto a flat, horizontal section. If the water forms tight, round beads that sit on top of the plastic, the protection is still active. If the water spreads out into a flat patch or soaks in quickly, the surface is bare and vulnerable.
When water stops beading, the UV inhibitors are depleted and it is time for a fresh application. Test an inconspicuous spot first, like the far corner of the dashboard on the passenger side. This routine check takes seconds and tells you exactly what your interior needs.
Final Thoughts on Dashboard Care
The best way to care for your dashboard is to clean it regularly with a gentle, dedicated interior cleaner and then protect it with a product suited to its material. This simple, consistent habit preserves your interior’s look and value while making every drive more pleasant.
Neglect this routine, and prolonged UV exposure will turn that plastic brittle and cracked, while accumulated grime becomes a permanent, sticky film.
Citations and Authoritative Sources
- Car Interior Cleaning Products | Chemical Guys
- Spiff Up Your Ride with These Top Car Interior Cleaners
- Amazon.com: Car Dash Cleaner
- What To Use To Clean Inside Your Car’s Dashboard | Chemical Guys
- XADO Dashboard Polish – New Car – XADO US
Max Gunther
Max is an automotive enthusiast having worked as a car mechanical and in interior detailing service for over 25 years. He is very experienced in giving your old car, a new fresh vibe. He has detailed many cars and removed very tough smells and stains from all kinds of cars and models, always ensuring that his work and advice helps his customers. He brings his first hand experience to his blog AutoDetailPedia, to help readers breath new life into their car interiors.