How Do You Remove Clear Bra Paint Protection Film and Vinyl Wraps Without Damaging the Paint?
Seeing that brittle, discolored film or wrap on your car probably makes you hesitate to pull it off. You are right to worry about scratching the paint underneath.
I have removed film from my Porsche 911 and vinyl from my BMW 3 Series, and I will show you how. We will cover gathering the right tools, using heat and adhesive remover safely, and finishing with a gentle paint cleanse.
Peel without a plan, and you will likely gouge the clear coat or leave a sticky mess that bonds for good.
Key Takeaways: The Safe Removal Protocol
Pulling film off your car is a test of gentle force. Your success hinges on three things: enough heat to soften the glue, the patience to work slowly, and keeping your removal tool at a shallow angle to the paint. I learned this the hard way years ago, rushing a job on a customer’s black Audi and leaving behind a sticky, frustrating mess. That same careful approach also applies to removing glue adhesive from car paint.
There is a sequence you must follow. Jump ahead, and you will fight adhesive all day or risk scratching the clear coat.
- Thorough cleaning comes first. You must wash the entire film surface with car shampoo and rinse it completely. Any dirt or sand sitting on the film will get pressed into your paint the moment you start scraping. I treat this like washing my black BMW-meticulous and with clean mitts.
- Apply heat with control, not aggression. Warm a section about the size of a notebook page until the film feels very warm under your palm. Use a heat gun on its lowest setting or a steamer, and keep it moving. On my Tesla’s flat bumper, holding heat in one spot for even a few seconds can make the adhesive gummy and difficult.
- Remove the adhesive with chemistry, not muscle. Once the film is off, the leftover glue gets dissolved with a proper automotive adhesive remover. Do not pick at it. Spray, let it dwell, and wipe it away with a microfiber towel.
Paint Protection Film (PPF) and a colored vinyl wrap feel different during removal. PPF, like the stuff on my Porsche’s hood, is thick and stretchy, often releasing in satisfying, large sheets. A full vinyl wrap, like you might see on a show car, is thinner and more prone to tearing, demanding smaller sections and more heat, which is quite different from PVA wraps.
The age of the film is your biggest variable. Old, neglected film becomes brittle and loses its elasticity, turning a straightforward job into a delicate, piece-by-piece puzzle. The original clear bra on my 1995 Miata came off in a hundred tiny fragments, each one needing individual heat and coaxing.
The Toolkit: What You Need for PPF and Vinyl Wrap Removal
Using the wrong tool here is how paint gets scratched. This kit is built for safety first.
- Heat Gun or Garment Steamer: A heat gun is powerful and direct. A steamer is slower but safer, adding moisture that helps loosen glue without extreme temperatures. For delicate jobs on dark paint, like my BMW, I reach for the steamer every time.
- Plastic Razor Blades: These are your primary lifting tool. Metal blades can dig and score your paint. Plastic blades flex and are far less likely to cut. Buy a big pack, as the edges dull quickly against adhesive.
- Clean, High-Pile Microfiber Towels: You need a stack of them. Use one brand for wiping off adhesive remover and another for buffing the final surface. The soft pile is gentle on freshly exposed paint.
- Automotive Adhesive Remover: This is a specialized product, not a general cleaner. It breaks down the tough glue without damaging the paint’s clear coat. Always do a test spot in an inconspicuous area first.
- Isopropyl Alcohol (IPA) and a Spray Bottle: Mix it 50/50 with distilled water. After all the glue is gone, this solution strips any leftover oils and preps the bare paint for a polish or sealant. It is the final cleaning step.
Your environment is as important as your tools. Work in full shade, ideally in a cool garage. Sunlight heats the panel unevenly and makes controlling your applied heat nearly impossible. A hot panel can cause adhesive to re-bond instantly.
One optional tool I now consider essential for complex curves is a cordless heat gun. Not being tethered by a cord lets you maneuver easily around mirrors and tight body lines, like those on the fenders of my Miata. It is a convenience that greatly reduces fatigue.
Order of Operations: The Step-by-Step Removal Process
Follow this list in order. Do not skip steps. Rushing here will cost you time and money later.
Step 1: The Critical Wash and Inspection
Start with a clean car. Any grit on the surface will act like sandpaper when you start pulling the film. I use the same two-bucket wash method I use on my black BMW. Dry the area completely with a clean microfiber towel.
Now, get close. Run your fingers along the edges of the film. You are looking for any lifted seams or tears. Finding a loose corner is your golden ticket, as it gives you a safe place to start the peel. On my Porsche, I once found a small bubble at the bumper edge, which made the whole job easier.
Step 2: Applying Heat the Right Way
Heat softens the adhesive. Too little heat makes the film brittle. Too much heat can cook the adhesive onto your paint or even warp the film.
Set your heat gun to low or medium. Hold it at least six inches away and keep it moving in a slow, sweeping motion. Test on a small corner first. If the film becomes flexible and starts to release, you have enough heat.
For large, flat panels like a hood, I often prefer a garment steamer. The steady, moist heat is gentler on the paint and covers more area. The goal is to warm the adhesive, not to melt the film or blister your clear coat.
Step 3: The Peel – Angle and Pace Are Key
Once the film is warm, grab a corner. Do not pull up. Pull back, keeping your hand almost flat against the paint. Imagine you are peeling a large, sticky bandage off your arm.
If the film resists, stop. Reheat that section. Never yank. For stubborn spots, try the pull-stretch method: gently pull the film parallel to the surface, stretching it slightly. This often breaks the adhesive’s hold. Peeling at a low, slow angle is the single most important technique for preventing paint lift or scratches.
Step 4: Eliminating All Adhesive Residue
After the film is off, you will have a sticky mess. This is normal. Do not reach for gasoline or nail polish remover. Use a dedicated automotive adhesive remover.
Spray it on, let it dwell for a minute to break down the glue, then gently wipe with a clean microfiber towel. You may need to fold the towel to a clean side several times. Old, sun-baked adhesive on a daily driver like my F-150 might need three or four passes with the remover, so be patient. If you’re removing tape adhesive from car paint, this method helps keep the finish intact. It’s gentle on the clear coat and reduces the risk of staining or dulling the paint.
Step 5: The Final Wipe-Down and Assessment
Adhesive removers leave behind oils. Mix a solution of 10-15% isopropyl alcohol with water. Wipe the entire area down with this. It will squeak when clean.
Now, get a bright light. I use the same halogen work light I use for paint correction. Look at the paint from different angles. You are looking for any hazy “ghosts” of leftover adhesive or subtle scratches from the removal process. If you see any, go back to Step 4 with fresh microfiber and remover.
Paint Damage Prevention: Common Mistakes to Avoid
I have seen the results of rushed removals. They are not pretty. Here is what to watch for.
- Using Metal Blades or Razors: This is a guarantee for deep scratches. If you must use a tool, use a plastic razor blade, and only to lift a stubborn edge, not to scrape.
- Peeling Cold Film at a High Angle: Pulling straight up on cold, brittle film can literally pull the clear coat off the car. Always apply heat and keep the angle low.
- Using Excessive, Focused Heat: Holding a heat gun in one spot will scorch the film, bake the adhesive onto the paint, and leave a permanent, cloudy burn mark on your clear coat.
- Skipping the Initial Wash: One piece of embedded sand under the film as you peel it will drag a deep scratch across your door. Always wash first.
Damaged paint from a bad removal looks specific. You will see long, straight scratches following the peel direction. Adhesive burns look like cloudy, hazy patches that do not wipe off. Rushing through this process is the fastest way to turn a simple film removal into an expensive paint correction job. Take your time. Your paint will thank you.
PPF vs. Vinyl: Tailoring Your Approach for Each Material
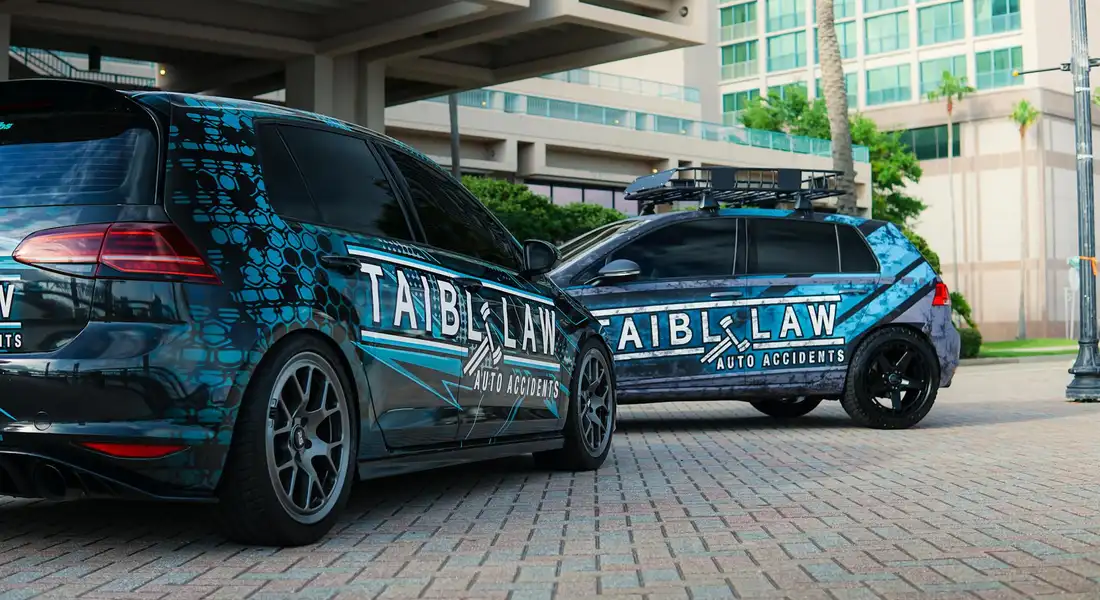
So, how do you remove clear bra paint protection film? The good news is that modern PPF is designed to be removable. Paint protection film is softer and more elastic, so with steady, gentle heat, it will often release in large, clean sections. Think of it like slowly peeling a flexible sticker off its backing. On my red Porsche, when I needed to replace a section of the front bumper film, I used a steamer on low. The heat loosened the adhesive, and I was able to pull the film back at a consistent, shallow angle. It came off in one big piece, leaving mostly clean paint behind. This made it much easier to clean any paint transfer on the bumpers.
Now, how do you remove vinyl wraps from a car? This is a different challenge. Vinyl wrap material is stiffer and the adhesive is often more aggressive, meaning it fights you more and can tear into small strips if you rush. You must be patient. On complex curves, like the front bumper of a Tesla Model 3, you will need to work in smaller, manageable strips. Apply heat, slowly lift an edge, and pull it back parallel to the surface. If it starts to resist, stop and apply more heat directly to the adhesive line ahead of your pull. Removing vinyl wraps from a car requires a good technique and patience.
Special Considerations for Old or Neglected Film
Old film is a test of patience. Sun damage makes the material brittle. It loses its stretch and wants to shatter like thin ice. When dealing with brittle film, use more heat, work in much smaller sections, and have your adhesive remover ready for the inevitable leftover glue. Do not try to pull a large piece. Warm a few square inches, get an edge up, and slowly work it free an inch at a time.
You also need to manage your expectations. On a vehicle that’s years old, the paint under the film has been protected, while the surrounding paint has faded from the sun. A sharp paint fade line is a reality with older removals, and no amount of polishing will fully erase that difference. The goal shifts from perfection to achieving a clean, adhesive-free surface you can now protect uniformly. It’s often a preliminary step before attempting any paint restoration for faded areas.
After Removal: Cleaning and Prepping the Paint for Protection
The film is off, but the job is only half done. Your paint will have a film of cured adhesive and may feel rough with contaminants. You must decontaminate the paint with a detailing clay bar to remove every speck of leftover adhesive and embedded grime. Spray a lubricant, glide the clay over the surface. You will feel and hear the difference as it smoothens out. That same technique also removes paint overspray adhesive from other panels. We’ll cover overspray removal specifics in the next steps.
Even with careful removal, there can be light scratches or a faint “shadow” where the film edge was. A light polish with a fine finishing compound will erase these minor imperfections and restore a flawless, uniform gloss. This step is non-negotiable for a showroom finish.
Remember, the paint under that film is brand new to the world and completely unprotected. Freshly revealed paint is extremely vulnerable to environmental damage and must be sealed immediately with a wax, sealant, or new layer of PPF. This final act of protection is what preserves all your hard work, maintains the vehicle’s appearance, and defends its long-term value.
DIY or Pro? Weighing the Cost and Risk
You can do this job yourself. I have. It is a test of patience more than skill. But you need to ask yourself one question first. Is your time, and your paint’s safety, worth the potential headache? DIY car painting difficulty shows itself in prep and finish. Know what you’re getting into before you start.
The cost to have a pro remove your film is not just about labor. It is about risk management. Several things change the price. A small hood on a Miata is different from the full front end of an F-150. Older film that has baked on for eight summers is a different beast than a three-year-old wrap. Labor time is the big one. A pro with a steamer and four hands can work much faster than you can alone with a heat gun.
The Time Investment: Realistic Expectations
Set aside a full weekend afternoon for a DIY removal. I am not kidding. For a partial front-end clear bra on a sedan, plan for 3 to 5 hours of steady work. A full vehicle wrap? That is a multi-day project for a solo detailer.
A professional shop works faster. They have the tools and the rhythm. That same partial front-end removal might take them 1 to 2 hours. They factor their speed and certainty into the price.
When You Should Absolutely Call a Professional
I tell friends to call a pro in three situations. Be honest with yourself.
- Complex, Full Vehicle Wraps: Removing a color-change wrap from every panel, mirror, and bumper is a monumental task. Adhesive residue will be everywhere. The cost of a pro here buys you back your sanity.
- Fear of Damaging Expensive Paint: This is the big one. My black BMW’s paint is soft and shows every mark. The thought of me, a heat gun, and a plastic scraper near its hood gives me cold sweats. If your car’s finish is valuable or fragile to you, the professional fee is cheap insurance.
- You Simply Lack the Time or Tools: This is valid. You need a good heat gun, a dedicated steamer, several bottles of adhesive remover, and a pile of microfiber towels. If you have to buy all that just for one job, the math often points to hiring it out.
Are Clear Bras Worth It? Thinking About the Full Lifecycle
People ask if paint protection film is worth it. They think about the upfront cost. You must also think about the removal cost, years down the road. It is part of the product’s total cost of ownership.
Think of PPF like a high-quality, replaceable skin for your paint. My Porsche’s front end is covered. For five years, it took the rock chips, bug stains, and minor scuffs. When I remove it, the original red paint underneath will look new. The value is not just in the protection, but in the pristine paint you get back when the film’s job is done. A professional removal ensures that value is fully realized, with no damage to that preserved surface.
For a daily driver like my F-150, a DIY removal might make sense. The paint is already lived-in. For the garage queen or the delicate black paint, the professional route protects your initial investment all the way to the end.
Your Paint, After the Film is Gone
I’ve pulled enough PPF from my 911’s curves to know that patience with your heat source and a gentle, consistent angle on the lifting edge is the only way to guarantee a clean release. After the film is off, meticulously cleaning every trace of adhesive with the right solvent and fresh towels protects the surface you just uncovered.
Force it or skip the cleanup, and you’ll be staring at hazy, scratched paint or gummy residue that takes far more work to fix than the removal itself.
Further Reading & Sources
- r/AutoDetailing on Reddit: Removing 16 year old PPF (Torture)
- Paint Protection Film Removal Guide: Step-by-Step Tips
- Step-by-Step Guide to Paint Protection Film Removal
- Paint Protection Film Removal | Pontiac G8 Forum