How Do You Clean Car Headlights with Household Products, and What Actually Works from the Store?
Cloudy headlights turn your high beams into weak flickers, and I’ve felt that unease on dark roads in my own cars.
I’ll show you what causes the yellow haze, a safe method using toothpaste or baking soda, the best commercial restoration kits for lasting results, and how to protect your clear plastic.
Use the wrong abrasive or skip the sealant, and you’ll strip the protective layer, making the cloudiness come back worse.
Key Takeaways: The Quick Path to Clear Headlights
Here is the truth from my garage. Mild, hazy cloudiness on your headlights can often be improved with items from your kitchen. Severe yellowing or cracking means you need to sand and seal the plastic. There is no way around it, much like trying to remove haze or cloudiness from car paint.
You have three main paths to choose from.
- Kitchen-Cabinet Wipe-Down: This is a quick test using toothpaste or baking soda paste. It only works on very light surface contamination.
- Dedicated Restoration Kit: This is the real fix for oxidized plastic. It involves sanding, polishing, and most critically, sealing the lens.
- Professional Service: A detailer or body shop can do the work for you, often with more powerful tools and guaranteed sealants.
If you remember one thing, let it be this: polishing the lens without applying a durable UV sealant is a temporary fix at best. The sun will turn the plastic yellow again, often faster than before. The sealant is what locks in your hard work.
Time is a factor. A test wipe with a household product takes about 10 minutes. Doing a full restoration kit properly takes me 60 to 90 minutes for both headlights. A professional might have it done in 30 minutes, but you pay for their speed and skill.
First, Know Your Enemy: What Kind of Cloudy Are We Dealing With?
Not all cloudiness is the same. You need to diagnose before you treat. I see three main types.
Surface grime is just dirt, bug splatter, and road film stuck to the outside. It wipes off. Oxidation hazing is a chalky, rough feeling on the plastic itself. The clear coat is breaking down. Deep UV yellowing is the final stage. The plastic is not just hazy, it’s often tinted yellow or brown and might have tiny cracks you can feel.
Use the fingernail test. Run your fingernail lightly across the cloudy area. If it feels perfectly smooth, you might just have grime. If it feels gritty or sandy, that’s oxidation you can feel. That roughness means you need to sand it away.
My 1995 Mazda Miata had the classic deep yellowing. The plastic was so oxidized it looked pink. My fingernail caught on every millimeter. That required a full sanding restoration. My 2016 BMW 3 Series gets a fine haze. It feels smooth to the nail, but light scatters off it, making the bright black paint look dull. For the BMW, a light polish might suffice. However, I always seal it after any polish, especially when restoring faded car paint.
This is the big divide: if the problem is only on the surface, you are cleaning. If the problem is in the plastic, you are restoring. Kitchen products clean. Sandpaper and polish restore. Knowing this saves you hours of frustration.
The Household Product Garage Test: What Actually Works (and What’s a Myth)
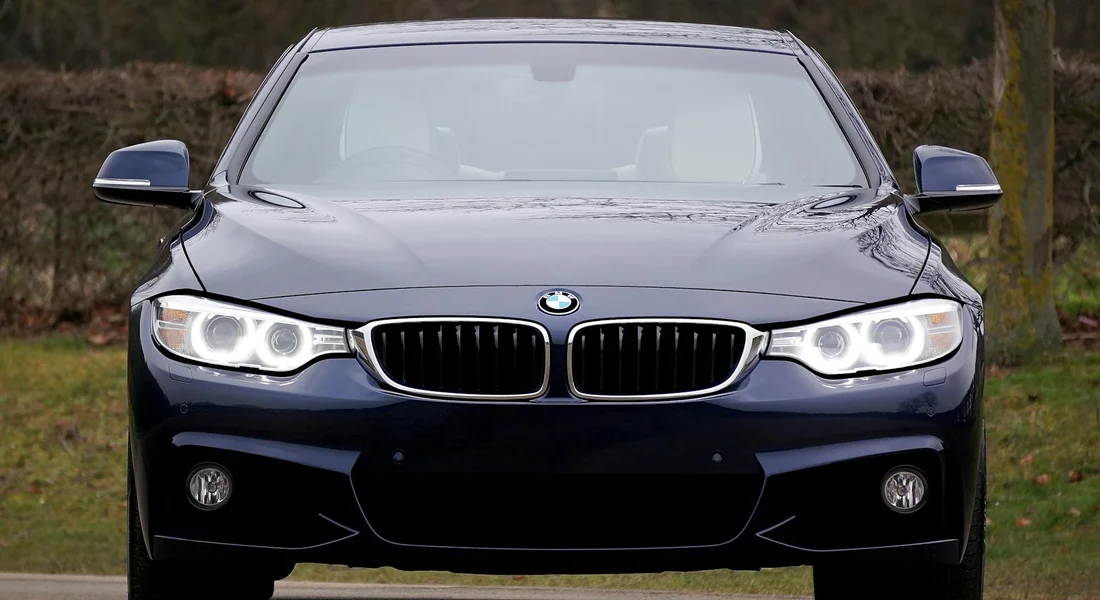
Let’s be honest. You’re in your driveway, looking at those yellow, hazy headlights, and you wonder if you can fix them with stuff you already own. I get it. I’ve been there with my old cars. Before we start, two non-negotiable rules. Always work in the shade on a cool surface to prevent the products from drying out and causing more damage. And use painter’s tape to mask off the paint around the headlight. A stray swipe with an abrasive can scratch your clear coat faster than you think—especially when trying to remove or fix scratches on windows or headlights.
Household fixes fall into three categories. Abrasives, like toothpaste, physically scrub away the top layer. Acids, like vinegar, can break down mineral deposits. Solvents, like alcohol, dissolve greasy films. Most headlight haze is UV damage deep in the plastic, so abrasives are your main tool. Acids and solvents are just for pre-cleaning.
The Toothpaste Test: Can You Clean Car Headlights with Toothpaste?
Yes, it can work, but only in a very specific way. The white, non-gel, non-whitening pastes contain hydrated silica, a mild abrasive, and detergents. It’s a very light polish. On my 1995 Miata’s mildly fogged lights, it bought me a few weeks of clarity.
Here is how you do it. Get a soft, damp microfiber cloth. Squeeze a pea-sized amount of plain white toothpaste onto it. Rub it onto the headlight in small, firm circles. You will feel a slight grit. After a minute of buffing, rinse it all off with water and dry the lens. The result is a subtle improvement, a removal of the finest surface film, not a restoration of deeply oxidized plastic. If your lights look like they’ve been smeared with Vaseline, toothpaste is only a first step.
The Baking Soda Paste: A Slightly More Aggressive Homemade Option
Baking soda is a step up in abrasiveness. Mix it with just enough water to make a thick, spreadable paste. Some people use vinegar for extra cleaning power, but the acid doesn’t help much with UV damage. This paste is grittier than toothpaste. It can tackle slightly heavier haze.
The problem is consistency. The grit in baking soda isn’t uniform. If you don’t rinse every single particle away, you’ll be left with a web of fine scratches. I tried this on a test lens from a junkyard. Under a bright light, the surface looked dull and scratched after a poor rinse. For a one-time emergency fix, it’s okay, but it’s easy to make the headlights look worse with this method, especially compared to using baking soda and vinegar for car scratches.
The Bug Spray & Other Oddities: Separating Fact from Fiction
I have to address this directly. No, you should not use bug spray to clean car headlights. The internet myth says the DEET works. It does, but it’s a disaster. DEET is a fierce solvent. It can melt certain plastics and will absolutely destroy the clarity of your headlight lens over time.
I saw this on a friend’s Honda. They sprayed it on, wiped off some grime, and called it good. A month later, the plastic had a permanent, cloudy stain where the DEET soaked in. Using bug spray is a shortcut that guarantees long-term damage to both the headlight and any paint it touches. For safely removing tree sap or tar before you polish, use a 70% isopropyl alcohol spray on a microfiber cloth. It evaporates quickly and won’t eat into the plastic.
Commercial Solutions: From Driveway Kits to Pro-Grade Results
To truly fix headlights, you need to think like a detailer. The haze and yellowing are micro-fractures and degraded plastic on the surface. You must sand it down evenly to reach the still-clear plastic underneath. Then you seal it immediately. If you don’t seal it, the fresh plastic will oxidize twice as fast.
Product Tier List: Choosing Your Weapon
Not all kits are the same. Here is how I break them down based on years of use.
Budget/Drive-Through Tier: These are the liquid wipe-on products from the auto parts store. They are essentially a heavy rubbing compound with a thin acrylic sealant mixed in. They will clear up light haze for about three months. I keep one in my 2018 F-150 for a quick refresh after a muddy job, but it’s not a repair.
Enthusiast Tier (The Sweet Spot): This is the standard for a real job. These kits come with wet sandpaper pads (from 800 grit for heavy damage to 3000 grit for finishing), a bottle of compounding polish, and a liquid UV-blocking sealant. The process takes 30-45 minutes per light, but the results last over a year. This is what I used on my kid’s Odyssey with great success.
Show Car/Pro Tier: This is for cars like my Porsche 911 or a full restoration. You use separate, professional-grade sanding discs on a drill or dual-action polisher. After sanding, you use a machine polisher with a cutting compound, then a fine polish. For protection, you apply a dedicated ceramic coating or a piece of Paint Protection Film (PPF). This method delivers a glass-like finish and protection for two years or more, but it requires skill and the right tools.
Technique Tweak: The Detailer’s Pro-Tip for Sanding
The sanding step is where most DIY jobs fail. It’s not about force. It’s about patience and technique. Keep a spray bottle of water handy and mist the lens and sandpaper constantly. Wet sanding lubricates the surface and floats away debris so you don’t gouge the plastic.
Always use a crosshatch pattern. Sand in straight, overlapping passes in one direction with your first grit. When you move to the next, finer grit, sand perpendicular to your first set of scratches. This ensures you are leveling the surface evenly. Your final indicator is light. Shine a flashlight across the lens at a low angle after each sanding stage; the scratches from the previous grit should completely disappear before you move on. This trick never fails me.
What About Professional Headlight Restoration Services?
Sometimes, it’s best to call a pro. A mobile detailer or shop uses the same basic process, but with a rotary polisher for faster compounding and more experience reading the plastic’s condition. They often apply a more durable, commercial-grade sealant that’s harder for consumers to buy.
Is it worth the cost? For one car, if you have the time and don’t mind the work, do it yourself with an enthusiast kit. Hire a pro if you have multiple vehicles with bad lights, lack confidence with sandpaper, or own a higher-end car where you want a guaranteed, showroom result. I hired out the job on my black BMW once, just to save a Sunday and ensure its delicate clear coat wasn’t risked.
DIY or Buy? How to Pick Your Path to Clear Lights
I get it. You see the yellow haze on your headlights and want a quick fix. Maybe you grabbed some baking soda from the kitchen. The choice between a homemade solution and a store-bought kit isn’t just about money. It’s about the condition of your plastic and what you want the result to last—especially if you’re waxing your headlights and taillights for protection.
Here’s a simple way to decide. Look at your headlights and ask three questions.
| Condition | DIY Household | Commercial Kit |
|---|---|---|
| Light Haze, Dirt, Minor Oxidation A cloudy film you can wipe away. |
Yes. A toothpaste or baking soda paste can scrub off surface grime. It’s a cleaning action. | Overkill. Save your money. |
| Permanent Yellowing, Heavy Crazing The plastic looks crusty and deeply stained. |
No. A household “cleaner” is a complete waste of time here. | Required. A restoration kit with sandpaper is the absolute minimum. |
| Budget & Tools | Uses items you own. Costs almost nothing. | Costs $20-$50. Requires a drill for some kits, just elbow grease for others. |
| Expected Longevity | Weeks. Maybe a month if you’re lucky. | 1-2 years, but only if you seal it properly after. |
Let me be very clear: for plastic that has turned yellow, you cannot simply clean it. You must restore it. The yellowing is damaged plastic, not dirt sitting on top. My 1995 Miata’s headlights were a pinkish-yellow mess. Rubbing toothpaste on them for an hour would have done nothing but make my arm tired.
That brings us to the big question. Can you restore yellowed headlights? Yes, absolutely. But not with just a cleaner. You need to physically remove the damaged layer of plastic. This is why kits use sandpaper. You sand away the yellowed, oxidized surface to reveal fresh, clear plastic underneath. Then you must protect that new surface. Clean and restore yellowed headlights properly to ensure longevity.
Think of it like this. The toothpaste shine is like quickly wiping a dirty window. It looks better for a little while. The sanded-and-sealed result is like replacing the old, scratched window pane with a brand new one and then putting a protective film on it. The difference in longevity is not small. It’s the difference between a temporary fix and a real repair.
Keeping Them Clear: The One Step Everyone Forgets
This is the most critical part. People spend an hour sanding their headlights to perfect clarity. Then they wipe them down and call it a day. This is a huge mistake. Unprotected, freshly polished plastic will oxidize and yellow faster than it did before. You just stripped off its weathered surface, leaving virgin plastic exposed to the sun’s UV rays with zero defense. Unlike plastic trim on a car, headlights require even more care and protection.
Sealing the headlight is not an optional last step. It is the entire point of the job.
You have a few good options for protection. The key is to apply something, and to reapply it regularly.
- Dedicated Headlight Sealant: These are UV-blocking coatings made just for polycarbonate plastic. They come in wipes or liquid form in most restoration kits. Apply them right after your final polish.
- Ceramic Spray Sealant: Many sprays made for paint work brilliantly on plastic. I often use a spray ceramic coating on my Model 3’s headlights. It beads water and adds a strong layer of UV protection. One bottle lasts for years.
- Paint Coating: If you are applying a true ceramic or SiO2 coating to your car’s paint, extend it over the headlights. This offers the longest-lasting and hardest protection.
No matter what you choose, plan to reapply it. A dedicated sealant might need a refresh every 6 months. A good ceramic spray can last a solid year. Mark your calendar. When you stop seeing water bead on the lens, it’s time for a new coat.
The easiest way to maintain clear headlights is to include them in your regular wash routine. When you wash your car, use the same pH-neutral soap on the headlights as you do on the paint. Gently clean them with your wash mitt. This removes road film and contaminants before they can bond and start degrading the plastic again. It takes five seconds and makes all the difference. If your headlights are already cloudy, a dedicated clean-and-restore step can bring back clarity. This approach tackles cloudy headlights and complements the regular wash.
Final Thoughts on Headlight Clarity
Whether you reach for the baking soda or a dedicated restoration kit, applying a fresh layer of protection is non-negotiable. A polished lens without a sealant is an open invitation for UV damage, and your hard work will fade faster than you think. The clear coat is what makes your effort last.
Skip that final protective step, and you’ll be fighting the same haze again before the season changes.
Related Guides and Information
- Headlight Cleaners
- Best Headlight Restoration Kits in 2022 – CNET
- CERAKOTE® Ceramic Headlight Restoration Kit …
Max Gunther
Max is an automotive enthusiast having worked as a car mechanical and in interior detailing service for over 25 years. He is very experienced in giving your old car, a new fresh vibe. He has detailed many cars and removed very tough smells and stains from all kinds of cars and models, always ensuring that his work and advice helps his customers. He brings his first hand experience to his blog AutoDetailPedia, to help readers breath new life into their car interiors.