How Do You Find Your Car’s Paint Code for a Perfect Touch-Up Match?
You stare at that chip on your hood, worried the wrong paint will make it worse, not better. I’ve been there, almost ordering blind for my Red Porsche and risking a permanent blotch on that glossy finish.
Let me show you exactly how to get it right. We will cover the most common hiding spots for the paint code sticker, how to decode the numbers and letters, and the best ways to verify your code with your dealer or a VIN decoder.
Skip this verification, and you commit to a mismatched color that every wash will remind you of.
The Right Mindset for the Paint Code Hunt
This is not a mystery. It is a straightforward task. You are looking up your car’s birth certificate. The paint code is a fact stamped at the factory. Your job is to find it. That code also tells you the exact paint needed for your car. With it, you can order matching paint and touch up seamlessly.
Accuracy matters much more than speed here. A wrong code wastes your money. It leads to a touch-up or repair that does not match. I almost ordered the wrong black for my BMW 3 Series, the Swirl Magnet. Jet Black and Black Sapphire Metallic look similar in the shade but are worlds apart in sunlight.
Remember, factory paint changes over time. Sunlight fades it. Weather alters it. Modern paints are complex. Tri-coat pearls, like on my Tesla Model 3, have a base color, a mid-layer of mica flakes, and a clear coat. Your code gives you the original recipe. It is your only reliable starting point.
Step One: The Physical Search on Your Vehicle
Grab a flashlight. Get a notepad and pen. You will be looking in shadows and crevices. Good light prevents mistakes.
Start with the common locations. On my 2018 Ford F-150, the Workhorse, the code is right on the driver’s door jamb sticker. It is a small, rectangular plate with tire pressure information. Look for abbreviations like “C,” “COL,” or “PAINT.”
Label formats differ by manufacturer. General Motors uses RPO codes, often like “WA8624” (the dash is sometimes omitted). Honda and Acura codes look like “NH-700M” for a pearl white. Mercedes often uses a short numeric or alphanumeric code, such as “775.” Do not overthink it. Find the unique set of characters.
The paint code will be a combination of letters and numbers, examples include B90, G1M, or WA-8624. It might be nestled among other codes for trim and options. Copy it down exactly as you see it, character for character.
If the code is not obvious, check your owner’s manual. It often lists identification label locations. For rare or older models, turn to vehicle-specific online forums. Type your car’s make, model, and year followed by “paint code location” into a search. Someone has already done this hunt.
Where to Look First (The Usual Suspects)
- Driver’s side door jamb or pillar. This is the most common spot. Open the door and inspect the metal frame or the edge of the door itself. My Tesla Model 3 has its code here, adjacent to the VIN plate.
- Under the hood, on the radiator support or strut tower. With the engine cool and the hood propped open, look at the metal frame near the front of the bay. On many Japanese cars, like older Hondas, it is plainly visible here.
- Inside the glove box or on the spare tire cover. Open the glove box and look at the inside of the door or the side wall. In minivans and SUVs, like my Honda Odyssey, the Kid Hauler, check the lid of the spare tire well.
- Trunk or hatch lid, on the inside panel or under the mat. Lift the trunk mat. Examine the side walls or the area near the latch mechanism. For hatchbacks, look on the inner metal of the hatch.
When the Sticker is Gone: Plan B Locations
The sticker can fade, peel, or get painted over. Do not give up. Expand your search.
- Check the firewall in the engine bay. This is the vertical metal wall separating the engine from the cabin. Look for a small, stamped metal tag or a fragment of a sticker.
- Look at the underside of the hood. Open the hood fully and inspect the inner surface. Some manufacturers stamp the code directly into the metal here.
- Some European cars stamp it in the trunk well. Brands like BMW and Audi often etch the paint code into the metal in the spare tire area. You may need to wipe away dirt or dust to see it clearly.
If you have checked every spot and found nothing, the physical label is missing. This is your signal to stop the physical search. The next step is to use your Vehicle Identification Number (VIN). Guessing a color code never works.
Step Two: Decoding What You’ve Found
You found a three-character string like “J7” or a name like “Crystal White Pearl.” Good. Now, let’s figure out what it actually means for your touch-up. This is where most folks get tripped up.
The paint code is just the name of the recipe, not the list of ingredients.
Think of it like this. Your car’s paint code, “CWP,” tells the paint supplier, “This car uses the recipe for Crystal White Pearl.” It does not tell you the specific mix of base tints, metallics, or pearl pigments. That full list is the paint formula, and it can have slight variations, often called variant chips or suffixes. Manufacturers tweak formulas over a model year or between plants.
For touch-up paint, the code is your essential starting point. A reputable supplier will use your code to access the correct base formula for your car’s year and model. For a full panel repaint, a professional will often use a spectrophotometer to scan your car’s current, faded paint and adjust the modern formula to match perfectly.
Your job is to provide the correct code and know what type of finish you have. This ensures you order the right touch-up kit-a solid color pen won’t match your metallic flake.
Is It Metallic, Pearl, or Solid?
Identifying your finish type is critical. Getting it wrong means your repair will stick out like a sore thumb.
Here is how to tell them apart:
- Solid (or “Non-Metallic”): The color is flat and uniform. My kid’s Odyssey is a solid grey. There is no sparkle or depth, just a clean, even color from every angle. These are the simplest to match.
- Metallic: Look closely in bright light. You will see tiny, reflective flakes suspended in the paint. My blue F-150 is a metallic. The flakes catch the light and give it a gritty, sparkling look. In the shade, it looks darker; in the sun, it pops.
- Pearl (or “Tri-Coat”): This has a depth solid paints lack. A pearl finish has a translucent mid-layer with mica or ceramic crystals that create a soft glow and color shift. My Tesla’s “Pearl White Multi-Coat” looks slightly creamy or golden next to a flat white. It changes subtly as you walk around the car.
- Matte/Satin: This has a visibly rough, low-gloss texture. It feels different to the touch. Never wax or use traditional polish on a matte finish-it will create shiny, permanent spots.
Sometimes the code gives you a hint. A suffix like “M” (e.g., 416M) often means Metallic. “P” can mean Pearl. “C” might mean Clearcoat. But don’t rely on letters alone.
The best test is to take your car into direct sunlight and move your head around. Look for that tell-tale sparkle (metallic) or creamy depth (pearl). If you are still unsure, look up your code online. A quick search for “Ford J7 paint” will usually bring up descriptions confirming it’s a metallic.
On my black BMW, the code “668” is for Jet Black II, a solid, non-metallic black. It shows every single swirl, which is why it’s my go-to lesson for proper washing. My Porsche’s paint code leads to a specific red with a fine metallic flake. Knowing the finish type guides every step, from buying the right touch-up to knowing how it will reflect light after a polish.
Step Three: The Critical Verification Process
Finding a code is a good start. It is not the finish line. You must verify it matches your specific car. A sticker could be wrong. A previous owner might have repainted a panel with a different color. I have seen both.
Your Vehicle Identification Number is the key. Think of the VIN as your car’s fingerprint. It tells the factory story. The paint code on the sticker tells you what *should* be there. The VIN tells you what the factory actually sprayed on the line.
The verification process is a simple funnel: you start with the code you found, cross-reference it against your official VIN data, and then confirm it with your own eyes. Skipping a step is how you end up with a touch-up bottle that is three shades off.
Using Your VIN to Cross-Check the Code
First, find your VIN. Look through the windshield on the driver’s side at the base of the dashboard. You can also find it on the sticker inside the driver’s door jamb. It is a 17-character mix of letters and numbers.
With the VIN, you have a few options to decode it.
- Some car company websites have official VIN lookup tools in their owner’s sections.
- Major paint suppliers like PPG or BASF have free online decoders. So do some automotive paint retailers.
Here is the catch. Not every free decoder reveals the paint code. Sometimes it only shows basic model info. If the online tools fail you, pick up the phone.
Call the parts department at a dealership for your car’s brand. Have your VIN written down. Ask them for the “factory paint code” or “color code.” They can pull the build sheet. This method is almost always reliable. Write down the code they give you and compare it to the one on your car’s sticker. If they match, you are on solid ground.
The “Eyeball Test” and Panel Matching
Even with a verified code, do a visual check. Paint batches can have slight variances. Sun and age change everything.
Go to an automotive paint supply store. Ask for a physical paint chip card or fan deck for your car’s make and year. They often have them behind the counter. Holding the official color sample in your hand changes the game.
Take the chip to your car. Do this in good, indirect daylight. Open the driver’s door. Compare the chip to the paint inside the door jamb, or inside the trunk lid. These areas are usually protected from sun fade and are closest to the original factory color.
Never, ever try to match the chip to your hood, roof, or trunk lid if your car is more than a year or two old. Those horizontal panels are faded. You will choose a faded color, and your repair will look wrong on any vertical panel.
Accept a hard truth. If your hood is pink from oxidation, you cannot buy “faded red” touch-up paint. You must match to the original, protected color. Then, you correct the faded paint around it to blend. You match to the source, not the damage.
Where to Buy Your Paint: A Tiered Guide
Now you have your code. The next step is getting the paint itself. You have options, from a quick fix to a perfect restoration. I categorize these by the job you need to do, not just the price tag.
First, let’s talk about the formats you’ll find. Each has its place.
- The Touch-Up Pen: This is a two-in-one tool with a basecoat and a clear coat applicator. It’s made for stone chips and tiny scratches. The tip is usually too blunt for precise work, but it’s incredibly convenient for your glovebox.
- The Brush-in-Bottle: This gives you more control. You get a small bottle of paint with a built-in brush. You can use a fine artist’s brush for better precision. This is my go-to for careful chip repair.
- The Aerosol Spray Can: This is for larger areas, like a scratched mirror cap or a small bumper section. It requires masking, proper technique, and a clear coat. Using any aerosol demands serious respect for ventilation and a proper respirator, not a dust mask.
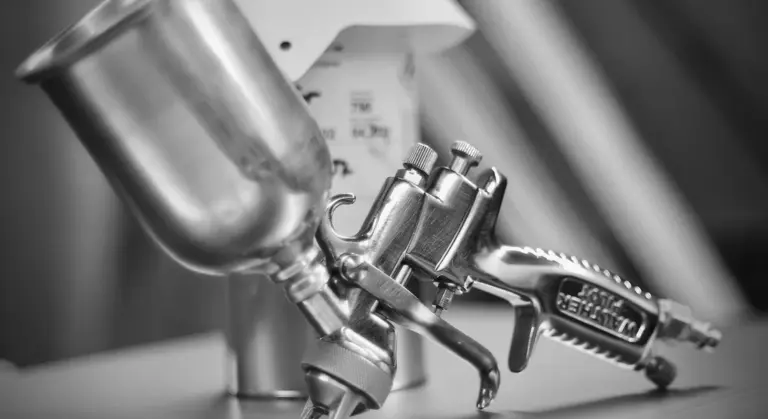
- Professional Mix: This is paint mixed to order and put into a can for use with a spray gun. It’s for blending into larger panels. This is pro territory and needs a dedicated spray space and full PPE.
Product Tier List: Touch-Up Paint Sources
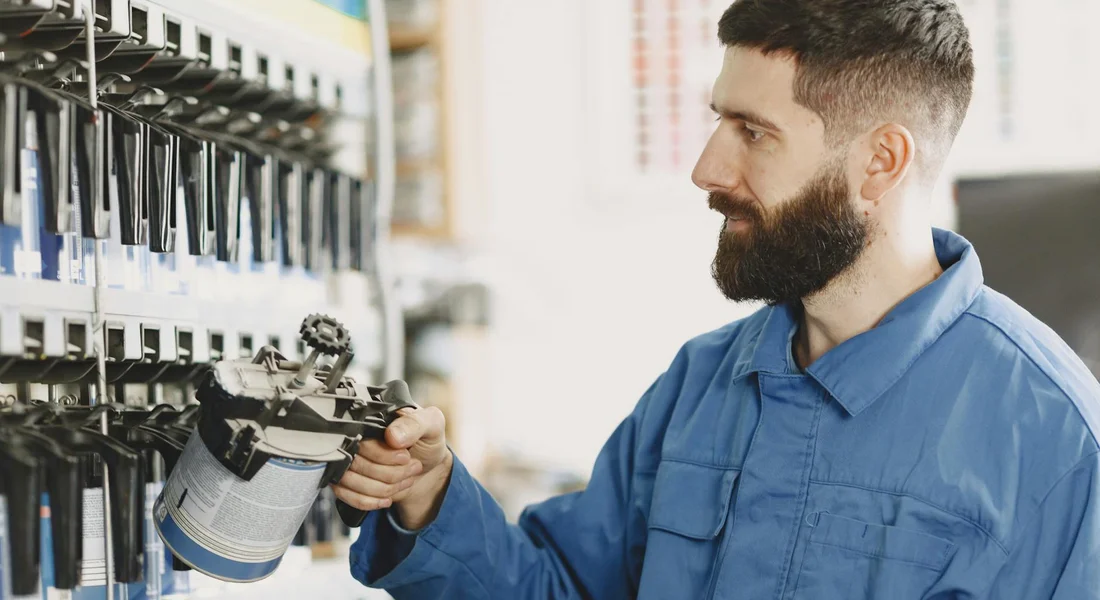
Budget/Drive-Through Tier
You see these at auto parts stores and big-box retailers. They are “universal” color match pens, like “Ford Red” or “GM White.”
I keep one of these in my 2018 F-150 for trail scratches. It’s a dark blue, and a “Universal Blue” pen hides a raw scratch on a trail fender just fine.
The match is often close, but it is rarely exact. It’s a cosmetic bandage to prevent rust, not a seamless repair. On a metallic or pearl color, the mismatch will be obvious up close. Use this tier for beaters, rockers, and areas where “close enough” truly is good enough.
Enthusiast/Quality Match Tier
This is where most dedicated car owners should shop. Online specialists have databases for your exact paint code. You give them the code, they mix the paint fresh, and ship it in your choice of pen, bottle, or aerosol.
The accuracy is excellent. I used one for a chip on my 2020 Tesla Model 3 (Pearl White Multi-Coat). The match was perfect because they mixed the multi-stage formula correctly. They often include a clear coat and prep wipe, which is crucial.
Your car’s dealer parts department sells OEM touch-up paint. It’s the factory-approved match. It can be shockingly expensive for a tiny bottle, but you are paying for the assurance. For a modern, complex color on a car you care about, this or a quality online mixer is the only way to go.
Show Car/Professional Tier
This is for the 911 in the garage or the Miata you’re bringing back to life. Your local automotive paint supply store is your new best friend.
You bring your paint code, and they can mix any amount of car paint spray you need. They can put it into an aerosol can for you or a professional paint cup. They will sell you the correct reducer, hardener, and clear coat system to match your car’s factory finish. For my 1995 Miata’s single-stage red, they matched the faded hue perfectly and taught me how to blend it.
No matter which tier you choose, the repair will fail if you skip surface prep. That tiny chip is full of road wax, tar, and silicone. Before any paint touches the car, clean the spot with isopropyl alcohol or a dedicated panel wipe. Degrease it completely. A clean surface is the non-negotiable first step for any paint work, big or small.
Common Mistakes and Paint Damage Prevention
Finding your paint code is the first step. Getting the touch-up right is the second. A lot of people trip between the two. I have seen great detective work on the code get ruined by a few simple, avoidable errors.
Every mistake here comes from skipping the core principles. Verify everything. Prepare every surface. Rushing leads to a mess you will see every time you walk up to your car.
Mistakes to Avoid
Let us walk through the big ones. I have made a few of these myself, especially early on.
Checking the paint color in direct, bright sunlight. This might seem logical. You want to see the true color, right? The problem is glare. Direct sun washes out the finish, making it impossible to see subtle metallics or pearl effects. It also makes any test paint spot look completely wrong. You end up chasing a color that does not exist in normal light. The right way is to check in open shade, like under a tree or in a garage with the door open on a cloudy day. This gives you a soft, even light that shows the real color. My black BMW is the perfect example. In the sun, it is just a shiny blob. In the shade, I can see every flake and every swirl I need to fix.
Assuming the code on a replaced body panel is the original factory code. This is a classic trap. If your car has had a bumper, fender, or door replaced after a fender-bender, that new part was painted separately. The body shop might have used the factory code. Or they might have blended a variant to match the faded paint on the rest of your car. The sticker on that new bumper tells you the color of *that bumper*, not necessarily your whole vehicle. Always cross-reference the code you find on a replaced panel with another location, like the door jamb or firewall. My blue F-150 had this. The door sticker said one thing, the bumper from a past repair said another. The door jamb was the true original.
Not cleaning the chip area with isopropyl alcohol before applying touch-up paint. Preparation is everything. Your paint chip is not just bare metal or plastic. It is a tiny crater filled with road film, wax, and silicone from previous sprays. If you paint over that, the new paint will not stick. It will peel out in a week. After washing the car, use a cotton swab soaked in isopropyl alcohol (70% or higher) to scrub the inside of the chip. Let it flash off. You should see a perfectly clean, dry surface. Only then do you touch it with the brush. This simple step is the difference between a lasting repair and a wasted effort when you repair touch-up paint chips.
Relying solely on an online VIN decoder without a visual check. VIN decoders are fantastic tools. They are a great starting point. But they are not infallible. Database errors happen. More importantly, your car’s paint has aged. Sun, weather, and washes have changed its tone slightly from the factory formula. Use the VIN code as your primary clue, then confirm it physically on the car’s label. If the label is gone, call the dealer parts desk with your VIN *and* the code you found online. They can confirm it. Trust, but verify.
Ignoring the “variant” or “suffix” on a paint code label. This is for the advanced colors. Many paint codes, especially for whites, silvers, grays, and tri-coat pearls, have an extra letter or number. It might look like “ABC/1” or “XYZ B”. That suffix matters. It tells the paint mixer which variant of that color formula to use. When you order your touch-up paint, provide the entire code, including any suffix or variant letter. My white Tesla’s code has a suffix. Missing it would get me a plain white, not the specific pearl multi-coat it left the factory with. Getting this wrong means a noticeable mismatch.
Answers to Other Questions You Might Have
You are not the only one staring at a small sticker, scratching your head. Here are the questions I get asked all the time.
Can I convert my paint code to HEX or RGB for a wrap or graphic design?
This is a modern headache. You want to design a vinyl wrap or a custom graphic on your computer and need the digital color. Here is the core issue: HEX and RGB are for light-emitting screens. Your car’s paint is a physical pigment that absorbs and reflects light. A direct conversion is always an approximation.
Think of it like trying to describe the smell of rain using only words. You will get close, but you miss the feeling.
For my Porsche’s “Guards Red,” the factory paint code is a certain shade. On a screen, it might look slightly more orange or a touch darker. Online conversion tools are a useful starting point for digital mockups, but the final authority must be a physical color swatch or chip. Your best move is to provide your car’s exact paint code to the wrap manufacturer. Companies like 3M and Avery have massive libraries that map factory paint codes to their vinyl colors. They have already done the hard work of matching pigment to film. So, make sure you’re starting with an accurate factory paint color before comparing options.
My car was repainted by a previous owner. Now what?
This is where the plot thickens. The factory code on your sticker becomes a piece of history, not a recipe. This happened with my 1995 Mazda Miata when I bought it. The single-stage red had been repainted, and poorly. Using the original code would have created a glaring mismatch on the repaired fender.
When a car has been repainted, the current finish must be matched by eye or with a digital spectrometer by a professional paint supplier or body shop. They will analyze a clean section of your current paint to create a custom blend. This step is a key part of the car painting process techniques for a flawless finish. A precise finish is the goal of these techniques and helps prep the surface for the final clear coat.
Your job is to help them. Look for hidden spots where the original factory paint might still be untouched. Check deep inside the door jambs, under the trunk seal, or behind interior trim panels. Finding a clean patch of the repaint color and a patch of the original color gives the pro the full story. For my black BMW, a common repaint candidate, I always check under the hood near the firewall. It is often overlooked.
Are paint code and VIN number the same thing?
No. They are related, but they are not the same thing. This mix-up is common.
The VIN is your car’s unique 17-character fingerprint, detailing everything from where it was built to its engine. The paint code is one single piece of information within that massive build sheet. You can think of the VIN as the entire book of your car’s birth. The paint code is just one chapter in that book. You use the VIN to *decode* the paint code, especially through a dealer parts desk, but the VIN itself is not the color.
How do I use a paint code lookup chart?
These charts are everywhere online from companies like Dupli-Color or PPG. They are simple grids. You find your car’s make, model, and year on the left. Then you scroll across to see the corresponding paint code and the official color name.
For example, if you look up a 2019 Honda Odyssey, you would find “Gray” and see a code like “NH-797M.” It seems foolproof.
Use these charts as a reliable guide, but not an absolute guarantee. I have seen errors, especially with rare or mid-year color changes. Always, always verify the code you find on a chart against the physical code on your own vehicle. The sticker in your door jamb is the final word. If the chart says one thing and your car’s sticker says another, trust the sticker on the metal. It has been there since the day your car was born.
Your Blueprint for a Flawless Finish
I always tell people that the single most important step is to find your code and then verify it with your VIN. Doing this double-check is what separates a professional-grade blend from a obvious, disappointing patch.
Get it wrong, and even a small chip repair will glare back at you like a sore thumb.
References & External Links
- How to Find a Car Paint Code
- Dupli-Color Find Your Color Code
- Choose Your Paint Color | PaintScratch.com
- Auto Color Library – We will match ANY Car Paint Color!
- Car & Truck Paint by Eastwood
- Color Explorer – TheCoatingStore.com
Max is an automotive enthusiast having worked as a car mechanical and in interior detailing service for over 25 years. He is very experienced in giving your old car, a new fresh vibe. He has detailed many cars and removed very tough smells and stains from all kinds of cars and models, always ensuring that his work and advice helps his customers. He brings his first hand experience to his blog AutoDetailPedia, to help readers breath new life into their car interiors.