Need a Professional Car Paint Job? Here’s How to Find Local and Affordable Services
You see the scratches and dull color every time you walk up to your car. Finding a shop that does quality work close to home without a huge bill is the real challenge.
We will cover how to vet local detail and paint specialists, the real difference between a paint correction and a full respray, when a wrap might be a smarter choice, and how to get honest quotes.
Pick the wrong place, and you could be staring at a mismatched color, early peeling, or swirl marks baked into a fresh coat.
Start with the Basics: What Does a Car Paint Job Entail?
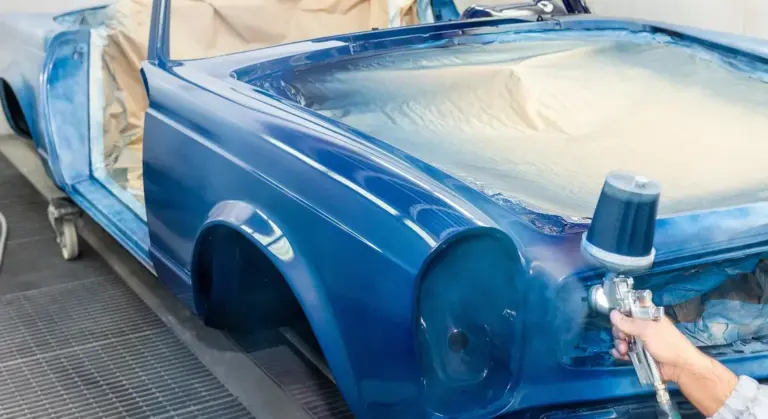
First, let’s get the terms right. The person spraying your car is an auto body refinish technician, though most of us just call them a painter. It’s a skilled trade. A true professional isn’t just covering a car with color. They’re a chemist and an artist, matching hues and laying down a flawless, protected surface.
Most auto body shops can paint your car. Their focus differs, though. Some specialize in fast-turnaround collision work for insurance companies. Others are custom or restoration shops focused on show-quality finishes. A general shop can handle a repaint, but their bread and butter might be fixing fender-benders.
The process has distinct stages. It starts long before any paint is mixed.
- Dent and Panel Repair: Every ding, crease, or rust spot must be perfectly repaired. This is metal or plastic work.
- Sanding and Surface Prep: The entire area is sanded. Old clear coat is feathered out. The goal is a perfectly smooth, bare surface for new material to stick to.
- Priming and Blocking: Primer is applied and then sanded level again. This step seals the repair and creates the final canvas.
- Painting (Basecoat): This is the color layer. Modern paints are often water-based. Achieving a perfect, even match is where the skill shines.
- Clear Coating: A thick, glossy layer of clear urethane is sprayed over the color. This is your protection and your shine. The quality of this coat dictates how the paint will look and hold up for years.
It’s not the old days of a “Maaco special.” Those cheap chain shop jobs often skipped crucial steps like proper sanding or using a high-quality clear coat. The paint would look okay for a year, then fade, peel, or orange-peel terribly. Modern expectations are higher, and a proper job reflects that in both process and price. My 1995 Miata needed a full single-stage restoration, which taught me to appreciate every one of these steps firsthand.
How to Search for Local Car Painting Services
Start your search online, but be specific. Broad terms like “paint shop” might get you results for house painters. You want to target the right trade.
- Use terms like: “professional car painting near me,” “auto body shop,” “collision repair center,” or “custom auto painting.”
- Include your city or neighborhood for better local results.
Here’s the real key: you are not just looking for a local car painting company. You are looking for a local car painting company with consistently great reviews across multiple platforms. This is non-negotiable. A shop’s reputation is everything.
Some of the best leads come from people who see great paint every day. Ask for referrals from a trusted auto detailer. They know which shops send out cars with minimal buffing trails or overspray. A good mechanic often knows which body shops do honest work. Local car enthusiast groups on Facebook are gold mines for recommendations.
A quick word of caution. In a hurry, it’s easy to mistype. I’ve seen people search for “local card printing shops” when they meant “car painting.” Double-check your search terms to save time.
Using Online Reviews and Portfolios
Don’t just look at the star rating. Read the reviews in detail. You’re looking for patterns that matter to a detailer’s eye.
- Communication: Do reviews mention clear timelines, updates, and straightforward pricing? A good shop manages expectations.
- Cleanliness: Are there complaints about dust nibs, overspray on trim, or dirt in the clear coat? This speaks to the shop’s environment and care.
- Finish Quality: Look for comments on color match, smoothness, and gloss. Phrases like “looks better than new” or “perfect match” are what you want.
Next, visit the shop’s website or social media. A professional shop will have a portfolio. You want to see a gallery of before-and-after photos. Look closely. Is the reflection in the “after” shot dead straight and free of haze? Does the color blend seamlessly on partial repaints? A shop proud of its work will show it off, and their photos will tell you more than any sales pitch. When I was choosing a shop for a fender repair on my black BMW, I spent an hour just analyzing shop Instagram pages for the quality of their reflections and panel gaps.
Breaking Down the Cost: What Affects Your Paint Job Price?
Getting a quote for a paint job can feel confusing. One shop says $1500, another says $6000. It is not magic. A few main factors determine your final bill.
The size of your vehicle is the most obvious start. A complete respray on my 1995 Mazda Miata uses far less material than my 2018 Ford F-150. More surface area means more paint, more clear coat, and many more hours of labor.
Paint quality is a huge variable. You can choose economy single-stage paint, mid-tier basecoat/clearcoat systems, or premium ceramic-infused clears. The difference in material cost between a basic pint and a premium pint can be several hundred dollars, and that multiplies across your whole car.
Labor hours are where the real story is told. A quick scuff-and-spray over existing paint is one thing. A full restoration, like fixing the oxidization on my Miata, requires stripping to bare metal, treating rust, applying primer, block sanding, and then paint. Each of those steps adds days of work.
The extent of prep work needed is the silent cost driver. A car with minimal body damage needs little filler or sanding. A daily driver with door dings, scratches, and faded clear coat requires every panel to be meticulously sanded and feathered. This prep is what makes the paint last and look right.
I hear people ask how to get a free car paint job. It is possible, but rare. A comprehensive insurance claim might cover it after an accident. You could win a contest from a shop or detailing brand. Sometimes a vocational school needs a practice car. These “free” options often come with trade-offs, like longer wait times, less choice in color, or the work being done by a trainee. I would never recommend gambling your car’s finish on a too-good-to-be-true offer.
So what are real numbers? These are broad estimates for a complete exterior respray, and prices vary by region:
- Economy ($1,000 – $3,000): Often a single-stage paint job with minimal disassembly (mirrors, trim left on). Expect orange peel texture and durability that may fade in a few years. This is for making an old car one color again.
- Standard/Quality ($3,000 – $7,000): A proper basecoat/clearcoat job with door jambs, full disassembly, and thorough prep. This is what you want for a reliable, good-looking finish on a daily driver.
- Show-Quality/Custom ($8,000+): Multi-stage paints, flawless sanding between coats, custom colors, and extensive clear coat work. This is for garage queens like my 911, where perfection is the only goal.
Understanding Labor, Materials, and Markups
When you get that itemized estimate, you are paying for three things: labor, materials, and the shop’s business costs.
Shop overhead includes the building, insurance, high-end spray booths with filtered air, and utilities. A shop with a climate-controlled, dust-free booth is a different environment than a open garage. You pay for that control, and it shows in the final product.
Technician skill level has a direct price. The painter who works on high-end restorations charges more per hour than a generalist. Their skill translates to less material waste, flawless application, and problem-solving for complex colors. My BMW’s jet black paint is a perfect example-only a highly skilled tech can avoid leaving holograms or swirls in that soft clear coat.
Paint brand matters. Using a premium line like Glasurit or Sikkens versus a generic store brand is like comparing a professional polisher to a cheap buffer. The premium products offer better color matching, higher solids content for richer color, and more durable clear coats that resist yellowing and staining. The shop marks up these materials, which is standard practice.
Beware the very low quote. It almost always means skipped steps. Proper sanding is tedious. Masking every trim piece takes time. Applying enough clear coat for a deep gloss and future polishability uses material. A cheap job will cut these corners. They might “paint over” dirt instead of decontaminating the surface. They might skip sealing edges or applying clear coat in door jambs. In six months, you will see peeling, fading, or rust bubbles, and you will have paid to make your car’s condition worse. It is a hard lesson I have seen many learn.
Vetting the Shop: How to Spot a Professional Car Painter
Start with a visit. Do not just call or check online reviews. You need to see the shop with your own eyes. Walk in and look around. A professional space is organized and clean. I learned this after a bad experience with my black BMW. Dust from a cluttered floor settled in the fresh clear coat. Now, I scan the work area. Are spray guns cleaned and hung up? Is there old tape residue on the walls? A tidy shop shows they respect the process and your car.
Proper ventilation is a non-negotiable sign of a professional operation, crucial for both painter health and a flawless finish. If your eyes water from fumes in the office, imagine what the paint booth is like. Look for a dedicated, enclosed spray booth with visible exhaust fans. This keeps dust out and ensures even curing. A shop cutting corners here will likely cut corners on your paint job.
Talk to the actual painter. When you call, ask to speak to the “auto painter” or “refinish technician”. Get them on the phone or meet them face-to-face. Ask direct questions. How many years have you been painting? What specific training have you done? I always ask about their preferred materials. For my Ford F-150, I wanted to know if they used a ceramic-infused clear coat for extra scratch resistance. Their answers matter.
A skilled painter will confidently discuss brands like Glasurit or Spies Hecker and explain why they choose a certain primer or reducer. If they mumble or say everything is the same, be wary. Your car’s longevity depends on their expertise and the quality of the paint in their gun.
Demand to see real work. Online galleries can be misleading. Ask to walk the shop floor and see a recently painted vehicle. Inspect it closely. Look at the reflections under bright lights for waves or dirt specks. Run your hand over the surface. It should feel like glass. On my Tesla, I checked the front bumper for perfect texture match with the rest of the body.
Insist on seeing a car similar to yours in color or body style to gauge their true capability. If you have a red car like my Miata, look at another red job. Check for fading or mismatch. A shop proud of its work will have examples ready to show. If they hesitate, thank them and leave. Your car deserves a painter who stands by their results.
Quality vs. Price: The Signs of a Good Paint Job
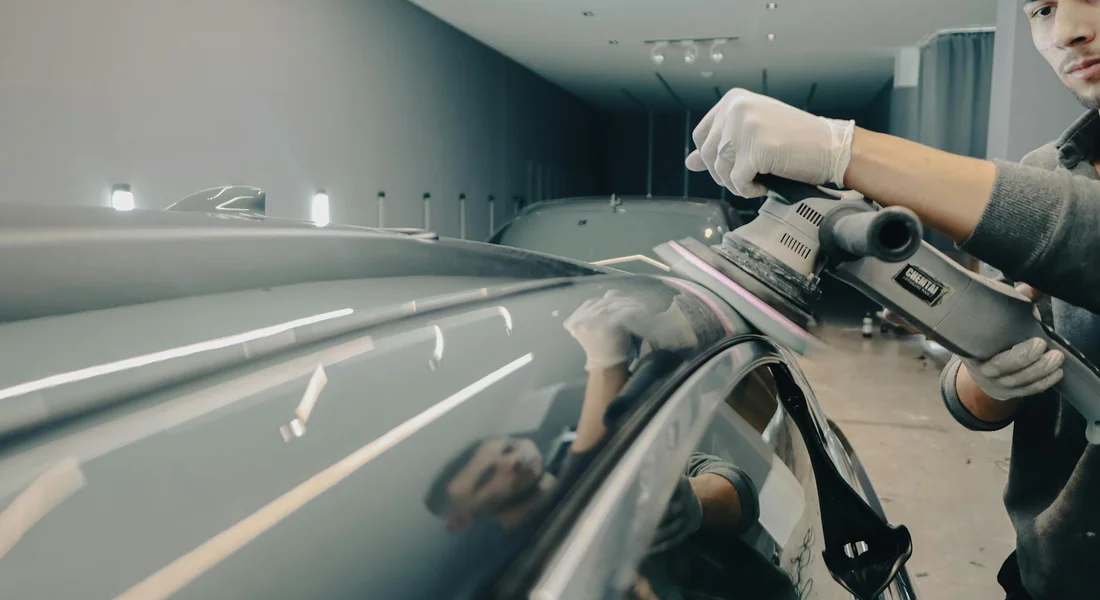
You want your car to look better, not worse. A quality paint job feels solid and looks alive. A cheap one looks like a cheap costume from ten feet away.
Look at the light. A great finish has a deep, even gloss where reflections are sharp, not wavy or blurry. Run your hand over a clean, dry panel. It should feel like smooth glass, not like the skin of an orange. That bumpy texture is called “orange peel,” and while some factory paint has it, a pro respray should aim to be smoother.
Look at the edges. Around door handles, window trim, and body lines, the paint should be crisp. There should be no fuzziness or build-up. Inspect every piece of black trim, rubber seal, and window. You should see zero overspray, which looks like a fine, gritty mist stuck where it doesn’t belong.
I learned this on my black BMW. A previous owner had a fender repainted poorly. In the sun, that panel looked hazy and dull next to the original paint. The edge along the headlight was rough. It was a constant reminder of a bad choice.
Cheap jobs cut corners you can see. The paint film is too thin, so it lacks depth and may chip easily. You might find “runs” or “sags”-little drips where the paint pooled before it dried. The biggest tell? Early fading or discoloration. On my F-150’s work bed, a rattle-can touch-up faded to a chalky pink within a year, while the factory blue held strong.
A trustworthy shop will talk to you about the paint curing process. They will tell you not to wax it for 30, 60, or 90 days so the solvents can fully gas out. They will also stand behind their work with a clear, written warranty against defects like peeling or fading. If they avoid these topics, walk away.
The Non-Negotiables: Prep Work and Environment
The paint you see is only as good as the work you don’t. The foundation is everything. Proper prep is the difference between a finish that lasts years and one that fails in months.
First, the panel must be sanded. This isn’t about roughing it up. It’s about creating a microscopically perfect surface for the new paint to grip. Any old wax, dirt, or clear coat flaw left underneath will haunt the new finish. Then, every adjacent part is masked off with precision tape and paper. This takes time and a careful hand.
This step is non-negotiable: the panel must be wiped down with a specialized cleaner, like a wax and grease remover, right before paint. Not just soap and water. This final wipe catches any dust or oils from your hands. Skipping it guarantees contamination.
The environment is the other half of the battle. You cannot spray quality automotive paint in a dusty garage with a box fan in the window. Period.
A professional, dust-controlled paint booth is the hallmark of a real shop. It’s a sealed room with massive filters that scrub the air, powerful exhaust fans, and bright, even lighting. This controlled setting keeps dust, bugs, and pollen from landing in your wet paint. It’s why shops charge what they do. The equipment and the clean space are a huge part of the cost.
I’ve seen the results of “backyard booth” jobs. A friend had his Miata’s hardtop sprayed in a garage. It looked okay at first. But under the sun, we could see a constellation of tiny specks trapped in the clear coat-every bit of dust that floated by that day was now permanent. If a shop doesn’t have a dedicated booth, they are not equipped for a lasting, professional finish.
Alternatives to a Full Respray: Wraps and Touch-Ups
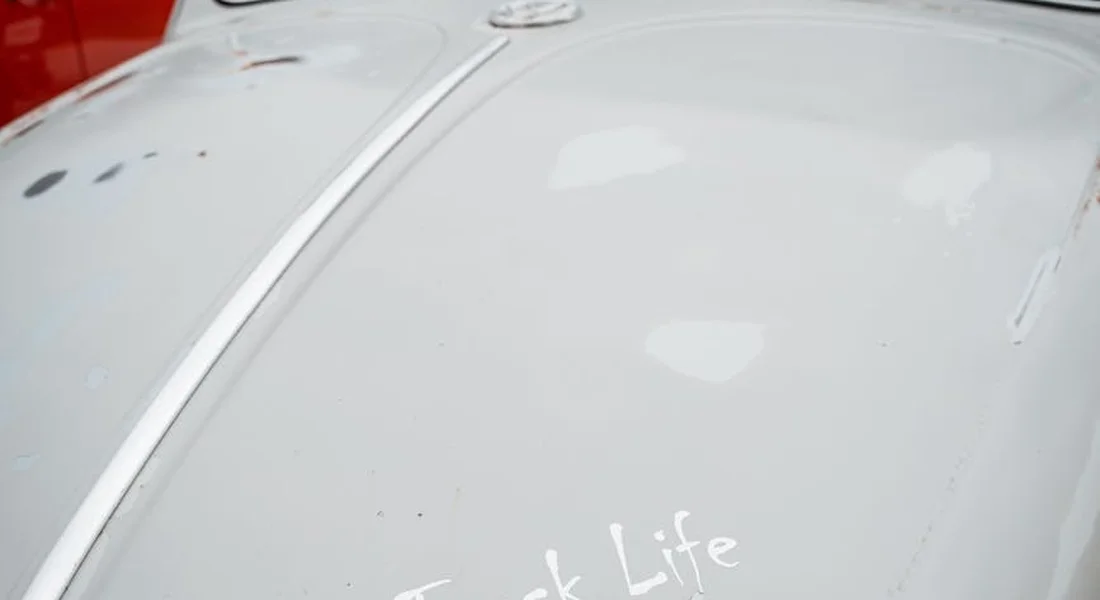
I get it. A full respray is a major project. The cost, the downtime, the stress of finding the right shop. Before you commit, know that you have other options that can be both affordable and transformative.
Vinyl Wrapping: The Color Chameleon
Vinyl wrapping is exactly what it sounds like. A trained installer applies a thin, adhesive-backed film over your car’s original paint. This is my go-to recommendation for a complete color change without the permanence or price tag of paint. It is a popular, less permanent alternative for a reason.
Think of it like a giant, precision-cut sticker for your entire car. The film protects your factory paint from sun, minor scratches, and road debris. When you’re ready for a change or want to sell, a professional can remove it, revealing the untouched original color underneath.
I considered a wrap for my white Tesla Model 3. A satin grey finish would look incredible. For my 2022 Porsche 911, a clear paint protection film (PPF) is a type of wrap I use to guard that perfect red from rock chips.
Wrapping is a fantastic choice if you want a dramatic new look, a matte or chrome finish that’s tricky with paint, or to preserve a vehicle’s original, valuable paintwork. For vintage cars, a wrap can protect cherished patina while letting you refresh the look. It’s a flexible option for reviving a classic without a full repaint.
If you pursue a wrap, prep is everything for the installer. The car must be impeccably clean and decontaminated. Any dirt, wax, or sealant under the film will cause bumps and premature failure. A proper wrap should last 3 to 5 years with good care. Hand wash only, avoid automatic brushes, and keep it out of long-term, direct sun if you can.
Smart Spot Repair with Touch-Up Paint
For small, isolated damage, a full respray is like using a sledgehammer to hang a picture. Spot repair or touch-up paint is the precise tool you need. This is a smart, affordable choice for stone chips, key scratches that don’t catch your fingernail, and tiny door dings.
My 2016 BMW 3 Series, the “Swirl Magnet,” is a chip magnet on the highway. Its jet black paint shows every single flaw. For these, I use a factory-matched touch-up paint pen.
The goal with touch-up is not perfection, but to make the damage less noticeable from a few feet away. It stops rust, protects the bare metal, and keeps a small problem from becoming a big one.
A proper touch-up job is about patience, not speed. You apply less paint than you think, in multiple thin layers, allowing each to dry completely. This method also works well for small-area touch-ups, where precision matters. For tiny patches and edges, slow, careful brushing yields seamless blends.
Here is my method for a near-invisible chip repair:
- Clean the chip with isopropyl alcohol to remove wax and oil.
- Use the fine brush or nib to dab a tiny amount of paint only into the chip. Do not paint over the surrounding clear coat.
- Let it dry for 24 hours. It will look like a blob.
- Use a very fine grit sandpaper (like 3000) wrapped around a pencil eraser to gently level the dried paint blob with the surrounding clear coat. Spray with water as you sand.
- Polish the area with a mild compound to restore clarity. This takes practice, but it works.
Removing Old Decals and Wraps Safely
Maybe you’re buying a used car with a faded racing stripe, or your own wrap has reached the end of its life. Removing it without damaging the original paint is a delicate operation. The enemy here is heat and your fingernails, as improper removal can damage the paint.
You will need a heat gun (or a very powerful hairdryer), a plastic razor blade, and a dedicated adhesive remover like 3M General Purpose Adhesive Cleaner. Work on a warm day, in the shade.
Always start in a corner and pull the film back on itself slowly, at a low angle, using consistent, gentle heat about 6 inches away from the surface.
Do not yank. If it resists, apply more heat. The plastic razor blade can help lift stubborn edges, but use it flat against the paint to avoid digging in. Once the bulk material is off, you’ll have adhesive residue. Spray the adhesive remover on a microfiber towel, never directly on the paint, and wipe. It will melt away.
Finish with a full wash and decontamination (clay bar) to remove all traces. Be warned, if a wrap was applied over damaged or poorly repaired paint, removing it can pull that old paint right off. I see this sometimes on older restoration projects, like my 1995 Miata.
Aftercare: How to Maintain Your New Paint Job
You just got a beautiful new paint job. The color is deep, the finish is slick, and you want to keep it that way for years. The work isn’t over. Think of the fresh paint on your car like wet concrete. It looks solid, but it needs time to fully harden. This is the curing period, and messing it up is the fastest way to ruin your investment.
Most paints and clear coats need 30 to 90 days to fully cure and release solvents. In the first month, that fresh surface is incredibly vulnerable. For the first 30 days, avoid commercial car washes, waxes, sealants, and even heavy rain if you can help it. The brushes at a tunnel wash will mar the soft paint, and any product you apply will trap solvents, leading to hazing or poor adhesion later. With a brand-new finish, it’s tempting to want that wax-new-car look. But waxing a fresh paint job too soon can trap solvents and cause blemishes. I learned this the hard way on my black BMW, thinking a quick spray wax a week in was a good idea. It wasn’t.
Park in a garage or shade when possible. Direct, hot sun can bake the surface too quickly, causing issues. Do not drape a car cover over it, as any microscopic grit trapped underneath will get rubbed into the paint. If you must drive in the rain, that’s okay, just try to dry it gently with a clean, soft towel when you get home.
The Right Way to Wash After Curing
Once the curing period (check with your painter for their specific timeline) is over, it’s time for that first proper wash. This is not the moment for harsh cleaners or old sponges.
Your goal is to clean the paint without scratching it, using a gentle, pH-neutral car wash soap and a dedicated wash method. I use the two-bucket method on every one of my cars, especially the fresh paint. After a paint job, this careful wash helps protect the new finish by removing dust and contaminants that can mar the gloss. It also minimizes the risk of swirling while the paint cures. Here’s how I do it:
- Rinse the car thoroughly with plain water to loosen surface dirt.
- Fill one bucket with clean water and your pH-neutral shampoo. Fill a second bucket with plain water for rinsing your wash mitt.
- Using a clean, high-quality microfiber wash mitt, wash one panel at a time. Start at the top and work down.
- After washing each panel, rinse the mitt in the plain water bucket to dump the dirt before reloading with clean soap.
- Rinse the entire car again with a gentle stream, and dry immediately with a clean, plush drying towel using a pat-and-pull motion.
This method keeps grinding dirt away from your paint. It’s the single best habit you can build for a swirl-free finish.
Locking In That Shine With Protection
A clean paint job is a good start, but a protected one lasts. You wouldn’t buy a new leather sofa and not condition it. Your paint needs the same care. Applying a protective layer immediately after that first post-cure wash is non-negotiable for long-term gloss and ease of cleaning.
You have two excellent paths here, depending on your budget and how involved you want to get.
For most people, a high-quality spray sealant is the perfect start. Products like these are incredibly easy to use. You spray them onto a cool, dry panel after washing and wipe them off with a separate microfiber towel. They add months of protection, shed water beautifully, and make future washes easier. I keep a bottle in my garage for quick touch-ups on all my vehicles.
For the ultimate, long-term shield, consider a professional-grade ceramic coating. This is a liquid polymer that chemically bonds to your paint, creating a rock-hard, hydrophobic layer that can last for years. It resists UV rays, chemical stains, and minor swirls far better than any wax. My Porsche and Tesla both have ceramic coatings. The way water beads and rolls off is incredible. This is usually a professional application, but solid consumer-grade kits are available for the dedicated DIYer. Think of it as ceramic coating cars paint protection—bonding to your paint for lasting defense. With proper care, it can keep your finish looking newer for years.
Whether you choose a simple spray or a full coating, the principle is the same: create a barrier. This barrier fights against the things that destroy paint-bird droppings, tree sap, UV oxidation, and acidic contaminants. It gives you time to safely remove them without the stain etching into your clear coat.
Common Mistakes When Choosing a Paint Service
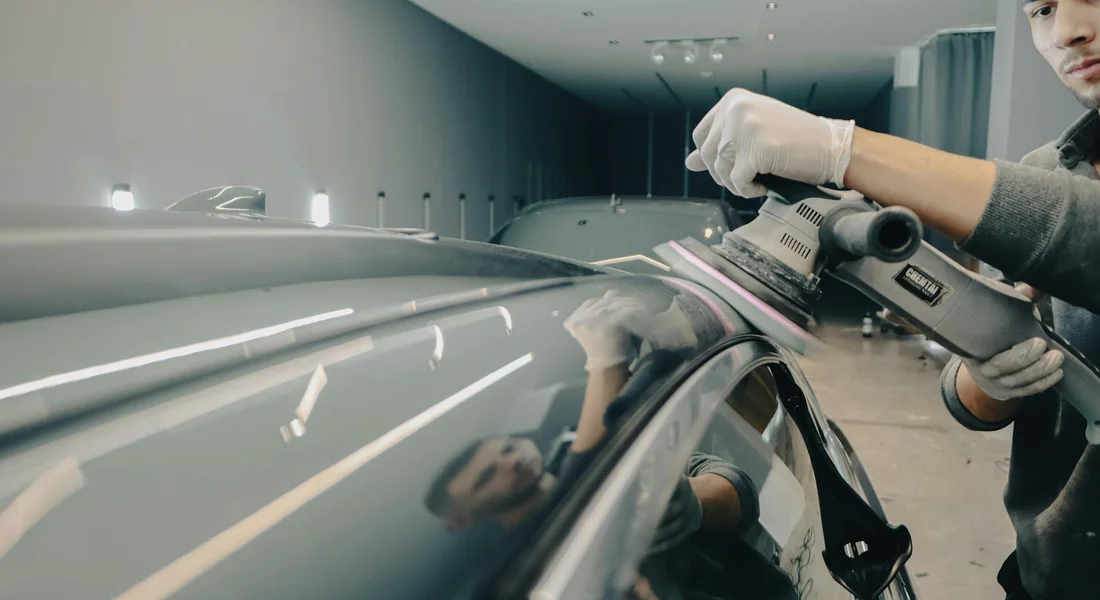
I get it. You want the job done right, you want it close by, and you don’t want to overpay. That’s completely reasonable. But rushing this decision is how you end up with a disappointing result. I’ve seen it happen too many times, both in my own early days and with friends who’ve come to me after a bad experience.
Let’s walk through the big tripwires so you can avoid them.
Accepting a Verbal Estimate or “Ballpark Figure”
This is the most common and costly error. A spoken number is worthless. It changes, or you forget it, or the shop “discovers” more work later. I learned this the hard way with a fender repaint on my old Miata. The guy said, “Probably around four hundred.” The final bill was over seven hundred. I had no leg to stand on.
Always insist on a detailed, itemized, written estimate before any work begins. This document is your contract. It forces clarity for both you and the shop. If they resist providing one, walk away. It’s a sign of disorganization or, worse, intent to overcharge.
Not Asking About The Specific Paint Process
You wouldn’t buy a cake without knowing the ingredients. Don’t buy a paint job without knowing the steps. Simply asking, “How much for a bumper repaint?” isn’t enough. The price and quality vary wildly based on the process.
You need to ask specific questions:
- “Will you sand and featheredge the damaged area, or just scuff it?”
- “Are you using a dedicated primer/surfacer, or just a primer-sealer?”
- “How many coats of base color and clear coat will you apply?”
- “What is your curing process before polish and delivery?”
A professional will explain this clearly. Someone cutting corners will get vague or defensive. Their willingness to educate you is a direct reflection of their pride in their work.
Choosing Based Solely on Proximity or Lowest Price
The cheapest option is almost always the most expensive in the long run. A low price often means inferior materials, skipped steps, or rushed work. That “bargain” full respray might look okay for six months before it starts fading or peeling.
Similarly, just picking the closest shop is a gamble. Drive the extra twenty minutes to a shop with a proven reputation. Visit first. Look at cars in their lot. Are they masked properly? Is the booth clean? This is about protecting a major asset-your car.
Overlooking The Written Quote Details
A good quote is a roadmap. It tells you exactly what you’re paying for. A bad quote is just a number at the bottom of a page. Your written estimate should clearly list:
- Labor hours for prep, paint, and polish.
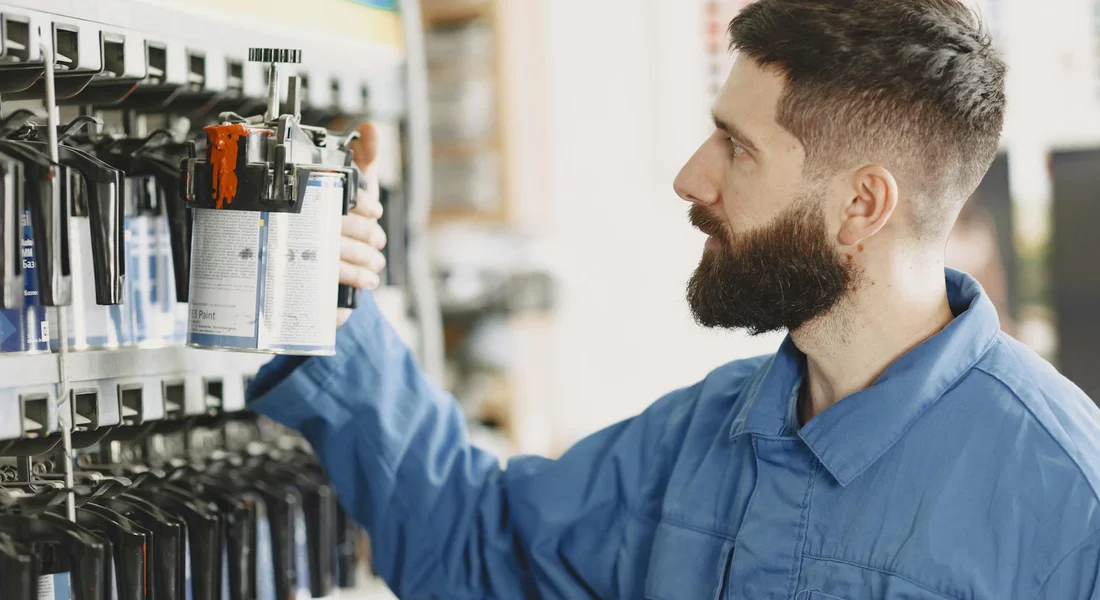
- Specific brands and product lines (e.g., “Sherwin-Williams Ultra 7000 Basecoat,” “Sikkens Clear Coat”).
- Costs for materials like sandpaper, primer, and blending solvent.
- A clear description of the work area (e.g., “Repaint hood, blend color into front fenders”).
This detail prevents “scope creep” and ensures you’re comparing apples to apples between different shops. If a shop’s quote just says “Paint door – $500,” it’s a red flag.
Ignoring Shop Environment and Safety Practices
This is about quality and health. Walk into the shop. Breathe in. What do you smell? A faint, clean chemical smell is normal. An overwhelming, acrid fog of fumes is a major problem.
Look for modern, sealed paint booths with proper exhaust filtration. Ask how they handle and store paints and solvents. Are cans and guns clean? Is there overspray dust on everything?
A clean, organized shop with good ventilation isn’t just nicer; it means they control contamination, which is the enemy of a flawless finish. It also shows they care about their workers’ health and your car’s final appearance. A shop that smells like a chemical spill and looks like a tornado hit it will paint your car with the same lack of care.
Product Tier List for Paint Protection and Maintenance
Your new paint needs a shield. The products you choose and how you apply them will decide how long that perfect finish lasts. I see this with my BMW, the black one. If I treat it like my work truck, the swirls come back in a month. Think of these tiers as guides for different budgets and commitment levels. The goal is always the same: protect your investment without damaging the fresh paint.
Budget / Drive-Through Tier
This is for the daily driver that sees automatic car washes and needs a quick, effective defense. My F-150 lives here for weeks at a time during busy seasons. The focus is on speed and simplicity. You can find these products at any decent auto parts store.
- Spray Wax / Spray Sealant: After a wash, while the car is still wet, spray this on one panel at a time and dry with a clean microfiber towel. It adds a slippery layer that beads water and fends off light dust for a few weeks. It is perfect for maintaining a base.
- Quick Detailer: This is your emergency tool. Bird bomb on the hood? Light dust from a short drive? Spray the quick detailer on the spot, gently wipe with a plush microfiber, and buff clean. It provides a tiny bit of lubrication to prevent scratches and often contains light protectants.
- Consumer Wash & Wax Soap: These are gentle and add a faint layer of wax with every wash. They are safe and keep the paint feeling slick, but the protection is minimal. They are a good start.
This approach will not create a mirror shine, but it will put a sacrificial barrier between your paint and the elements.
Enthusiast Tier
You own a weekend car, or your daily driver is your pride and joy. You are willing to spend 90 minutes on a proper two-bucket wash. My Tesla and BMW get this treatment. The products here last longer and perform better, but they require a bit more technique.
- Synthetic Sealant or Hybrid Wax: These are applied to a clean, dry car every 4 to 6 months. They come in liquid or paste form. You apply a thin coat, let it haze, and buff off. The result is a deep gloss and serious water beading that lasts through dozens of washes. They are far more durable than any spray wax.
- pH-Neutral Wash Soap: This is the secret. A soap with no harsh detergents or brighteners cleans without stripping your carefully applied sealant. It feels rich and sudsy, providing superb lubrication so your wash mitt glides safely over the paint.
- Iron Remover & Tar Remover: These are your pre-wash chemicals. Before you touch the paint, you spray an iron remover on lower panels and wheels. It turns purple as it dissolves embedded brake dust and rail fallout. A dedicated tar remover takes off road grime. Using these means your wash mitt carries far less abrasive grit.
This tier is about intentional chemistry. You use specific products for specific problems, which keeps your paint correction work safe for much longer.
Show Car / Professional Tier
This is for garage queens, show vehicles, or owners who want absolute maximum protection with minimal maintenance. My Porsche gets this protocol. The upfront cost and effort are high, but the long-term payoff is a finish that stays clean with shocking ease.
- Professional-Grade Ceramic Coating: This is a liquid polymer that chemically bonds to your clear coat. When applied correctly to perfectly prepared paint, it creates a rock-hard, hydrophobic layer that can last for years. It resists UV oxidation, chemical stains, and light scratches far better than any wax. Application is a meticulous, multi-hour process best left to professionals or extremely confident DIYers.
- Dedicated Pre-Wash / Snow Foam: This is a thick, clinging foam applied with a specialized sprayer before any rinsing. It dwells on the paint, loosening and encapsulating dirt so it slides off with the pressure rinse. This step removes up to 90% of the dirt before your wash mitt ever touches the car.
- Coating-Specific Maintenance Sprays: These are not quick detailers. They are formulated to top up and enhance the hydrophobic properties of a ceramic coating without damaging it. They are used during every drying cycle after a wash.
A ceramic coating is not a force field, but it is the closest thing we have. It transforms maintenance from a chore into a simple rinse-and-dry process.
The Critical Rule for Fresh Paint
No matter which tier you choose, you must wait for the paint to fully cure. Factory paint is baked dry, but it takes months to fully cure and release solvents. A brand new repaint from a body shop is even softer. Applying a permanent sealant or coating too soon can trap these solvents, causing hazing or preventing proper adhesion.
For a brand new car from the factory, wait at least 60 days before any wax or sealant. For a fresh professional repaint, you must follow the shop’s cure time to the letter. This is often 30 to 90 days. Understanding car paint cure time helps you plan safe maintenance steps without risking the finish. During this period, use only the gentlest pH-neutral wash soap and plain water. Protecting fresh paint starts with patience; applying the wrong product too early can ruin the finish you just paid for.
Securing a Quality Paint Job That Lasts
Your most reliable path is to select a shop proven through detailed prep work and premium products, not just the lowest quote. I base this on seeing my own black BMW’s finish saved by a painter who spent hours on decontamination before a single coat was applied.
Overlook this, and expect early fading or clear coat failure that turns a refresh into a costly redo.
Expert Resources and Citations
- Car Paint Jobs & Affordable Paint Repair Services | Maaco
- Auto Body Shop, Car Paint Shop & Collision Repair | Maaco
- Auto Body Shop & Car Paint Shop Locations | Maaco
- Affordable Car Painting | Paint and Body Shops | Econo® Auto Painting
- Auto Painting Company in Lancaster, PA – Car Paint Shop
- Auto Body Painting Services | Reilly’s Auto Body | West Hempstead
- Best Car Paint Job Near Me – October 2025: Find Nearby Car Paint Job Reviews – Yelp
Max Gunther
Max is an automotive enthusiast having worked as a car mechanical and in interior detailing service for over 25 years. He is very experienced in giving your old car, a new fresh vibe. He has detailed many cars and removed very tough smells and stains from all kinds of cars and models, always ensuring that his work and advice helps his customers. He brings his first hand experience to his blog AutoDetailPedia, to help readers breath new life into their car interiors.