How Do You Remove Rust from Your Car Without Damaging the Paint or Upholstery?
That orange stain on your door or seat frame feels like a ticking clock. You need to stop it now before it eats into the good stuff.
I have fought this battle on my own cars, from the salted winter bruises on my Ford F-150 to the hidden spots on my Honda Odyssey. We will cover identifying surface rust versus deep corrosion, choosing paint-safe removal compounds, selecting gentle cleaners for fabrics and vinyl, and applying the right protectant to lock it out.
Use the wrong abrasive or chemical, and you will scratch the clear coat or set a permanent stain in the upholstery, making the problem far worse.
First, Understand Your Enemy: What is Car Rust?
Rust is iron oxide. It happens when bare metal meets oxygen and moisture. Think of your car’s steel body panels or the metal frame under your seat. You need to know what kind you’re facing.
Surface rust is the orange dust or light scabs you can often wipe off with a finger. It sits on top. It hasn’t eaten through the metal yet. Surface rust is like a bad sunburn on your car’s skin; it’s ugly and needs treatment, but the structure underneath is still solid. This is the main type we detailers can tackle.
Penetrating rust is the real problem. You see it as bubbles pushing up under the paint, or worse, actual holes. The metal is compromised. Penetrating rust is a deep wound that needs professional metalwork and welding, not just a cleaner and some touch-up paint. If you see bubbles or holes, this article can guide your cleaning prep, but call a body shop for the fix. For those dealing with rust bubbles, learning how to repair rust bubbles in car paint now can save you bigger headaches later.
On my 1995 Mazda Miata project, I found classic surface rust on the rear wheel arch lip. It was just orange powder. On my kid’s Honda Odyssey, I found early rust on the bare metal seat frame under the carpet. Knowing the difference saved me from wasting time on a job I couldn’t finish.
Look for rust here first:
- Door edges and bottom seams
- Inside wheel wells, where road salt and grit get thrown
- Around trim clips and badges
- On the undercarriage, especially on bolts and suspension components (like on my F-150)
- Interior seat frames, pedal assemblies, and under floor mats
Your Safe-Work Zone: Prepping the Area to Protect Paint and Fabric
Rust removal is messy. Chemicals and debris can ruin a good paint finish or stain fabric in a heartbeat. You must build a safe zone. That caution also applies when removing rust from car surfaces and parts like panels or frames. Take the right approach to protect the metal and finish while you work.
For exterior bodywork, containment is key. Use painter’s masking tape and plastic sheeting. Tape off a generous area around the rust spot. Cover the rest of the panel and adjacent trim. If you’re working near a window or light, cover it completely. This step feels tedious, but it prevents a small rust repair from becoming a major paint correction project, especially when dealing with small rust spots.
For interior metal, like a seat frame, remove the trim if you can. Pop off the plastic side cover or kick panel. It gives you better access and protects that plastic from any splatter. If you can’t remove it, mask it meticulously.
Now, wash the area perfectly. I mean, perfectly. Use your two-bucket wash method on the exterior. For interior frames, wipe everything down with an all-purpose cleaner and a microfiber. Any dirt or grit left behind will turn into sandpaper the second you start scrubbing or sanding, and it will scratch everything in its path. Dry the area completely with a clean, soft towel.
You must test every product you plan to use. This is non-negotiable. For paint, find a hidden spot like inside the door jamb. For fabric or carpet near a rusted seat spring, test under the seat. Apply a small amount of your rust remover or cleaner. Wait as long as the label says. Wipe it off. Check for any discoloration, cloudiness, or texture change. If the test spot is damaged, the product is not safe for your car.
Finally, suit up. Rust and the chemicals that treat it are not friendly.
- Nitrile gloves: Chemicals can soak through fabric and irritate your skin.
- Safety glasses: Splatter from a gel rust remover or a flying bit of steel wool is no joke.
- A respirator: If you are dry sanding or using an aerosolized product, you do not want to breathe that in. A simple N95 mask is a minimum for dust.
This prep work takes time. I know you want to attack the rust. Do this first. Your paint and your lungs will thank you.
How to Clean Rust Off a Car Body: A Detailer’s Step-by-Step
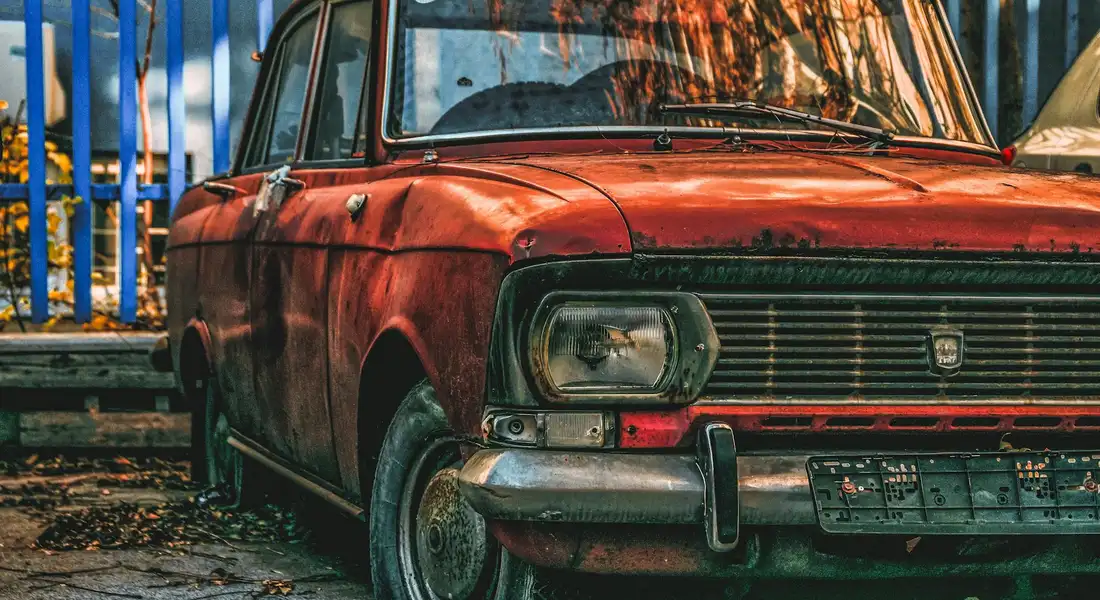
Rust on a car body is a sliding scale. Where you stop on that scale depends on what you see and feel with your fingers. Surface dust is a cleaning job. Bubbled paint is a repair job. I will show you both.
For Surface Rust (The Orange Dust)
This is the most common type I see. It looks like tiny orange or brown specks peppered across the paint, often on horizontal panels like the hood and roof. It is not the paint rusting. It is microscopic bits of brake dust or industrial fallout that have landed on your paint and started to oxidize. My black BMW is a magnet for this. The fix is chemical, not abrasive.
First, wash the car. You need a clean surface. Then, get a dedicated iron remover spray. This is not a wheel cleaner, though many wheel cleaners work the same way. The chemistry is key. These purple liquids contain compounds that react with the iron oxide, dissolving it.
- Spray it on a cool, dry panel in the shade.
- Watch it turn purple as it works. It will start to run and drip.
- Let it sit for the time on the bottle, usually two to five minutes, but never let it dry.
- Rinse it off thoroughly with a flood of water. You will see the orange stains rinse away.
An iron remover dissolves the contamination chemically, so you do not grind it into the paint.
After the decontamination wash, feel the paint with the plastic bag test. Put your hand in a thin, clean plastic bag and glide it over the surface. If it feels gritty, like sandpaper, you need a clay bar. Those are bits the spray did not dissolve, still embedded in the clear coat.
- Use a dedicated clay lubricant or a very soapy water mix. Never clay a dry surface.
- Flatten a piece of detailing clay in your palm and glide it back and forth gently. You will hear and feel the grit being pulled out.
- Knead the clay frequently to expose a clean surface. If you drop it, throw it away.
Now the paint is clean but your clear coat is microscopically scratched from the claying. You must polish it. Use a light finishing polish and a soft foam pad, by hand or with a dual-action polisher. This step restores clarity and shine.
Finally, protect it. Apply a synthetic sealant or ceramic coating. This new barrier is what prevents the fallout from bonding to your paint again, making your next clean-up much easier. On my daily drivers, I use a spray sealant after every wash for this reason.
For Light Scale and Paint Bubbles
This is where rust is winning. You see a rough texture, light scaling, or worst of all, a bubble under the paint. The rust is coming from behind or below. On my old Miata’s chrome bumper trim, I dealt with this. The goal here is to stop the rust, then repair the finish. This is paintwork, not just detailing.
For a small, surface-level scale spot, you can sometimes wet-sand it. This is advanced.
- Use very high-grit sandpaper, like 2500 or 3000 grit.
- Soak the paper in a bucket of water with a drop of soap for fifteen minutes.
- Keep the area you are sanding flooded with water. Use a spray bottle. Dry sanding will ruin your paint.
- Sand gently in one direction, checking constantly. You are only trying to level the rough, rusty scale.
- Stop the moment you hit smooth paint or, more likely, bare metal.
Wet-sanding is a last resort to remove a texture; you are committing to a full repaint of that spot.
For tight spots like chrome trim, door hinges, or bolt heads, a handheld rotary tool is useful. Use a soft, brass or nylon bristle brush attachment. The brass is for heavier scale on metal you plan to repaint. The nylon is for delicate edges. Go slow. The goal is to flick off the loose rust, not to polish the base metal smooth.
Once you are down to bare, solid metal, you must treat it. This is where a rust converter comes in. It is usually a tannic acid gel that turns iron oxide into a stable, black compound. It is a primer of sorts.
- Apply it ONLY on the bare metal. Use a small brush. Avoid getting it on the surrounding good paint.
- It will dry to a dark black or blue-black finish. This is the new, stable surface.
- This is not a top coat. You must paint over it.
The final step is not optional for a lasting fix. You must prime and paint.
- Feather the edges of the good paint around your repair area with very fine sandpaper.
- Apply a high-quality automotive primer over the converter. Let it dry completely.
- Apply thin, multiple coats of touch-up paint, blended to match your color. A clear coat finish is the final step.
Blending this repair is an art. It will never be perfect, but done right, it stops the cancer and looks acceptable from a few feet away. On a restoration project, this is the daily work. On a modern car, it is a patch to preserve the body until a professional panel repair can be done.
Getting Rust Out of Your Car’s Interior Metal Safely
On Exposed Trim (Seat Frames, Pedals)
You see this on old seat frames, pedal arms, or door sill plates. It starts as a rough, orange film. In my Honda Odyssey, the kid hauler, I found it on the seat brackets after a wet winter. The goal is to scrub it off without leaving scratches deeper than the rust itself. I keep a soft brass brush and some 0000 steel wool in my kit for this.
Always use a light lubricant like a quick detail spray to wet the surface before you touch it with any abrasive. The fluid cushions the fibers and keeps metal dust from grinding. A brass brush is my first choice. Brass is softer than the steel underneath, so it scours the rust but polishes the base metal. If the rust is stubborn, I move to 0000 steel wool. It is the finest grade. Even then, I use it soaked in detail spray and press gently.
Work in small, controlled circles. You will feel the grit dissolve into a dark slurry. Wipe the area clean with a dedicated microfiber towel. Now you have bare, vulnerable metal. To stop rust from returning instantly, apply a dedicated rust inhibitor like WD-40 Specialist Long-Term Corrosion Inhibitor. This is not regular WD-40. It sprays on wet and dries to a clear, waxy film. Give it a minute to set, then wipe off every bit of residue with a clean towel. You do not want a sticky film that traps dirt.
When Rust is Near or Under Upholstery
This is where detailing meets surgery. A rust spot peeking from under a seat seam or near a cloth door panel requires a steady hand. One slip can stain fabric or leather forever. The smell of a rust dissolver can linger in upholstery, too.
Your best tool here is a plastic syringe or a precision applicator bottle. Fill it with a small amount of a gel-based rust dissolver. I use this method on vintage projects like my Mazda Miata. Apply a single drop directly onto the rust. Do not let it pool. Within ten seconds, blot it aggressively with a clean, white cotton cloth or swab. You are trying to lift the rust before the chemical soaks in.
Preparation is everything. Before you apply anything, cut and tape a thick, absorbent towel like a terry cloth shop towel around the work zone. Make a dam. This towel barrier will catch any accidental drips before they touch your interior materials. For leather, I sometimes add a layer of plastic wrap under the towel for extra security.
Know the limits. If the rust is extensive, or if it is on a structural frame member hidden under the carpet, you have moved beyond detailing. I learned this the hard way. True interior frame rust means removing seats, carpets, and trim. That is disassembly for repair, not cleaning. For your daily driver, acknowledge when to call a professional. Your detailer’s heart might want to fix it, but sometimes the job requires a body shop.
Paint Damage Prevention: The Most Common Mistakes
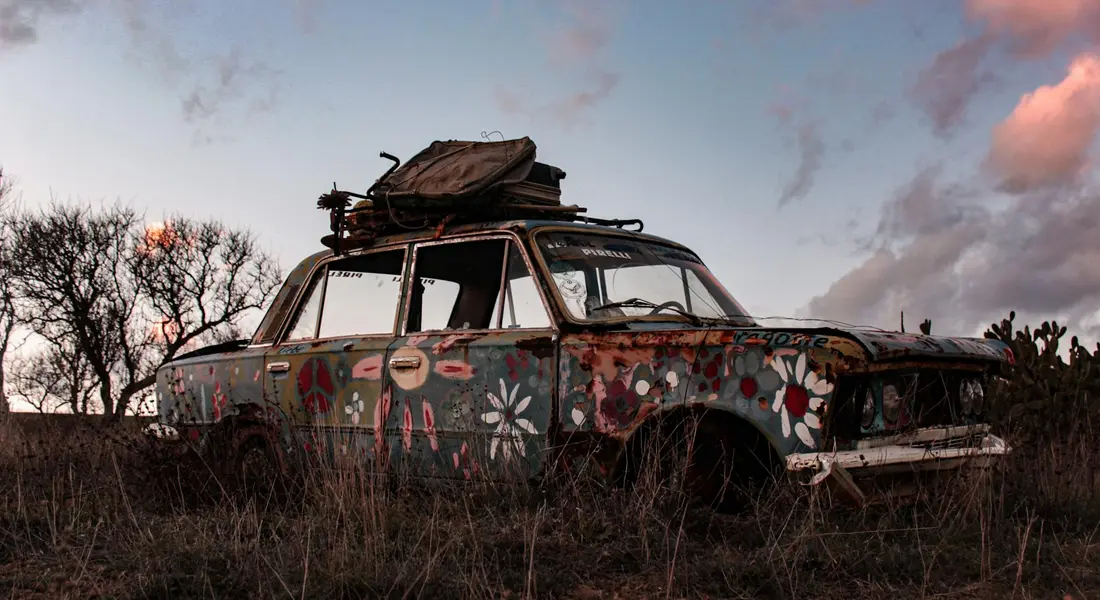
I see it every winter. Someone wants to attack a rust spot on their fender, and they grab the first abrasive thing they can find. It’s a quick fix that creates a permanent problem. Here are the errors I’ve made myself and seen countless times.
The top three mistakes are all about being too aggressive.
- Using generic steel wool or a scratchy scouring pad. These are designed for pots and pans, not your car’s clear coat. Even the “fine” grades leave a spiderweb of deep scratches that require a full polish to fix. For paint, you only use a synthetic clay bar or a specifically engineered surface prep pad.
- Letting chemical drips or overspray dry on the paint. A rust dissolver works by being acidic. If it dries, it concentrates. That concentrated acid will etch into your clear coat, leaving a dull, permanent stain that looks worse than the rust you were treating.
- Sanding too aggressively or with the wrong grit. You think you’re just sanding the rust, but you’re also sanding the good paint around it. Start with too rough a paper, and you’ll create a deep low spot you can never fully polish out.
Chasing rust removal, the biggest lesson is that “stronger” is never better. Patience with a mild, controlled product always beats a harsh one that strips your protection away. A dedicated iron remover gel, applied and rinsed properly, is safer and more effective than pouring straight acid from the hardware store.
This brings me to a serious warning. Do not use household vinegar or muriatic acid blends without extreme caution. These are uncontrolled acids. They will flash-rust bare metal in seconds if not neutralized with baking soda and water. They can permanently stain trim and etch glass. If you go this route, you must have your neutralizing wash bucket ready and rinse the area completely within seconds. For 99% of people, a commercial rust treatment gel is the smarter, safer choice.
I learned this the hard way on my Ford F-150. There was a tiny rust speck near the wheel well. I thought, “I’ll just sand it quick and touch it up.” I used a 400-grit sanding block. In thirty seconds, I turned a pin-head of rust into a dime-sized patch of bare primer. I then had to feather, prime, paint, and blend an area twenty times larger than my original problem. The “quick fix” cost me an entire afternoon. Now, for surface rust, I use a chemical treatment first, every single time. It’s slower, but it saves the paint.
The Detailer’s Rust Product Tier List
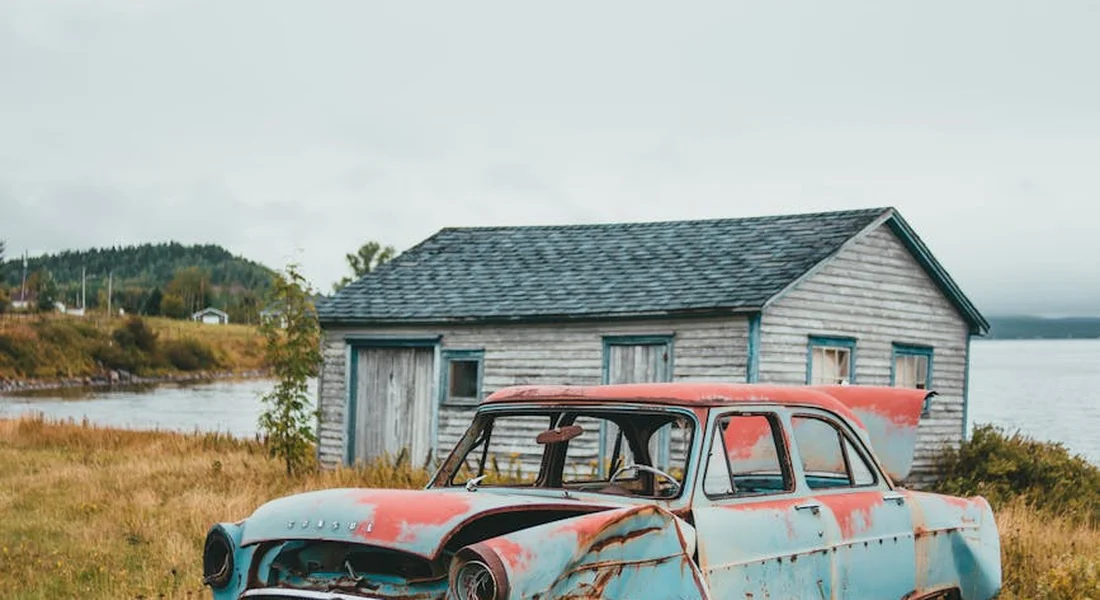
You will see a hundred different rust products on the shelf. I have tried most of them. They are not all the same. Think of them in tiers, matched to the job and your ambition. Picking the right tool saves your paint, your time, and your sanity. Especially when you’re trying to remove rust spots from car paint.
Budget/Drive-Through Tier
This is for the person who just spotted a small speckle of rust on a wheel arch or has a rusty bolt. It uses what you can find at a grocery or hardware store. It works, but you must manage your expectations.
- Citric acid-based sprays or white vinegar solutions. These are mild acids. They dissolve light surface rust (what we call ‘flash rust’) on bare metal parts you can soak, like bolts or small brackets. I keep a jar of cheap white vinegar in the garage for this. For body panels, a citric acid spray can loosen light contamination before claying.
- Basic touch-up paint. This is for after you have cleaned the rust off completely. It is a cosmetic cover, not a treatment.
Best For: Treating very small, fresh surface rust spots, or de-rusting small, removable parts on a tight budget. It is perfect for the interior of a wheel where a rusty rotor has dusted the barrel.
Key Limitation: These are surface treatments only. They will not stop active, bubbling rust that has eaten under the paint. On paint, vinegar can strip wax and potentially stain if left too long. Always test any acid, even a mild one, on an inconspicuous paint spot first. On my old Miata’s single-stage paint, I learned that lesson the hard way.
Enthusiast/Pro-Sumer Tier
This is where most serious weekend details live. The products here are formulated for automotive finishes and are far more effective and predictable.
- Brand-name iron fallout removers. Products like CarPro IronX or Adam’s Polishes Wheel Cleaner. These are not for solid rust, but for the microscopic iron particles baked onto your paint from brakes and rail dust. They dissolve those orange specks safely. Spray it on, watch it turn purple, and rinse. I use this on my BMW’s wheels and lower panels every spring to melt away winter’s contamination.
- Quality rust converter gels. These are for actual rust spots. You scrub the loose scale off, apply the gel, and it turns the remaining iron oxide into a stable, black primer surface. This is a permanent fix for a spot you plan to touch-up paint over.
- Dual-action polishers for correction. After using a chemical rust remover on paint, you often need to polish out the etched stain it left behind. A DA polisher is safe for clear coat if you use it right.
Best For: Safely decontaminating painted surfaces, treating defined rust spots before touch-up, and restoring finish clarity after chemical treatment. This tier handles 90% of the rust issues a detailer faces.
Key Limitation: The converter gels only work on properly prepared surfaces. If you paint over thick, flaky rust, it will bubble again in months. These products also require proper safety gear gloves and glasses are mandatory. The fumes from some converters are no joke.
Show Car/Restoration Tier
This is for preserving classics or pursuing absolute perfection. The goal here is not just to remove rust, but to prevent its return for decades.
- Evapo-Rust type soak tanks. This is a water-based, reusable soak that removes rust without harming good metal, paint, or even plastic. You can drop an entire tool, a bracket, or a small trim piece in it. I used this on the Miata’s original lug nuts. They came out looking new.
- Professional corrosion inhibitors. Products like ACF-50 or Fluid Film. After rust is removed from a chassis or in hidden body cavities, you spray this in. It creeps into seams and leaves a protective, waxy film that blocks moisture. I treat the undercarriage of my Ford F-150 with this every fall.
- Professional paint matching systems. For a seamless repair on a show car, you need a custom-mixed paint that matches your car’s faded color exactly, not a generic “Ford Red” from a pen.
Best For: Complete, non-destructive rust removal from parts, long-term protection of vulnerable areas, and invisible paint repairs on high-value vehicles.
Key Limitation: Cost and scale. A soak tank is fantastic, but you need a big container and space for it. Professional corrosion inhibitors are messy to apply. This tier is an investment in time and money reserved for serious projects, not a quick fix for a daily driver.
When “How Do You Remove Rust” Becomes “Call a Pro”
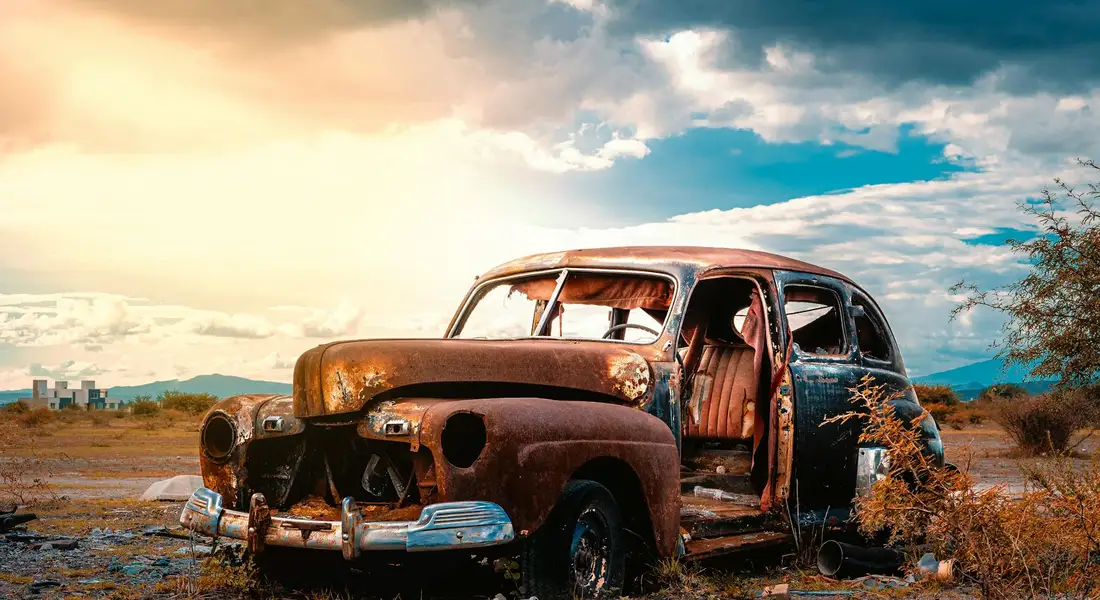
There is a line every car owner needs to see clearly. On one side is a stain you can wipe away. On the other is a structural problem. I learned this the hard way with my 1995 Mazda Miata. A small bubble on the rear quarter panel hid a hole the size of a dime. My heart sank. This was no job for a clay bar.
You have reached the professional’s domain when you see any of these three red flags.
- You can poke a pencil or even a screwdriver through the metal. This is perforation. The metal is gone.
- The rust on your undercarriage isn’t surface orange dust, but thick, layered scale that flakes off in chunks. This is advanced corrosion eating into the metal’s thickness.
- The rust is on a structural component: frame rails, suspension mounting points, seat belt anchors, or major weld seams. Safety is not a DIY experiment.
What a Pro Does That You Can’t
A true rust restoration shop doesn’t just treat what they see. They eliminate what they can’t. My local shop showed me their process, and it changed my perspective.
First, they disassemble. Fenders come off. Trim is removed. This exposes the full extent, often far worse than the surface suggests. They then use media blasting, like soda or crushed glass, to scour every molecule of rust from the complex shapes and crevices of the panel. This is a world apart from sanding a flat spot. They cut out the bad metal and weld in new, factory-grade steel. Finally, they apply rust-inhibiting primers and often a factory-spec wax or oil-based undercoating inside enclosed sections, like rocker panels, to stop it from coming back.
Their job is to remove 100% of the corrosion and protect the repair from the inside out, something a bottle of converter spray simply cannot achieve.
Finding the Right Shop (“Near Me”)
Typing “rust repair near me” brings up everyone from body shops to muffler welders. You need a specialist. Look for three things.
- Reviews and Portfolio. Look for photos of completed undercarriage work, not just shiny paint. A shop proud of their metalwork will show it.
- A Clear, Patient Explanation. A good shop will walk you through their proposed process, show you the damage, and explain why each step is necessary. If they just give you a quick quote, be wary.
- A Warranty. Ask about it. A warranty on rust repair shows they trust their process to stop the cancer, not just cover it up for a season.
What It Costs to Do It Right
This is where sticker shock happens. Budgeting requires understanding the factors. It is never just about the size of the hole.
Labor for disassembly and reassembly is huge. Fixing a rust spot on a door edge might cost $300. Fixing that same spot on a complex rear quarter panel, which is welded to the car’s structure, could be $1500 or more because of the labor to cut, weld, and finish. Undercarriage work adds cost for lifts, extensive cleaning, and specialized coatings. Finally, matching the surrounding paint perfectly, especially on metallics or tri-coats, is an art that adds to the final bill.
For a single, non-structural repair panel, think in the high hundreds. For multiple areas or undercarriage restoration, you are easily into the thousands. It is a significant investment, but for a beloved car, it is the only way to ensure it lives on.
Protecting the Repaired Area and Stopping Rust for Good
You got the rust off. The real work starts now. If you skip these steps, that spot will come back angrier and faster. Think of this as building a tiny fortress against water and air.
The Final Clean and Dry
This is non-negotiable. Any leftover acid from a rust dissolver or dust from sanding will haunt you. It will etch the paint or prevent your protectant from bonding.
Wash the entire panel, not just the spot. Use your two-bucket method with a pH-neutral car shampoo. I do this on the BMW every time. Its black paint shows every chemical streak. Rinse with a strong flow of clean water to flood all the seams and crevices.
Drying is just as critical. Water left in a door seam or trunk gutter is an invitation. Use a clean, plush drying towel and a leaf blower to push water out of badges, trim, and cracks. A bone-dry surface is the only proper foundation for any protective layer.
Locking It Down with a Sealant or Wax
If you touched up the paint, that fresh paint is vulnerable. Even if you just cleaned the surface rust, the surrounding clear coat needs a shield. To lock in protection, consider paint over rust prevention as the next step. A quality sealant is my first choice for this job. It lasts longer than wax and forms a harder, more chemical-resistant barrier.
On the Porsche, I use a synthetic sealant. I apply a thin coat to the repaired area and the whole panel. This makes the protection even and hides the blend line. A pure carnauba wax, like I might use on the Miata for a deep glow, is good but needs reapplication much sooner. Your goal is to seal the surface from moisture penetration, and a modern sealant is the most reliable tool for that.
Let it cure fully, away from rain or dew, for at least 12 hours.
Undercarriage Defense (The F-150’s Domain)
The underbody sees the worst of it. This is where proactive protection matters most. You have two main paths: coatings that stay soft and self-healing, or ones that dry hard.
I use a fluid film or lanolin-based spray on my truck’s frame, inside the rocker panels, and on suspension components. These oils creep into seams, never fully dry, and displace water. They need reapplication every fall, but they don’t trap moisture. They are the safe choice.
I avoid rubberized undercoatings. They look tough, but they can crack over time. Once they crack, water and salt get in behind them and rot the metal from the inside out, hidden from view. A rubberized coating can create a perfect, unseen rust incubator, which is worse than no coating at all. If your vehicle already has it, inspect it for cracks each season.
Vigilance is Your Best Tool
Rust is a process, not a one-time event. You have to watch for it.
Every spring, after the salt is gone, I put all my vehicles on ramps or get underneath with a light. I look for new stone chips on the body, check the drain plugs in the doors and rockers, and inspect the undercarriage. Catching a new chip and touching it up with a dab of paint and sealant takes ten minutes. Fixing a bubbled fender next year takes ten hours.
Inside, moisture is the enemy. In the Odyssey, a spilled juice box that soaks into the carpet pad can rust the floorpan from the top down. If you get the interior wet, extract the water and run a fan or a dehumidifier in the car with the windows cracked until it’s completely dry. Never let a wet mat sit on carpet.
This routine check, especially after winter, is the single most effective habit for stopping rust for good. It is how I keep the Miata’s 30-year-old frame solid and the daily drivers looking new.
Keeping Your Car Rust-Free and Pristine
Your best move is to treat rust with targeted, gentle products and isolate the area to shield your good paint or fabric. This also helps prevent rust from spreading to the surrounding car paint. Finish the job by sealing the spot with a wax or ceramic coating to lock out moisture for good.
Skip this careful approach, and you risk etching the clear coat or setting a stain that no cleaner can fix.
Deep Dive: Further Reading
- Removing Rust From A Car | Ultimate Rusty Car Guide | WD-40
- r/Cartalk on Reddit: How do I fix this rust on my car. Its an eye sore… right in the front of the car.!!
- How Should You Remove Rust from Your Car?
- Removal of Surface Rust – Technical – Antique Automobile Club of America – Discussion Forums
- Steps to Removing Rust from Your Car – AutoZone Advice & How-To’s
- 8 Steps to Remove Rust on Car Like a Pro (DIY)- Fastplus Abrasives – FastPlus.eu | Sandpaper Online Store
Max Gunther
Max is an automotive enthusiast having worked as a car mechanical and in interior detailing service for over 25 years. He is very experienced in giving your old car, a new fresh vibe. He has detailed many cars and removed very tough smells and stains from all kinds of cars and models, always ensuring that his work and advice helps his customers. He brings his first hand experience to his blog AutoDetailPedia, to help readers breath new life into their car interiors.