How Do You Remove Yellow Paint from Your Car? A Guide to Paint Transfer and Overspray
Finding a streak of bright yellow paint on your car’s surface can make your heart sink. This guide walks you through the safe, correct way to get it off.
We will cover identifying paint transfer versus overspray, gathering the right detailing tools, a safe step-by-step removal process, and how to restore and protect your finish.
Using the wrong method can grind the foreign paint into your clear coat, causing scratches that require expensive paint correction.
What Is Yellow Paint Transfer and How Does It Happen?
When you need to remove yellow paint from a car, you are usually dealing with one of two things. Paint transfer is what happens when your car physically scrapes against a painted surface. It leaves behind a thick, smeared deposit of the other object’s paint on your clear coat. Overspray is different. Those are fine, airborne particles that drift through the air and land on your paint, hardening into a gritty, speckled layer, often referred to as paint overspray.
The most common yellow culprit is fresh road line paint. I’ve seen it on the rocker panels of my F-150 after driving through a construction zone at dawn. It gets kicked up as a wet mist and sticks like glue. Other sources include leaning against a freshly painted yellow pole in a parking garage or driving past a painting crew at a building site.
Run your fingers over it. Paint transfer feels rough and raised, like a scab on the paint. You can often catch a fingernail on it. Overspray feels like fine sandpaper or a sprinkling of hard dust across the panel. Visually, transfer is splotchy and follows the path of the impact. Overspray looks like a uniform, speckled texture, often across the hood, roof, and mirrors.
Knowing whether you have transfer or overspray is the first step to removing yellow paint from your car safely, as the removal approach changes slightly.
Gathering Your Tools: The Detailer’s Arsenal for Paint Removal
You cannot fight this battle with just soap and hope. Having the right tools ready before you start is the difference between a clean win and making a bigger mess. Always put your safety first. A box of nitrile gloves and a pair of splash-proof safety glasses are non-negotiable. Many of the chemicals involved are harsh on skin and eyes.
The Chemical Squad: Cleaners, Solvents, and Lubricants
Your chemical selection is critical. For fresh road line paint, which is often water-based, a dedicated water-based graffiti remover or a high-pH (around 10-12) all-purpose degreaser can work wonders. These are designed to break the bond without immediately attacking your car’s clear coat. For older, cured paint transfer or industrial overspray, a dedicated automotive paint transfer remover or a solvent-based bug and tar remover is a safer starting point than aggressive hardware store products. Proper techniques are especially important when you try to remove road paint from a car to avoid damaging the vehicle’s surface.
You must work in a well-ventilated area, preferably outdoors, and avoid skin contact with these concentrated products. Keep a bottle of 70% isopropyl alcohol (IPA) mixed 1:1 with distilled water for your final wipe-down. This strips any leftover oils or residues so you can see the true condition of the paint underneath. Make sure to confirm isopropyl alcohol is safe for car paint before applying it.
Cloth, Clay, and Pads: The Physical Removal Team
Your towels and clays do the hands-on work. You need two types of microfiber towels. Use thick, plush towels (350 to 500 GSM) for applying and removing chemical cleaners. They are soft and absorbent. For wiping down with IPA or applying polish, use soft, low-pile towels (70 to 90 GSM) to reduce the chance of leaving behind micro-scratches.
A fine-grade clay bar or a high-quality synthetic clay mitt is your best friend for overspray and the final bits of transfer. The clay physically shears off the foreign material. Use plenty of a dedicated clay lubricant or a diluted rinseless wash solution as a slip agent. Never use clay on a dry surface.
If the removal process leaves behind light marring or scratches, you’ll need to polish. For this, a soft foam polishing pad (like a white or black pad) is for applying finishing polish to restore gloss. A more aggressive microfiber cutting pad is for applying a compound if you need to remove deeper defects.
Machines and Wash Gear
For polishing, a dual-action (DA) polisher is the safest tool for a non-professional. Look for one with a 15mm to 21mm throw; this provides a smooth, forgiving motion that is less likely to burn the paint on curved panels like fenders and doors. It’s the tool I used to correct the holograms on my black BMW.
Start with a pristine surface. This means washing the area thoroughly using the two-bucket method. One bucket holds your clean soapy water. The other is your rinse bucket with a Grit Guard at the bottom. After you wash a section, rinse your mitt in the rinse bucket, letting the dirt settle below the Guard, before loading it with fresh soap. This simple practice traps abrasive dirt so you don’t grind it into the paint while you work.
The Step-by-Step Removal Process: A Safe Order of Operations
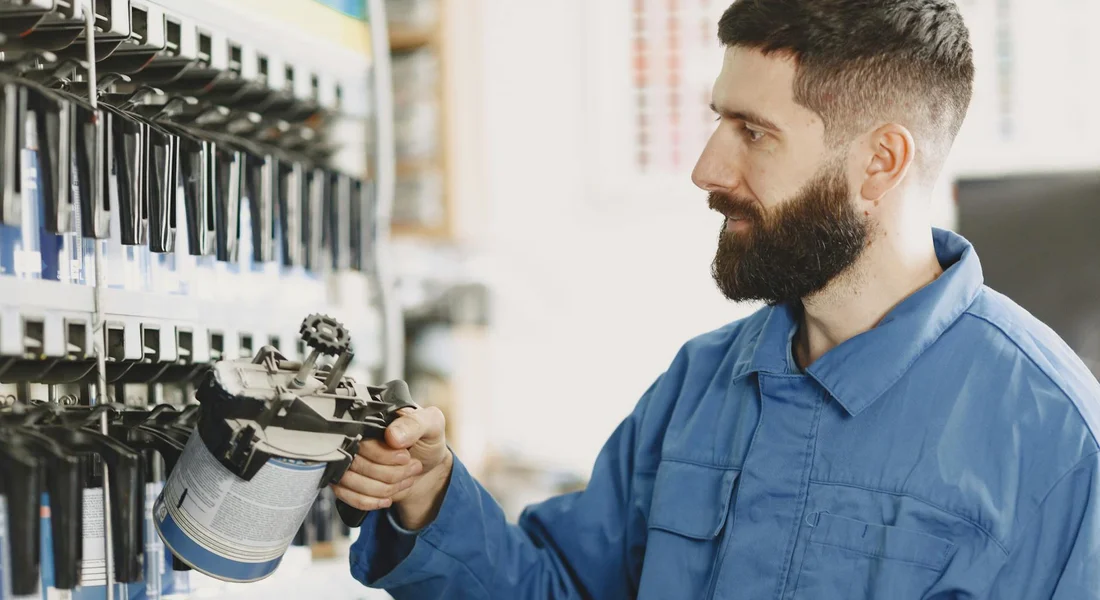
Do not skip steps. This order exists to remove the yellow paint without adding scratches or haze to your car’s finish. I learned this sequence fixing overspray on my black BMW and road paint on my F-150.
Step 1: Assess and Isolate the Area
First, figure out what you’re fighting. Gently run your fingernail over the edge of a yellow paint spot. If your nail catches, the paint is sitting on top. If it slides smoothly over a rough or stained patch, the foreign paint may have etched in. This tells you how aggressive you need to be.
Always test your chosen removal chemical in a hidden spot first, like inside a door jamb, to ensure it doesn’t haze or discolor your car’s paint.
Step 2: The Thorough Initial Wash
Wash the entire panel, or better yet, the whole car. Use a pH-neutral car shampoo and the two-bucket method. The goal is to eliminate every speck of loose dirt and grit. Any grit left behind will become sandpaper in the next steps, grinding scratches into your clear coat. This is non-negotiable, especially for dark colors like my black BMW.
Step 3: Chemical Decontamination
Now you soften the enemy. Apply a dedicated paint cleaner, tar remover, or a solvent like isopropyl alcohol (diluted 1:1 with water) directly to a clean microfiber towel. Dab and gently wipe the yellow paint. Do not scrub. Let the chemical dwell for a minute to break the bond. This is how you get yellow road paint off your car without excessive force, unlike when trying to remove other stains or contaminants from car paint.
Think of it like loosening a sticker’s adhesive before you peel it; let the chemistry do the heavy lifting first.
Step 4: Mechanical Decontamination with Clay
After the chemical treatment, any remaining paint transfer needs to be physically lifted. Spray a generous amount of clay lubricant on a small section. Flatten a detailing clay bar in your hand and glide it back and forth with light pressure. You will feel it grab the tiny particles. Knead the clay to a clean side frequently. You are done when the surface feels like smooth glass under your hand.
Step 5: Polish to Restore Clarity
Claying can leave micro-marring, and stubborn yellow paint might leave a ghost stain. A fine polish fixes this. For light haze or staining, a one-step polish with a white foam pad on a dual-action polisher works. For deeper etching, you may need an orange cutting pad with a compound first, then follow with the polish.
For my daily drivers, a one-step polish is often enough. For my show car Porsche, I always do a two-step compound and polish for absolute perfection.
Step 6: Seal and Protect the Fresh Finish
The paint is now clean and bare. Protect it immediately. A spray sealant is my go-to for its ease and durability. Mist it on, wipe it off. This creates a protective barrier that locks in your hard work and makes washing off future contaminants like bug splatter or tree sap much easier.
Master the Technique: Pro Tips for Flawless Results
These are the small things you only learn by doing it wrong a few times. They make the difference between a good result and a great one.
Arm Speed and Pad Pressure for Polishing
With a polisher, slow wins. Move the machine about one inch per second, overlapping each pass by 50%. For pressure, use just enough to keep the pad rotating steadily. Let the abrasives and the pad’s motion do the cutting.
Think tortoise, not hare. Firm pressure is for cutting compounds, but letting the tool work prevents you from burning through the thin clear coat on edges.
The Lighting Angle Check
Your garage light lies. Use a bright LED work light or the sun. Hold it at a very low angle, almost parallel to the paint. This raking light will reveal every speck of leftover yellow paint, every scratch, and every swirl. Check your work after every single step. What looks clean under overhead light often isn’t.
Working on Delicate Areas: Glass, Trim, and Edges
To remove yellow paint from a car window, a razor blade is your safest tool. Use plenty of glass cleaner as lubricant. Hold the blade at a 45-degree angle and scrape gently. It will shave the paint right off without scratching the glass.
Plastic and rubber trim absorbs chemicals and stains. Use painter’s tape to mask it off before you start applying any solvent or polish. Paint on body panel edges and ridges is dangerously thin. When polishing near them, lift the polisher to reduce pressure or go over them by hand.
Troubleshooting Common Problems and Knowing Your Limits
Even with the right plan, you can hit a wall. That is normal. Knowing what to try next, and more importantly, when to stop, is what separates a good detailer from one who causes damage. Let us walk through the common roadblocks.
When the Yellow Paint Just Won’t Come Off
You have tried the clay bar. You have used a polish by hand. The yellow specks or smear are still there, laughing at you. This is likely a case of fully cured overspray or old, hardened paint transfer. The paint has cross-linked with your clear coat, almost becoming one with it. Think of spilled soda you wipe up immediately versus soda spilled a week ago that has turned to syrup and glued itself to the counter.
At this stage, aggressive hand polishing will only frustrate you; you need the controlled friction and cutting power of a dual-action polisher with a dedicated compound. This is where my black BMW, the ‘Swirl Magnet,’ taught me a hard lesson. I once had overspray that clay would not touch. A light polish did nothing. Only a cutting compound on a microfiber pad with my polisher removed it.
It is also critical to know the difference between yellow paint *on* your car and yellowing *of* your car’s paint. If you search “how to fix yellowing car paint,” you are typically looking at oxidation on single-stage paint, like on my old red Miata. That process involves heavy compounding to remove the dead, oxidized layer and reveal fresh color beneath. It is a restoration, not a cleaning.
If you do not own a polisher or lack experience with one, this is your sign to call a professional. A pro detailer has industrial-grade compounds, a range of pads, and the skill to remove the contamination without burning through your clear coat. Paying for an hour of their time is cheaper than repainting a panel.
Handling Odd Surfaces and Materials
First, a quick note: if you are searching how to “remove yellow paint from games” or furniture, that is a different world. We are focused on your car’s exterior. Now, your car is not just smooth paint. Yellow paint can land on textured plastic trim, rubber trim, or in the wheel well liner.
For non-paint surfaces like textured black plastic cladding or wheel well liners, skip the clay and polish entirely. These materials are porous and can be damaged by abrasive products. Instead, use a strong all-purpose cleaner. Spray it on, agitate with a stiff bristle brush (like a wheel woolie or trim brush), and rinse thoroughly. The chemical action of the cleaner, combined with physical agitation, will lift the foreign paint without harming the substrate.
For glossy plastic trim or mirror caps, you can carefully use the clay bar method, but be extra gentle. Test any polish on a hidden spot first, as some plastics scratch far easier than clear coat.
Making the Call: DIY Success vs. Professional Help
How do you know when to put the bottle down and pick up the phone? Look for these clear signs.
- You see deep scratches or chips underneath the paint transfer. The impact that transferred the paint may have also damaged your finish. Removing the yellow paint will reveal this damage, which requires touch-up paint, not just polishing.
- The affected area is massive, like the entire side of the vehicle from a construction zone. The time, product, and physical effort required make a professional service more efficient.
- You are working on a classic car with original single-stage paint. This paint is soft, thin, and irreplaceable. The margin for error is zero. A pro with experience in vintage finishes is your best bet.
- You have attempted the steps and made no visible progress. Continuing to rub aggressively by hand risks creating deep marring or holograms that are harder to fix than the original problem.
For probably 90% of fresh paint transfer incidents, the wash, clay, and polish method I outlined will get your finish back to perfect. I have used it on my wife’s Odyssey after a close encounter with a parking lot pole. It worked. Do not let the fear of the tough cases stop you from handling the common ones. Start gentle, assess your progress after each step, and know that calling a pro is not a defeat. It is a smart play to preserve your car’s value. If you decide to polish, make sure to polish your car paint properly either by hand or machine.
Keeping Your Clear Coat Safe
Your best defense is always starting with the least aggressive method, like a clay bar, to gently pull the transfer away. This careful approach preserves your factory finish and avoids the swirls I constantly battle on my Jet Black BMW.
Jump straight to harsh solvents or aggressive compounding, and you will likely etch the yellow paint into the clear coat or create deep scratches.
Expert Resources and Citations
- r/cars on Reddit: How to remove spray-paint residue from car
- Overspray Remover – Goof Off
- How to remove heavy overspray on paint ? | Detailing World Forum
- How to Remove Spray Paint From Your Car | Chemical Guys
- Whats best to remove paint overspray on plastic trim when …
Max Gunther
Max is an automotive enthusiast having worked as a car mechanical and in interior detailing service for over 25 years. He is very experienced in giving your old car, a new fresh vibe. He has detailed many cars and removed very tough smells and stains from all kinds of cars and models, always ensuring that his work and advice helps his customers. He brings his first hand experience to his blog AutoDetailPedia, to help readers breath new life into their car interiors.